.avif)
.avif)
Have you ever watched an amazing YouTube video and thought, "This would make a fantastic blog post"? You're not alone. With NotebookLM, you can now effortlessly transform those valuable video insights into SEO-optimized written content that ranks well on search engines. This powerful tool analyzes YouTube video transcripts and automatically generates structured blog posts specifically designed to attract organic traffic.
This tutorial walks you through converting video content into high-performing articles to help grow your online presence. No complex coding or technical SEO knowledge is required.
In this tutorial, we’ll explore:
- Add a video transcript to NotebookLM
- Prepare your keywords
- Craft your prompt and generate content
- Enhance and finalize your content
Let’s dive right into it.
Step 1 - Add a video transcript to NotebookLM
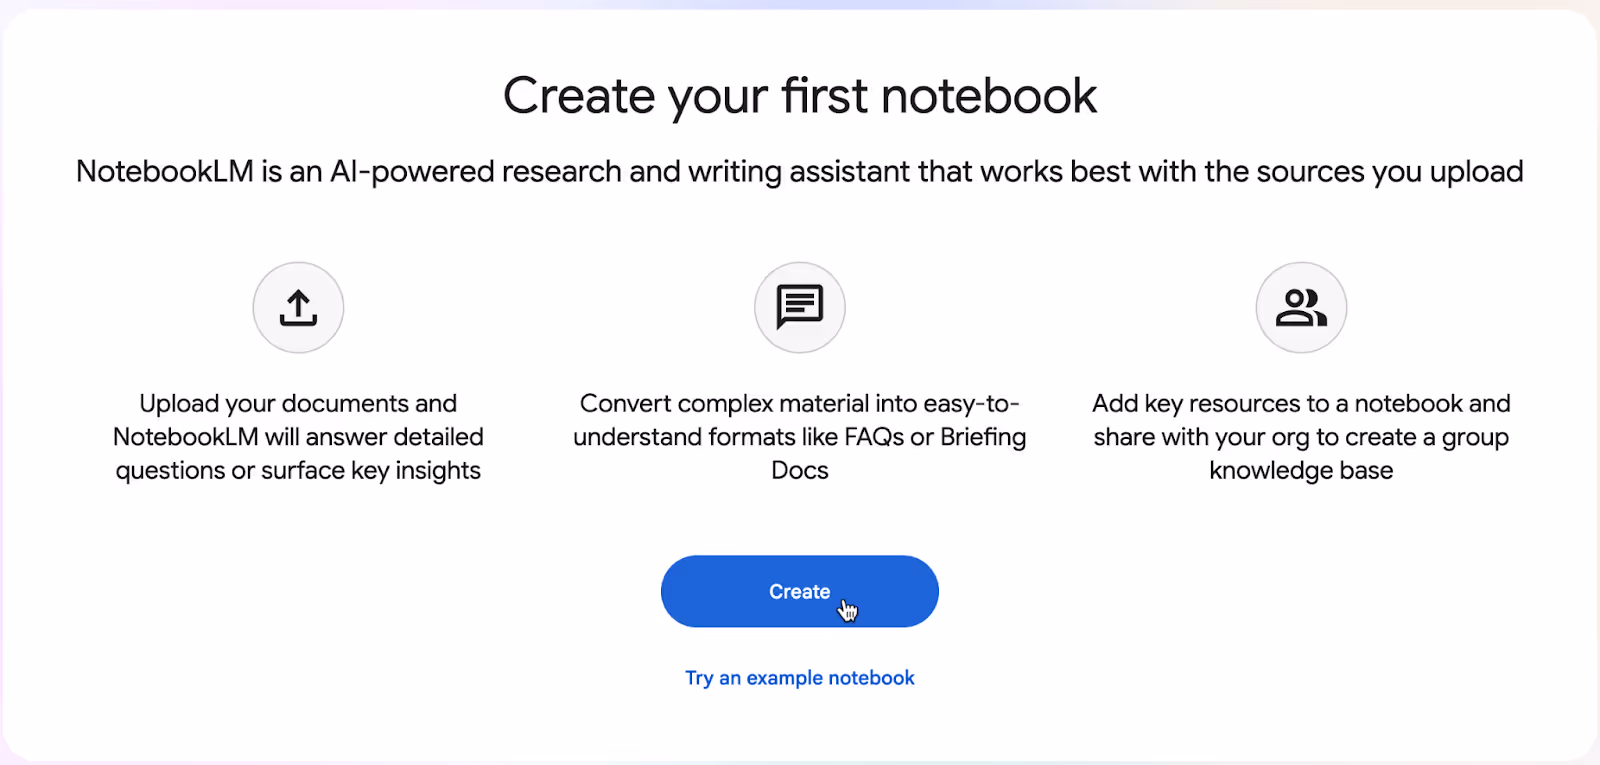
The first step is to add a video transcript to NotebookLM. Head over to NotebookLM and click ‘Create.’
In the ‘Add sources’ window, import your YouTube video transcript by selecting the ‘Add source’ button if you have a video on your computer. If you’re sourcing the video from YouTube, click the ‘YouTube’ link at the bottom of the window.
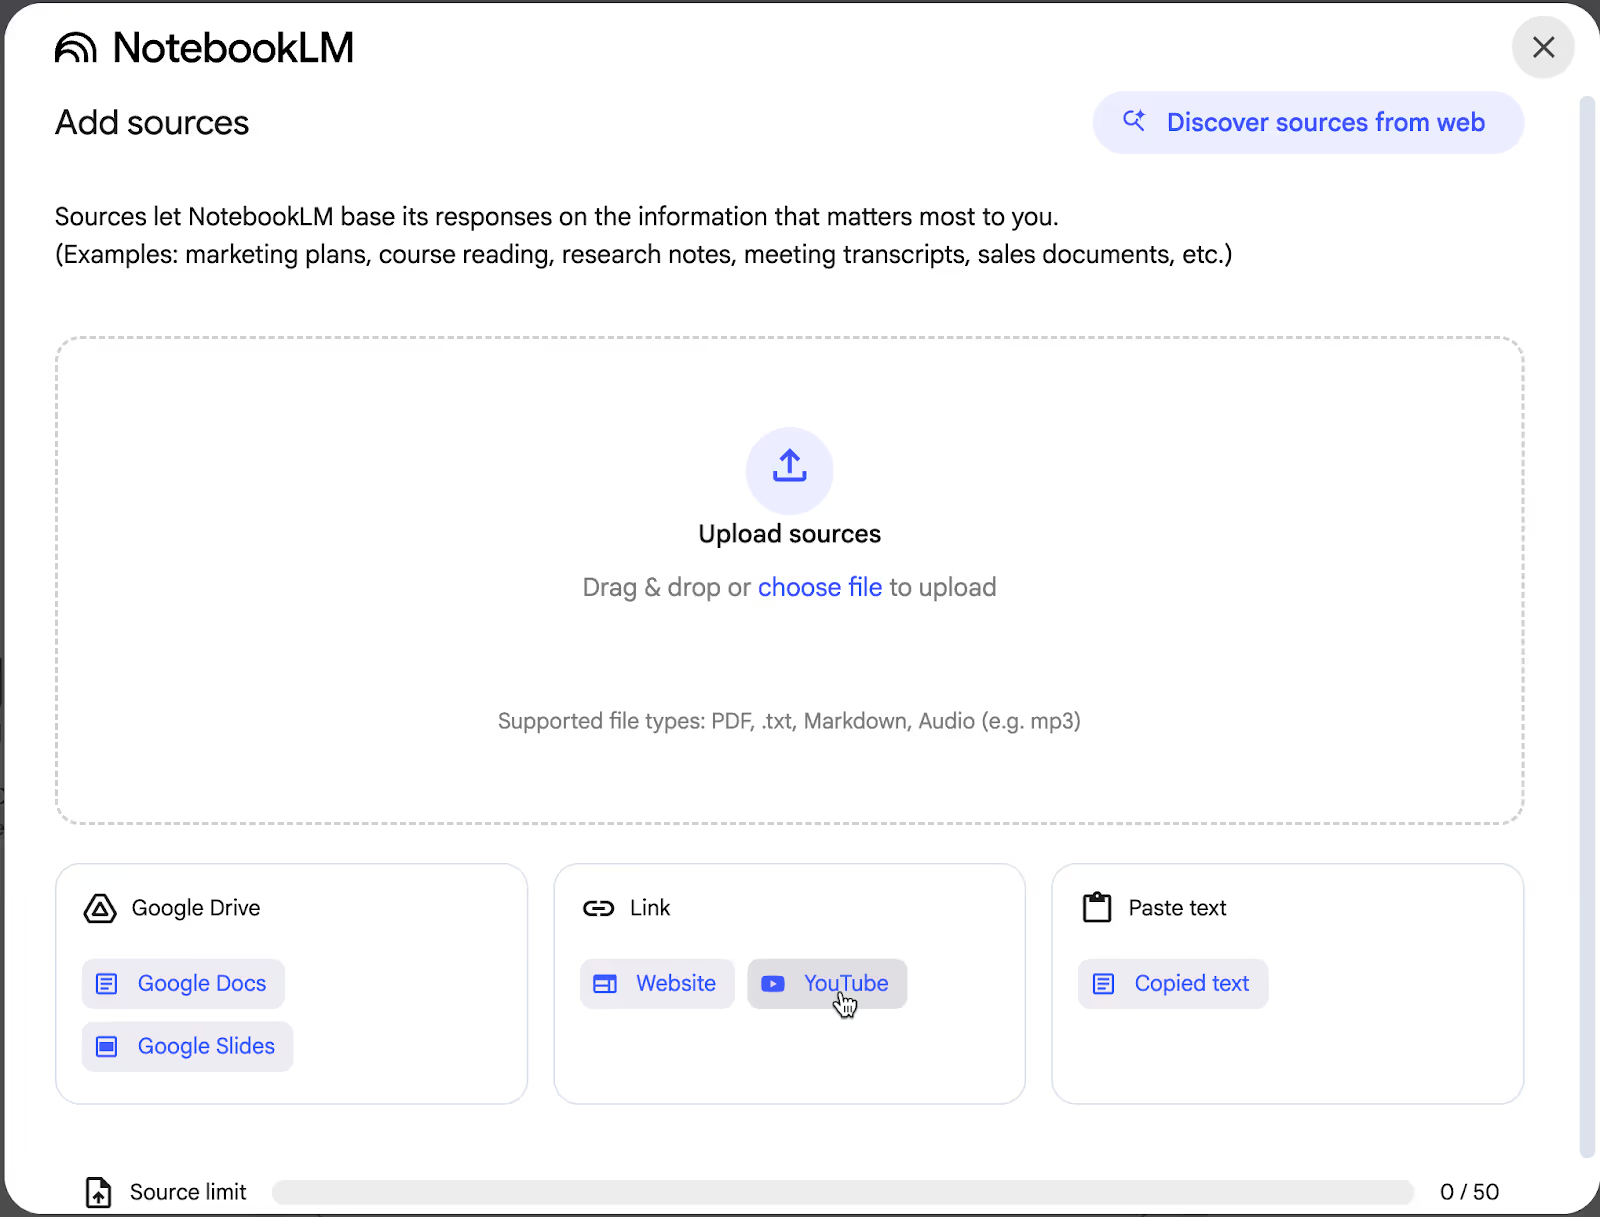
There are quite a few choices. Click the appropriate Google service to load the source video into NotebookLM.
Since we are sourcing the video for our blogpost from YouTube, we clicked YouTube. In the ensuing window, paste the YouTube link and click ‘Insert.’
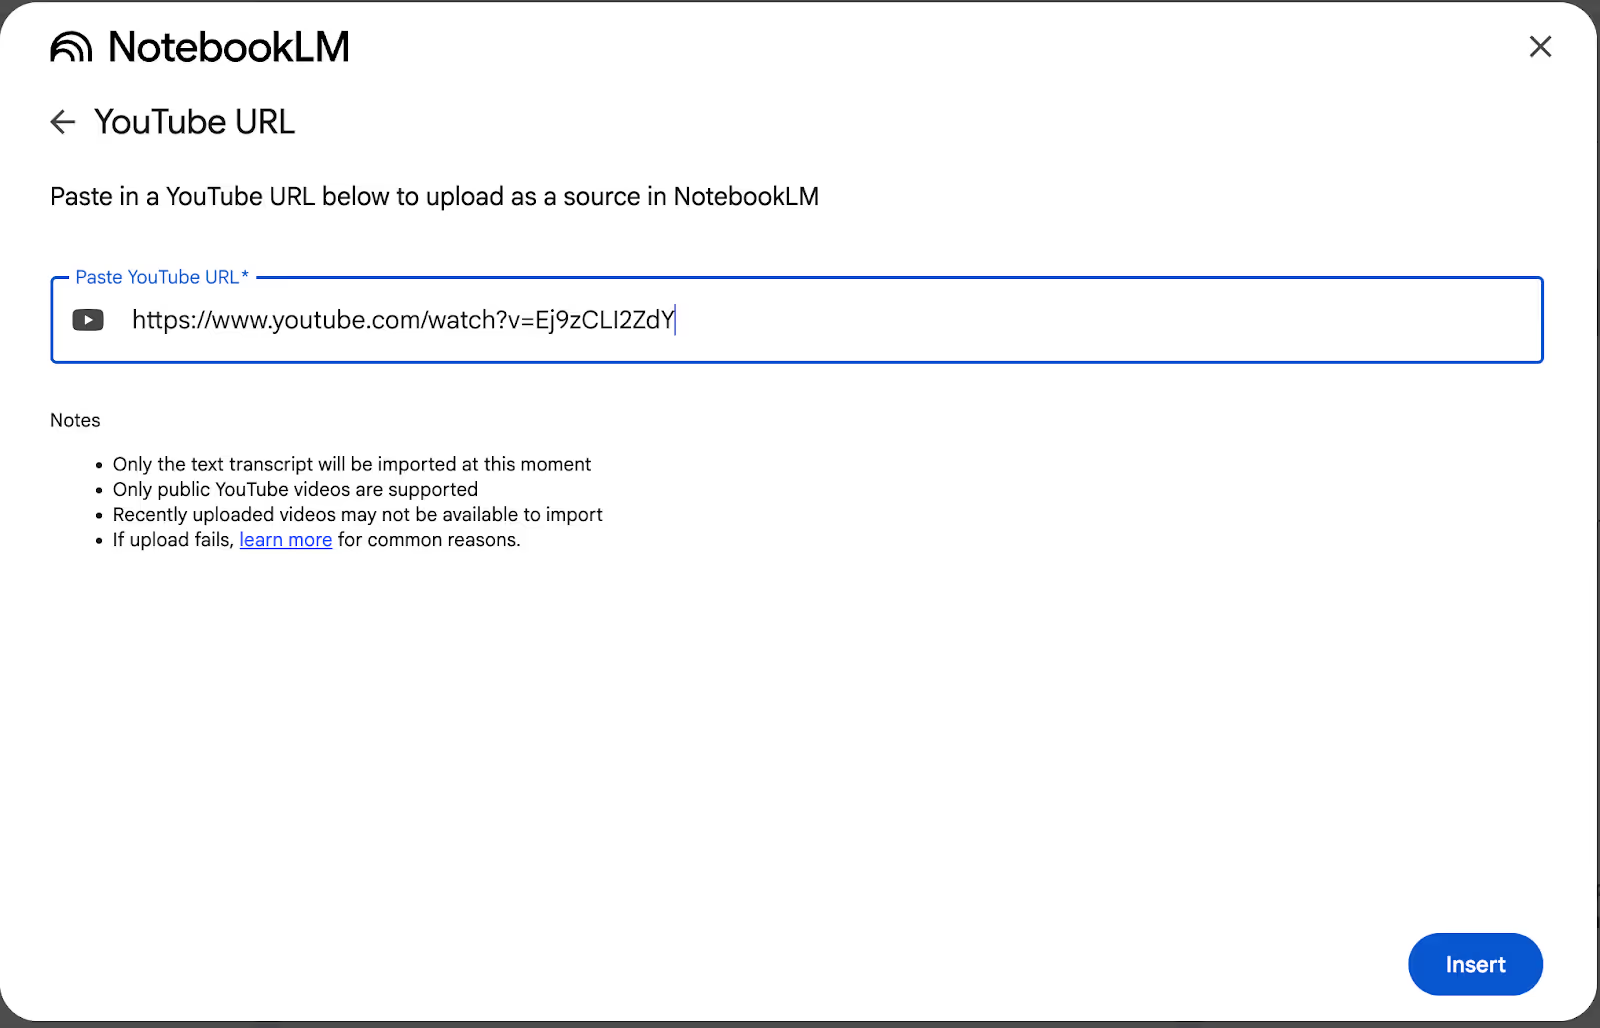
Note: Only the text transcript will be imported, not the video itself. Only public YouTube videos are supported, and you won’t be able to upload recently published videos.
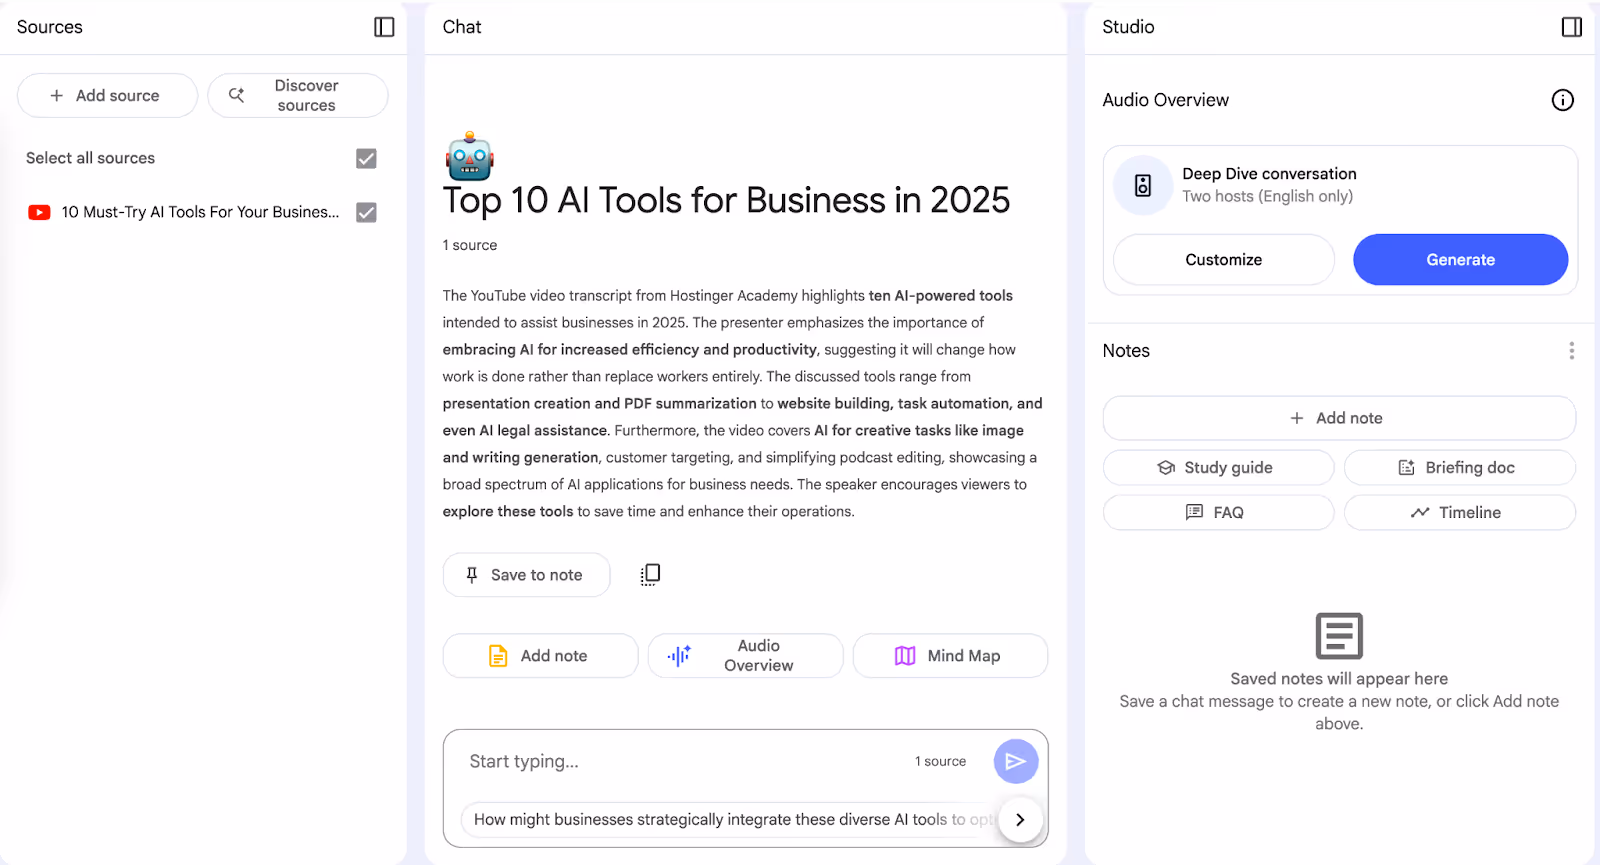
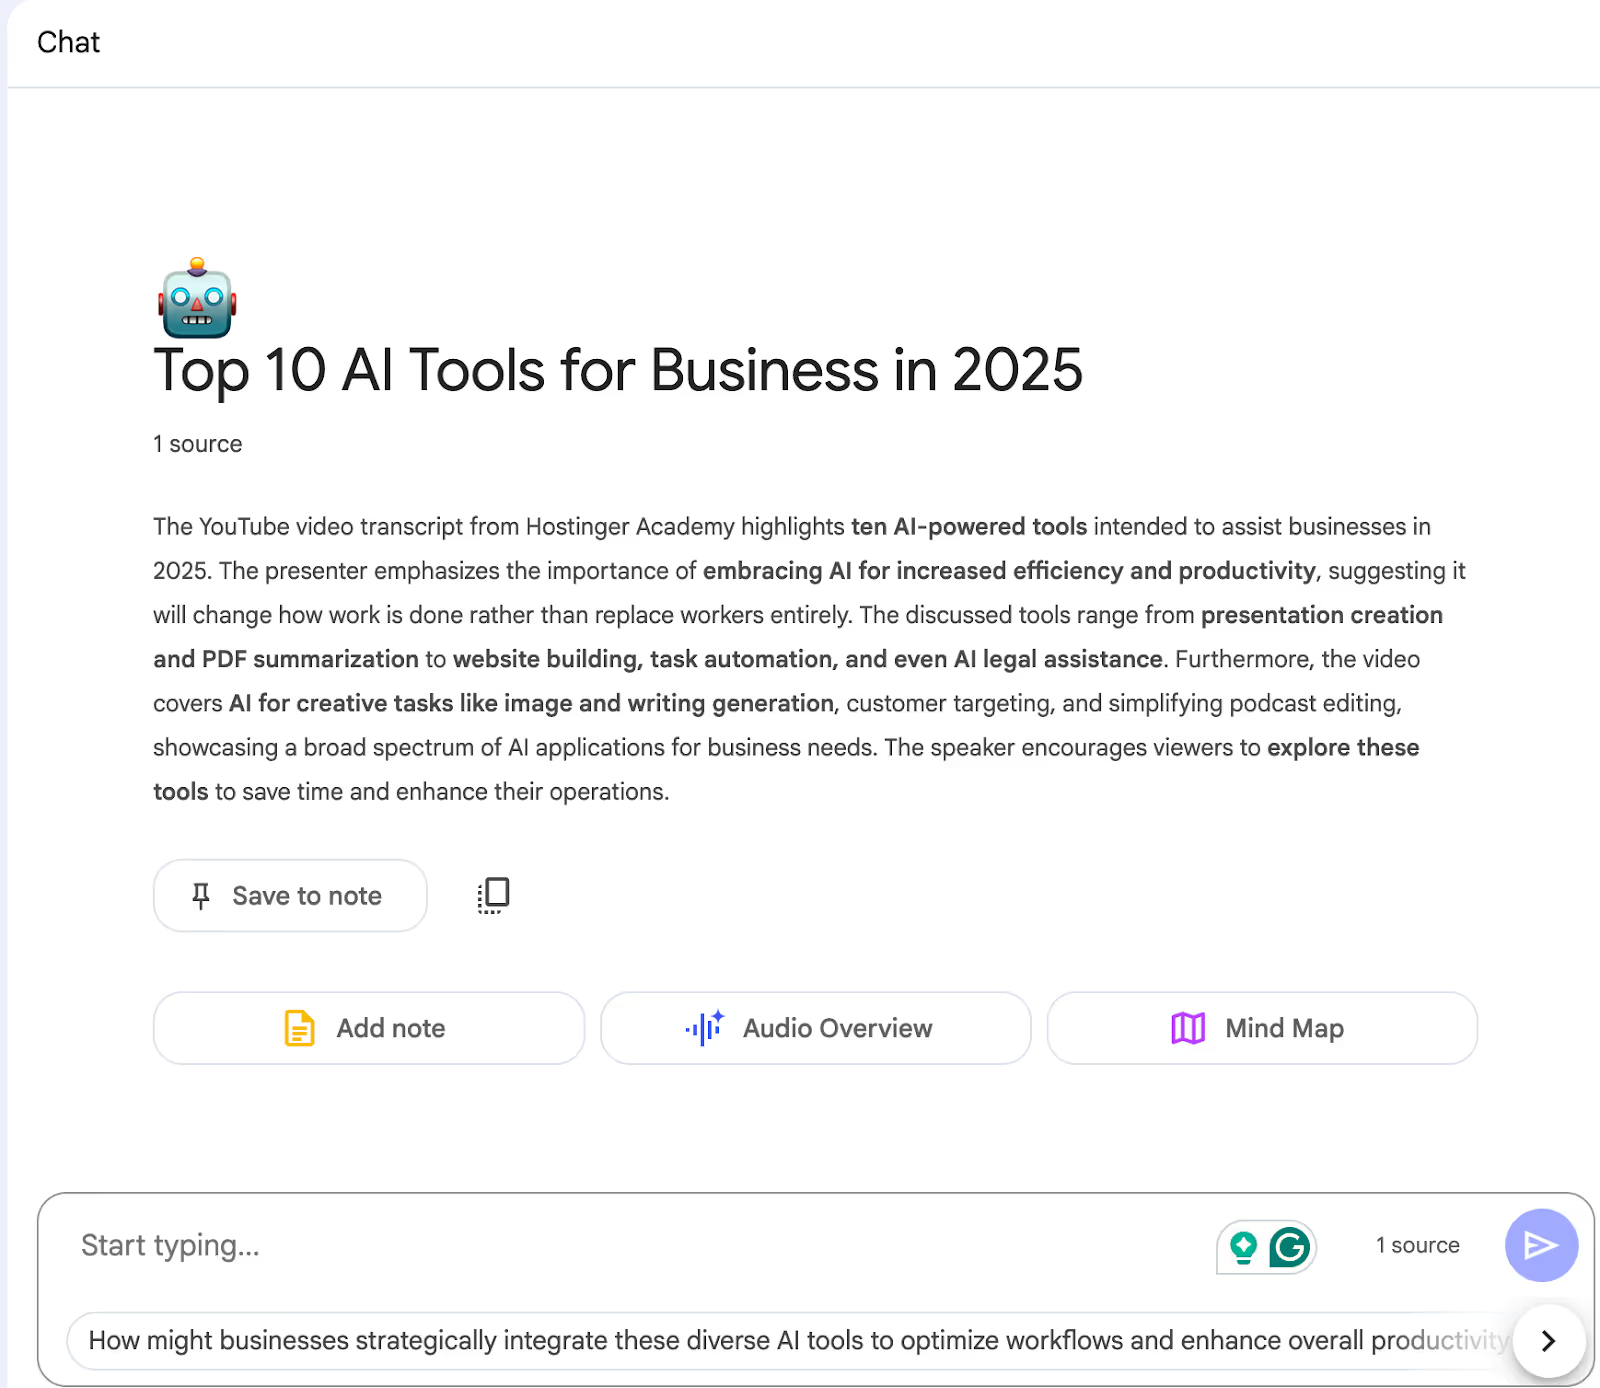
The video transcript will be uploaded. NotebookLM will generate a summary of it and post it in the chat window.
An alternative to this process is the paste text option. If you've already copied the transcript elsewhere, use the "Paste text" option and select "Copied text" to manually add your transcript content.
You can add multiple sources to create a comprehensive blog post. Use the left pane to add more sources. Alternatively, you can discover sources by pressing the ‘Discover sources’ button at the top of the left pane window.

Once you’re satisfied with the sources, start focusing on the SEO and keywords for your blog post.
Step 2 - Prepare your keywords
Before diving into content creation, take a moment to identify your target keyword. This is the primary term you want your blog post to rank for in search results. Do some research to discover relevant secondary keywords and common questions people ask about your topic as well.
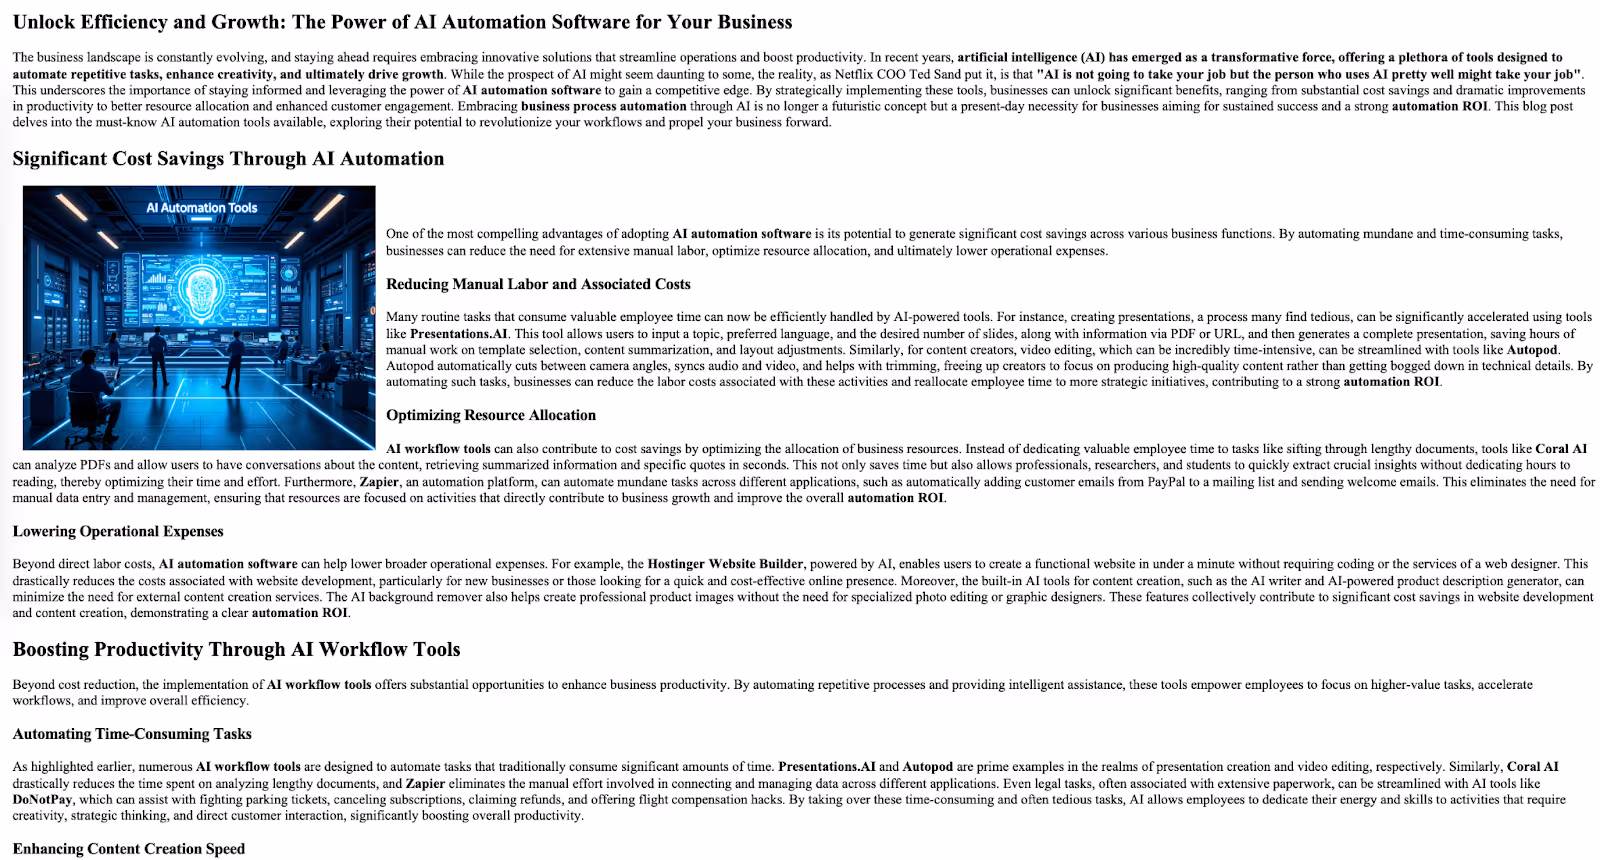
For instance, if your YouTube video covers AI automation tools, your primary keyword might be "AI automation software." Your secondary keywords could include phrases like "business process automation," "AI workflow tools," or "automation ROI." Providing NotebookLM with these search-focused terms will guide it in generating content that's much more likely to attract organic traffic and address what your audience is actually searching for.
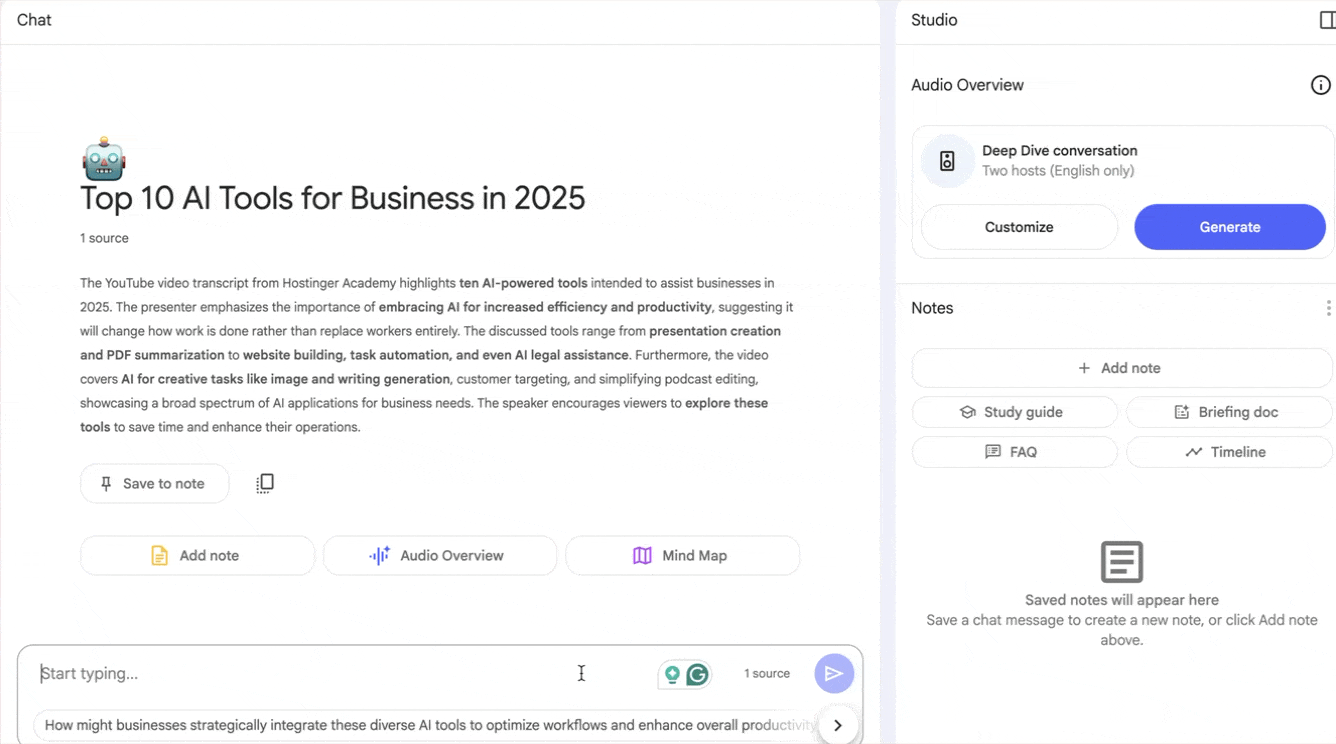
The mindmaps feature is a great tool for analyzing your SEO strategy and identifying relevant keywords. Click the mindmap link below the generated content in the main chat window. It will create a note and place it in the notes section in the right pane.
Step 3 - Craft your prompt and generate content
In the chat interface, craft a detailed prompt that tells NotebookLM exactly how to format your blog post. Include your primary and secondary keywords, specify your desired structure (introduction, body sections, conclusion), and outline any SEO requirements you have.
Don't forget to mention your target word count for the entire article and individual sections. Be specific about heading structures - like how many H2 and H3 headings you want and where keywords should appear. The more detailed your instructions, the better NotebookLM can tailor the content to meet your search ranking goals.
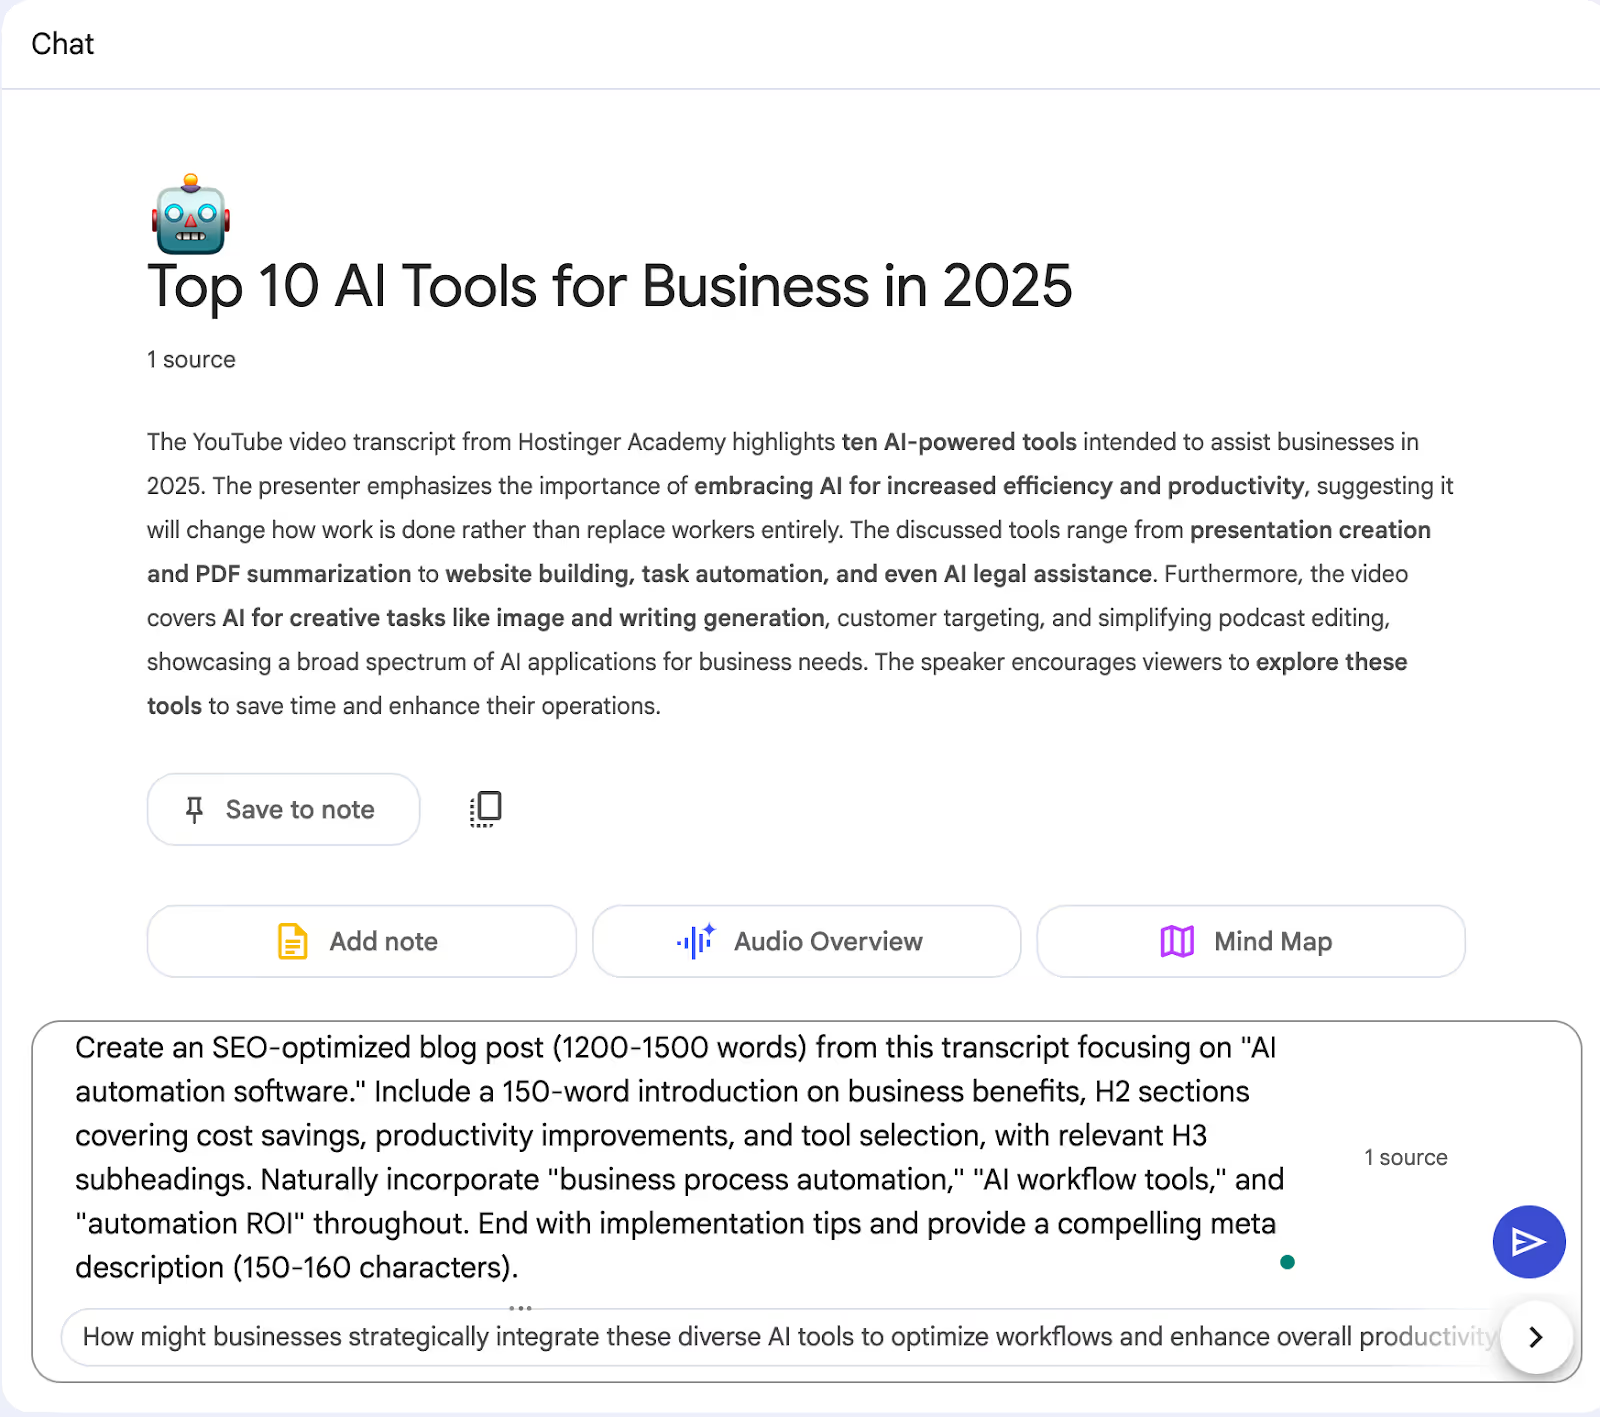
Use the following prompt as an example:
Prompt:
Create an SEO-optimized blog post (1200-1500 words) from this transcript focusing on "AI automation software." Include a 150-word introduction on business benefits, H2 sections covering cost savings, productivity improvements, and tool selection, with relevant H3 subheadings. Naturally incorporate "business process automation," "AI workflow tools," and "automation ROI" throughout. End with implementation tips and provide a compelling meta description (150-160 characters).
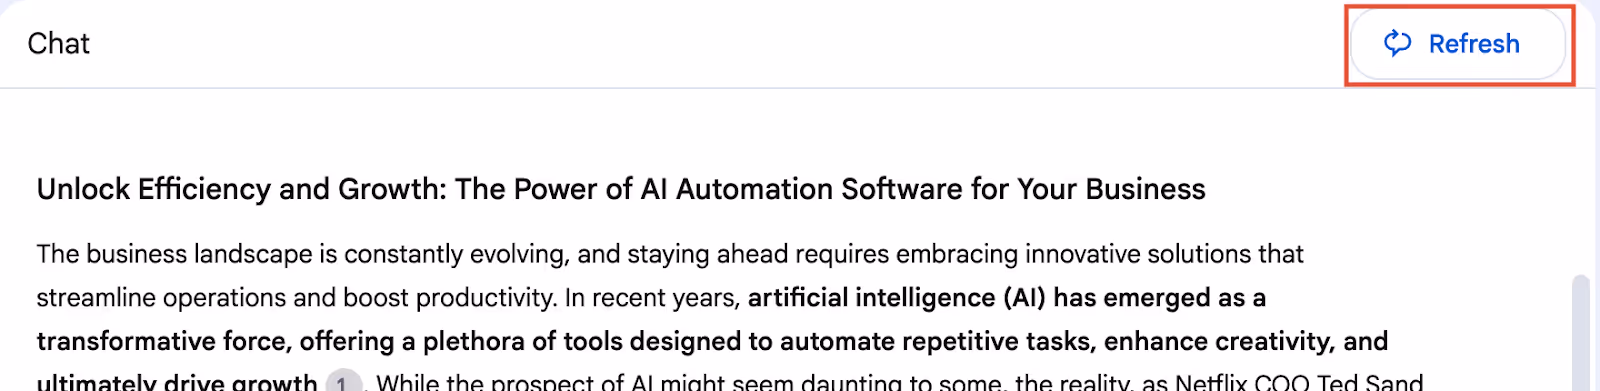
Click the blue play button to create your blog post, then carefully review the draft. Check that keywords appear naturally throughout the content, verify the structure follows your instructions, and ensure all information accurately reflects the original YouTube transcript.

If you’re not satisfied with the output, click the ‘Refresh’ button at the top of the generated article.
Step 4 - Enhance and finalize your content
Once your draft is ready, optimize it for both search engines and readers:
- Insert quality images with keyword-rich alt-text
- Add credible internal and external links
- Shorten paragraphs to improve readability
- Include a table of contents for navigation
- Craft a compelling call to action
- Enhance key points with custom graphics or charts
Before publishing, do a final review to confirm the post captures your video's insights while remaining SEO-friendly.
.png)
.avif)

