.avif)

Welcome to this tutorial on creating consistent AI characters with RenderNet.
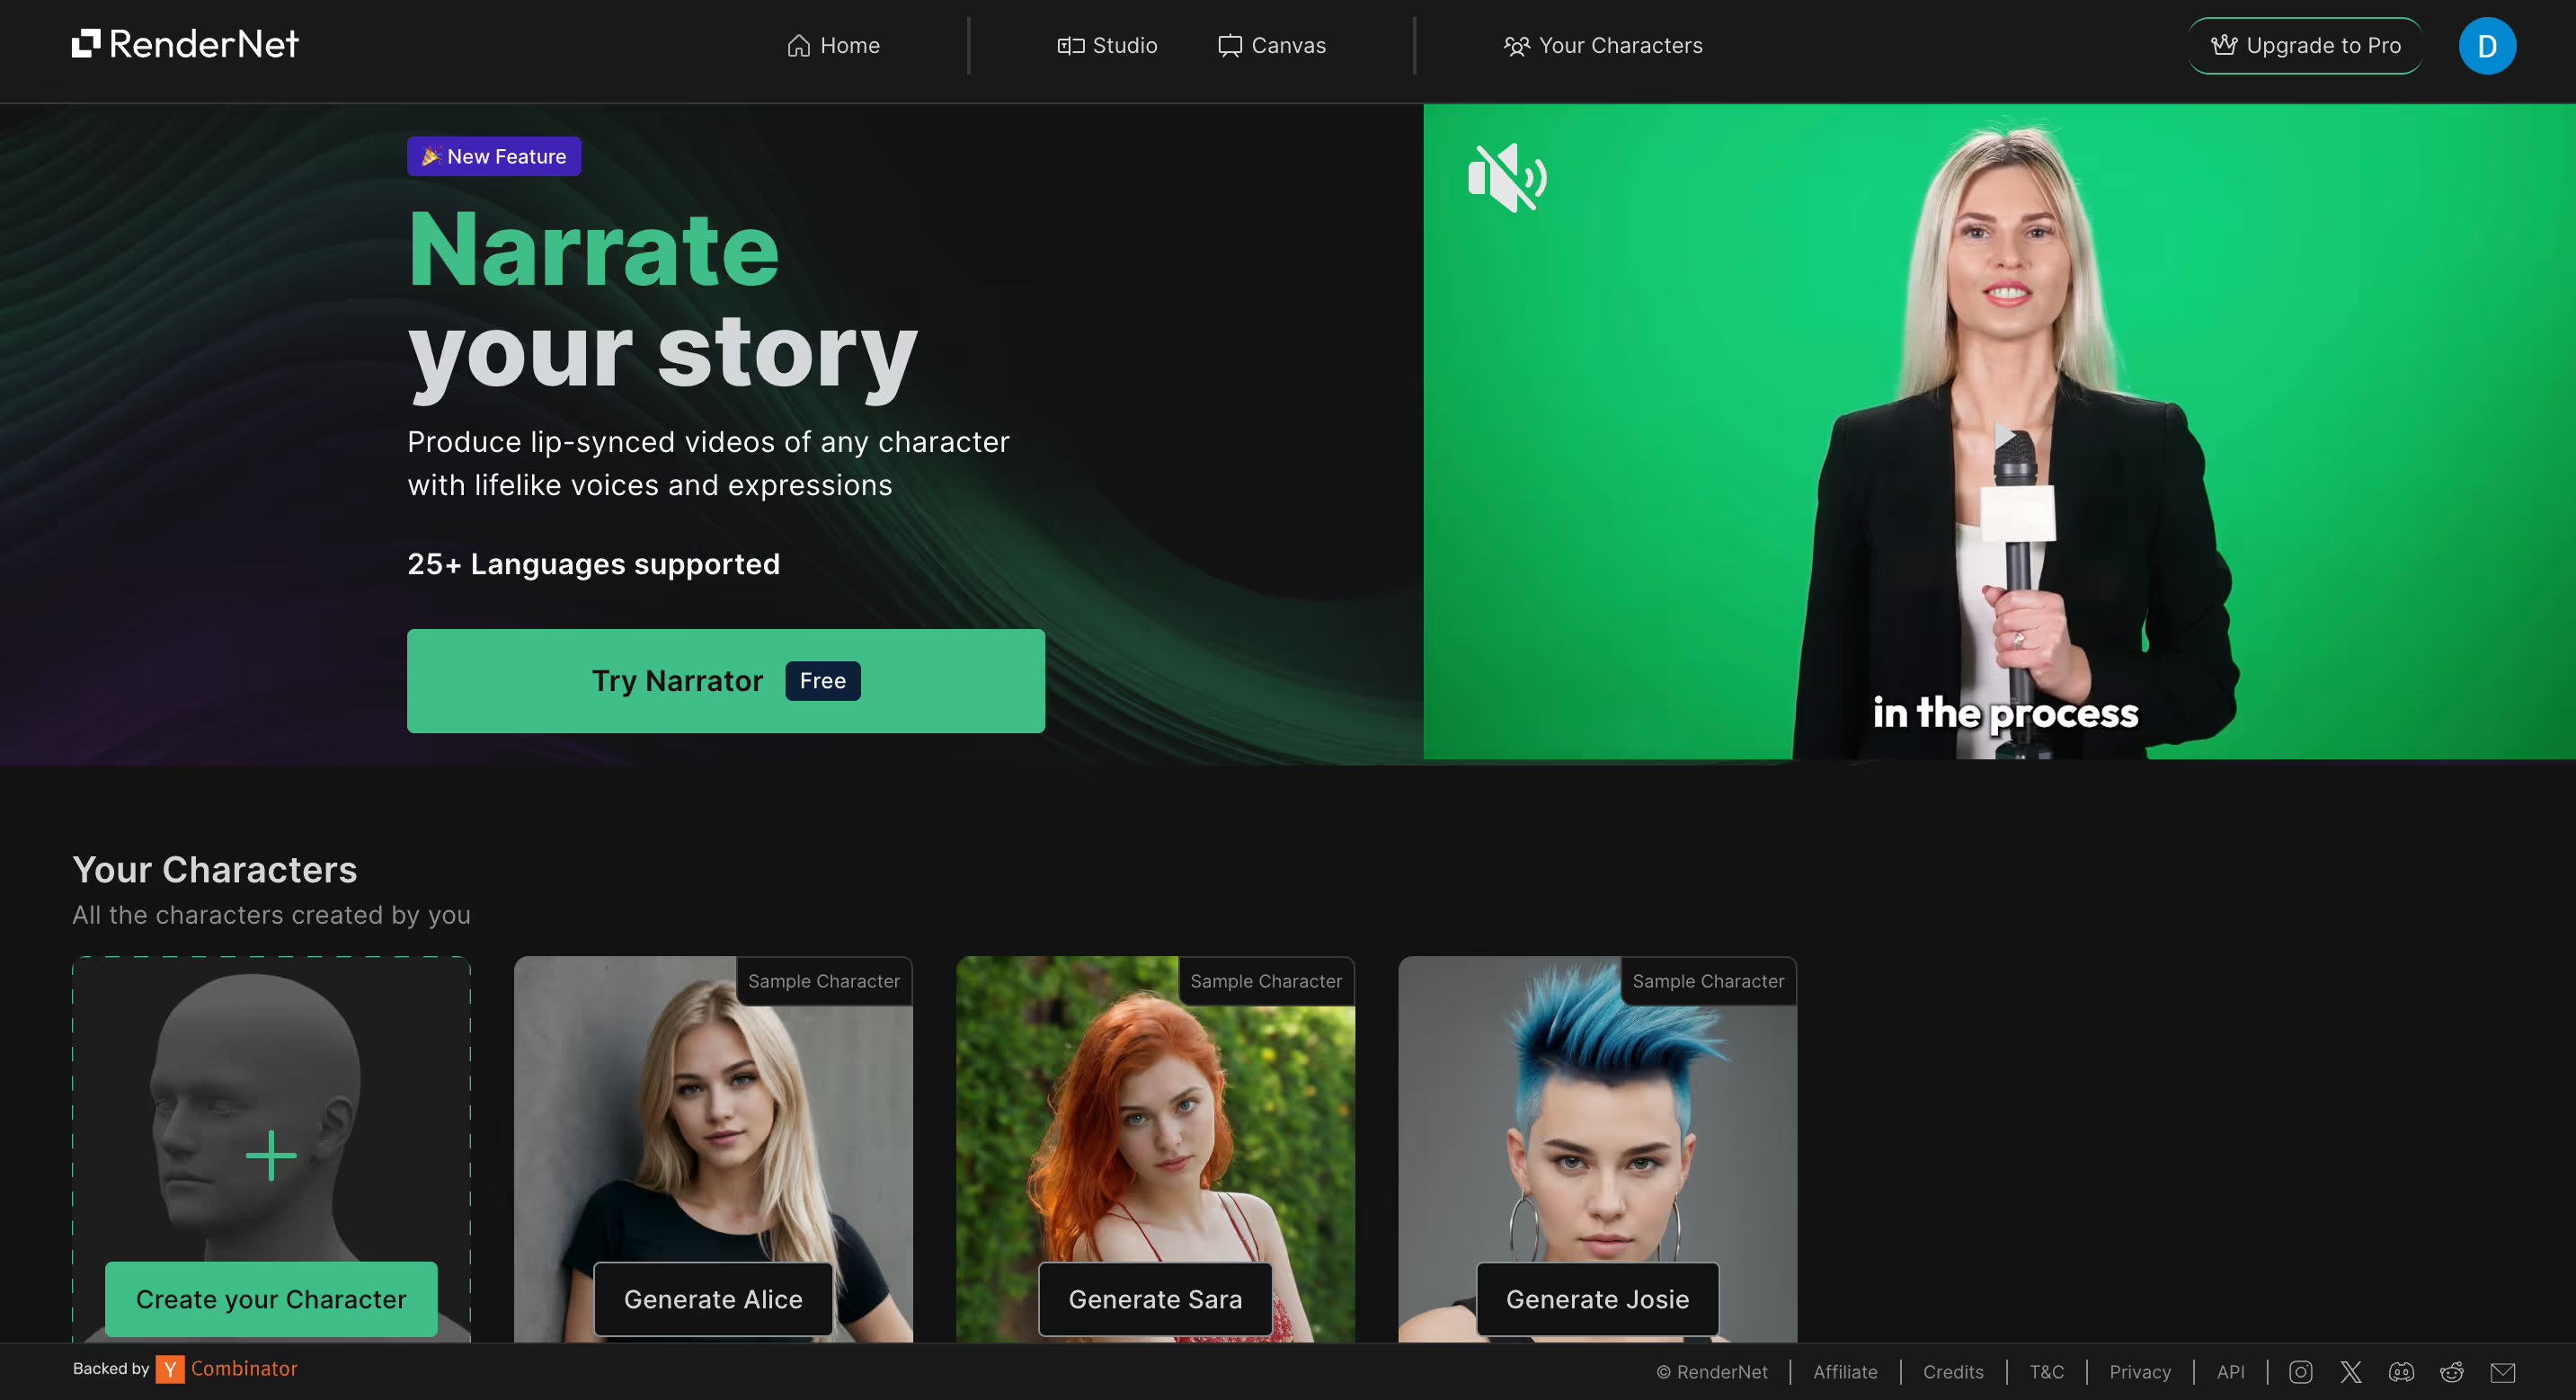
RenderNet is a powerful platform that allows you to generate customized AI characters and use them in various scenes and styles. This guide will walk you through the process of creating your own AI character, using it in different contexts, and exploring the platform's features.
Key objectives:
- Learn how to upload and customize your AI character
- Understand how to use your character in the RenderNet canvas
- Remixing and downloading your character images
Let's dive into the step-by-step process of bringing your AI character to life!
Uploading and customizing your AI character
Let's start by visiting the RenderNet website and setting up a free account.

Once logged in, navigate to the "Create your Character" option at the bottom of the screen.
Upload a clear, front-facing photo to serve as the basis for your AI character.

Adjust the image crop as needed for optimal results!
Next, define your character's attributes such as style, gender, and age group. Note that a paid Pro account offers more detailed customization options.

After setting these characteristics, name your character and initiate the generation process, which typically takes just a few minutes.

Use your character in the RenderNet canvas
With your character created, it's time to bring it to life in various scenes.
Access the RenderNet canvas by clicking "Generate [character name]" and then "Use this character" in the pop-up window. Start a new project by clicking "Create new."

In the canvas prompt box at the bottom of the screen, describe the scene or situation where you want your character to appear. Remember to include your character's name in the prompt, prefixed with '@'.

Adjust settings like aspect ratio and the number of images to generate.
On the right side of the screen, ensure your character is selected in the Character Lab section. Here, you can fine-tune character strength and enable advanced features like hyper-real face settings or TrueTouch upscaling (for upgraded accounts).

Use the left-side menu to set your image style and composition.

After configuring all settings, click "Generate" to create images based on your specifications.

Remix and download your character images
You can always modify the prompt to test new settings and environments.
Experiment with different styles by using the "Select styles" option in the left-side navigation. Ensure your character remains selected in the "Character Lab" to maintain consistency across generations.

When you're satisfied with an image, simply click on it in the canvas and use the "Download" button in the right-side Applications window to save it to your device.

By following these steps, you've learned to create and utilize consistent AI characters with RenderNet. Continue to experiment with various prompts, styles, and scenes to unlock the full potential of your AI character in digital imagery.


.png)