.avif)
.png)
It seems that there’s an AI dominance war going on between OpenAI and Google Gemini. Google upgraded Gemini and its image generator Nano Banana to pro levels, and OpenAI seemingly responded with an upgrade to its GPT-5 model and something no one had ever imagined. OpenAI introduced Adobe Photoshop, Express and Acrobat into ChatGPT.
What it means is that now most of the people, including us, can access basic Adobe Photoshop, Express and Acrobat features inside ChatGPT. You can now use Photoshop in ChatGPT to edit a picture with live adjustment controls, apply creative effects, do background editing, blur the background and some light editing.
In this tutorial, we are going to show you exactly how to edit images directly through instructions and interactive tools. You’ll learn how to invoke Adobe Photoshop in the chat, use basic editing to touch up photos, select objects, perform image adjustments, use creative effects to fine-tune images, and do basic background editing.
By the end of this tutorial, you’ll be able to:
- Invoke Adobe Photoshop in ChatGPT
- Select objects in a photo
- Perform image adjustments
- Use creative effects to fine-tune photos
- Perform background editing
Let’s get right into it!
Step 1 - Invoke Adobe Photoshop in ChatGPT
OpenAI added Photoshop in ChatGPT in a subtle way. Instead of providing an applet in the settings, they quietly embedded core Photoshop actions directly into the chat, letting you generate, edit, and refine visuals through natural language without ever feeling like you switched tools.
Log in to your ChatGPT account, preferably a paid one, and get your prompting ducks in a row.
Go to ‘settings’ and select ‘Apps & Connectors.’ Choose ‘Adobe Photoshop’ in the list and connect the app.
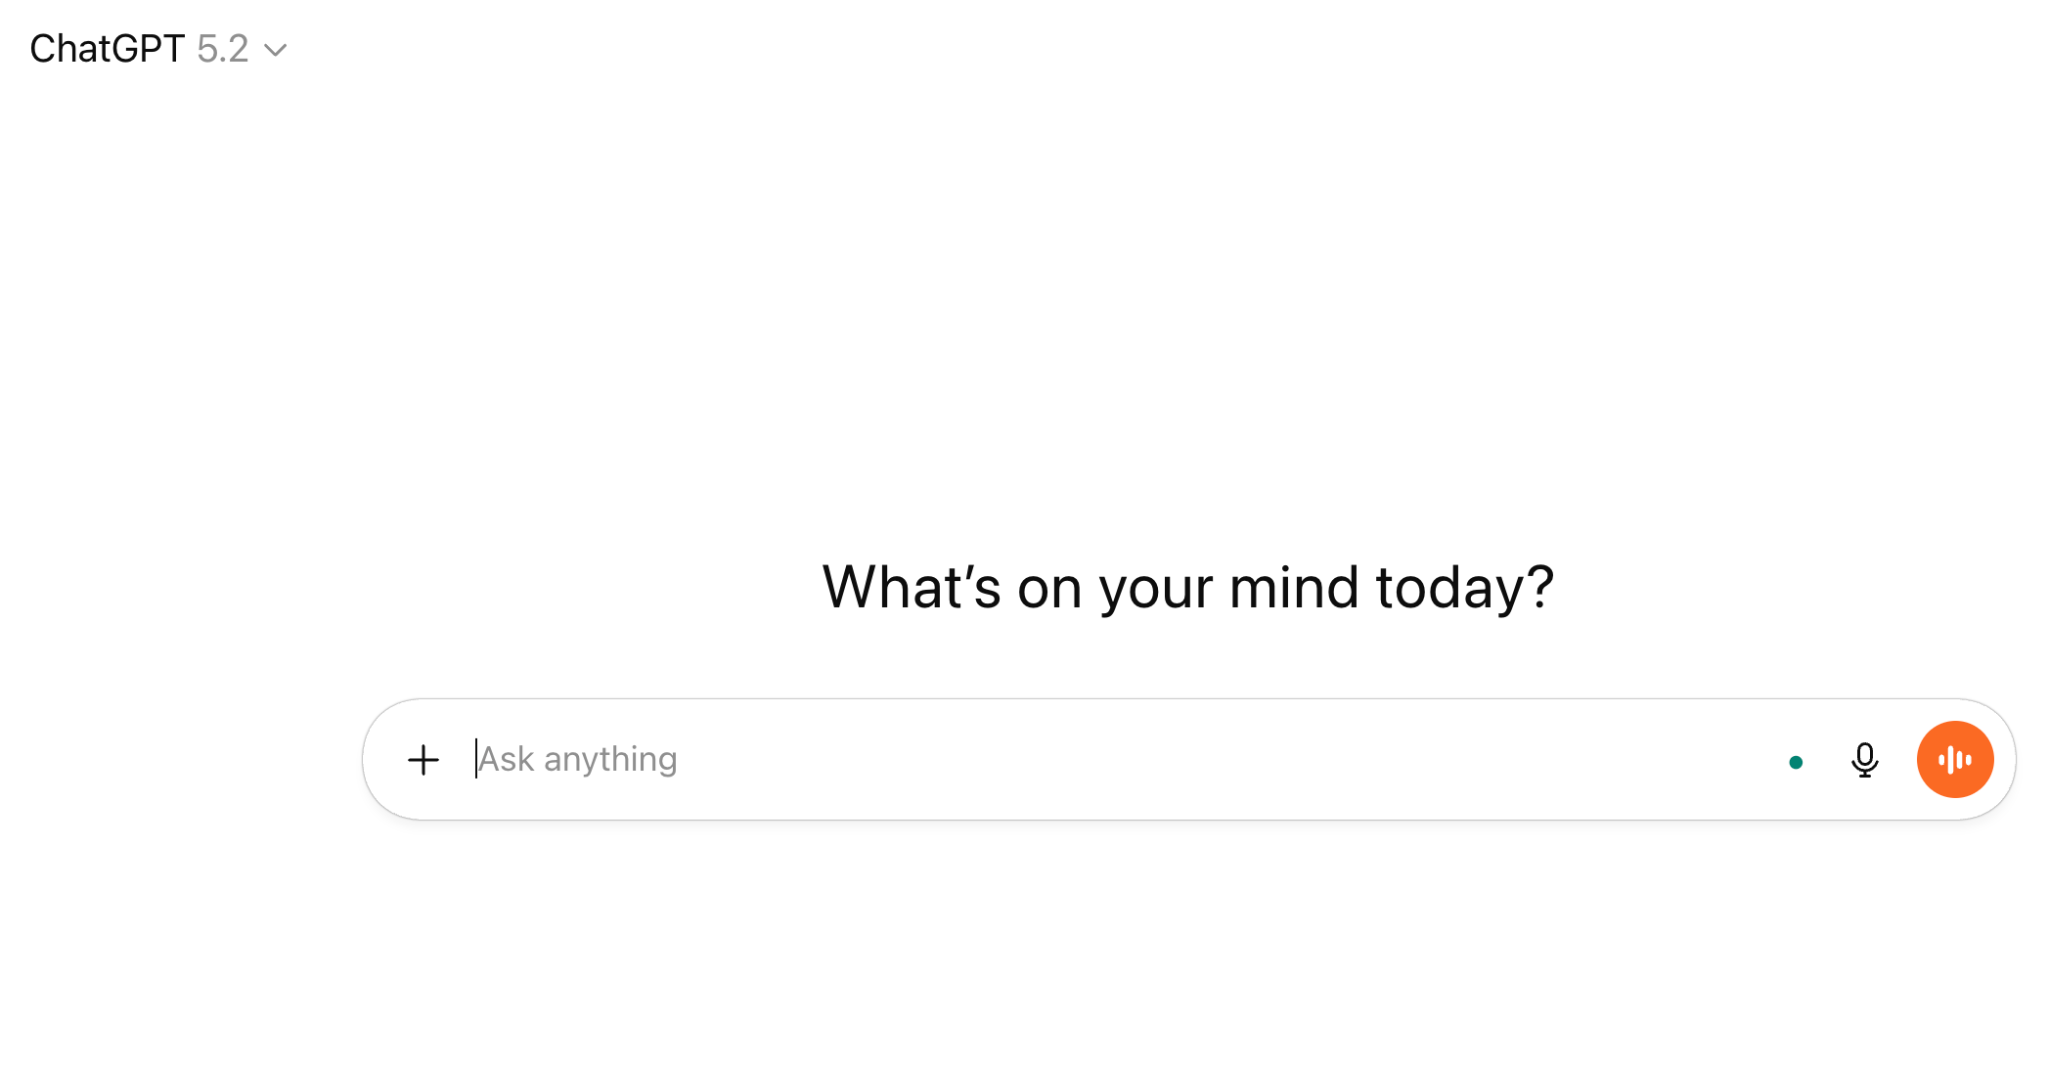
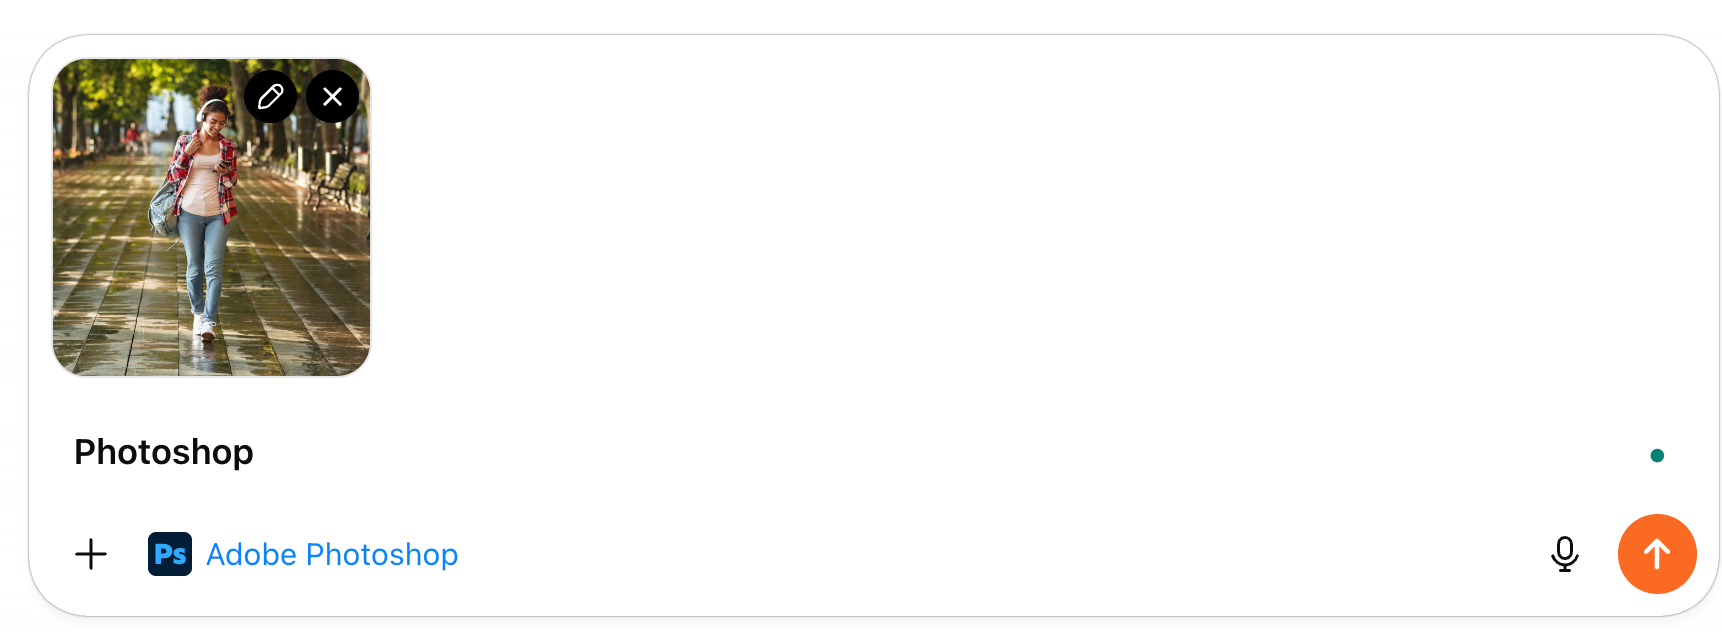
Type ‘Photoshop’ in the chat box. A tag will appear in the prompt box.

Upload a photo by clicking the ‘+’ button and selecting ‘Add photos & files.’
Step 2 - Select objects in a photo
You can select the main subject or specific objects like a car, sky, face, background, or text in the photo automatically by using the following prompt.
Prompt:
Select the benches in the background and blur them using Gaussian blur.
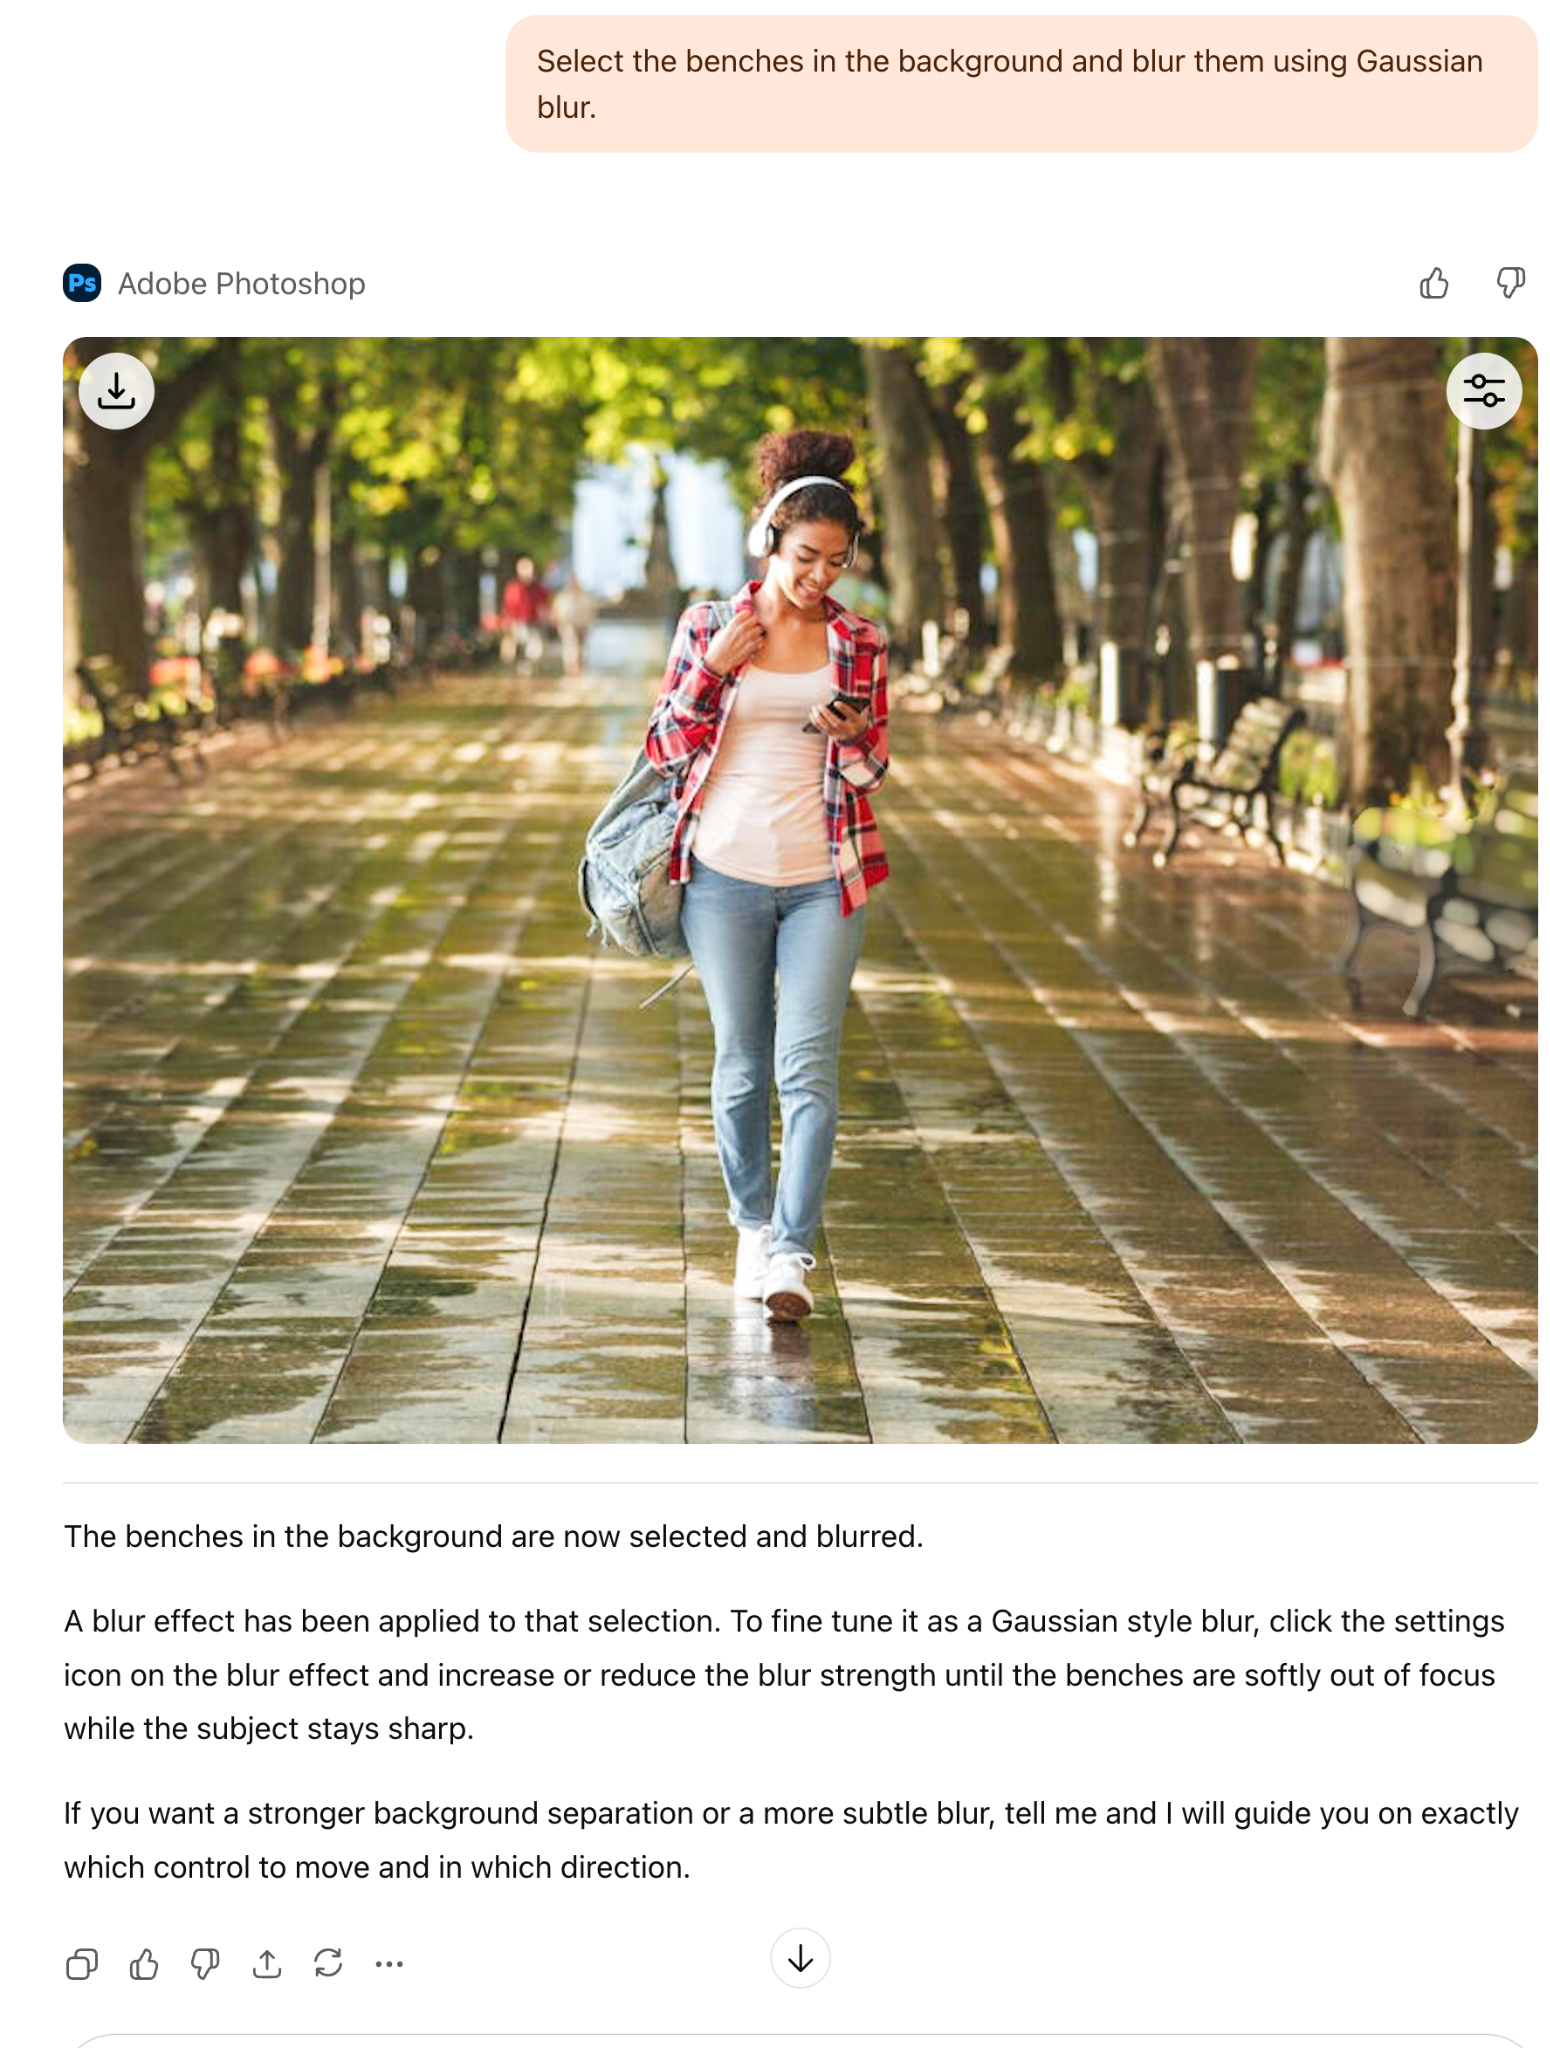
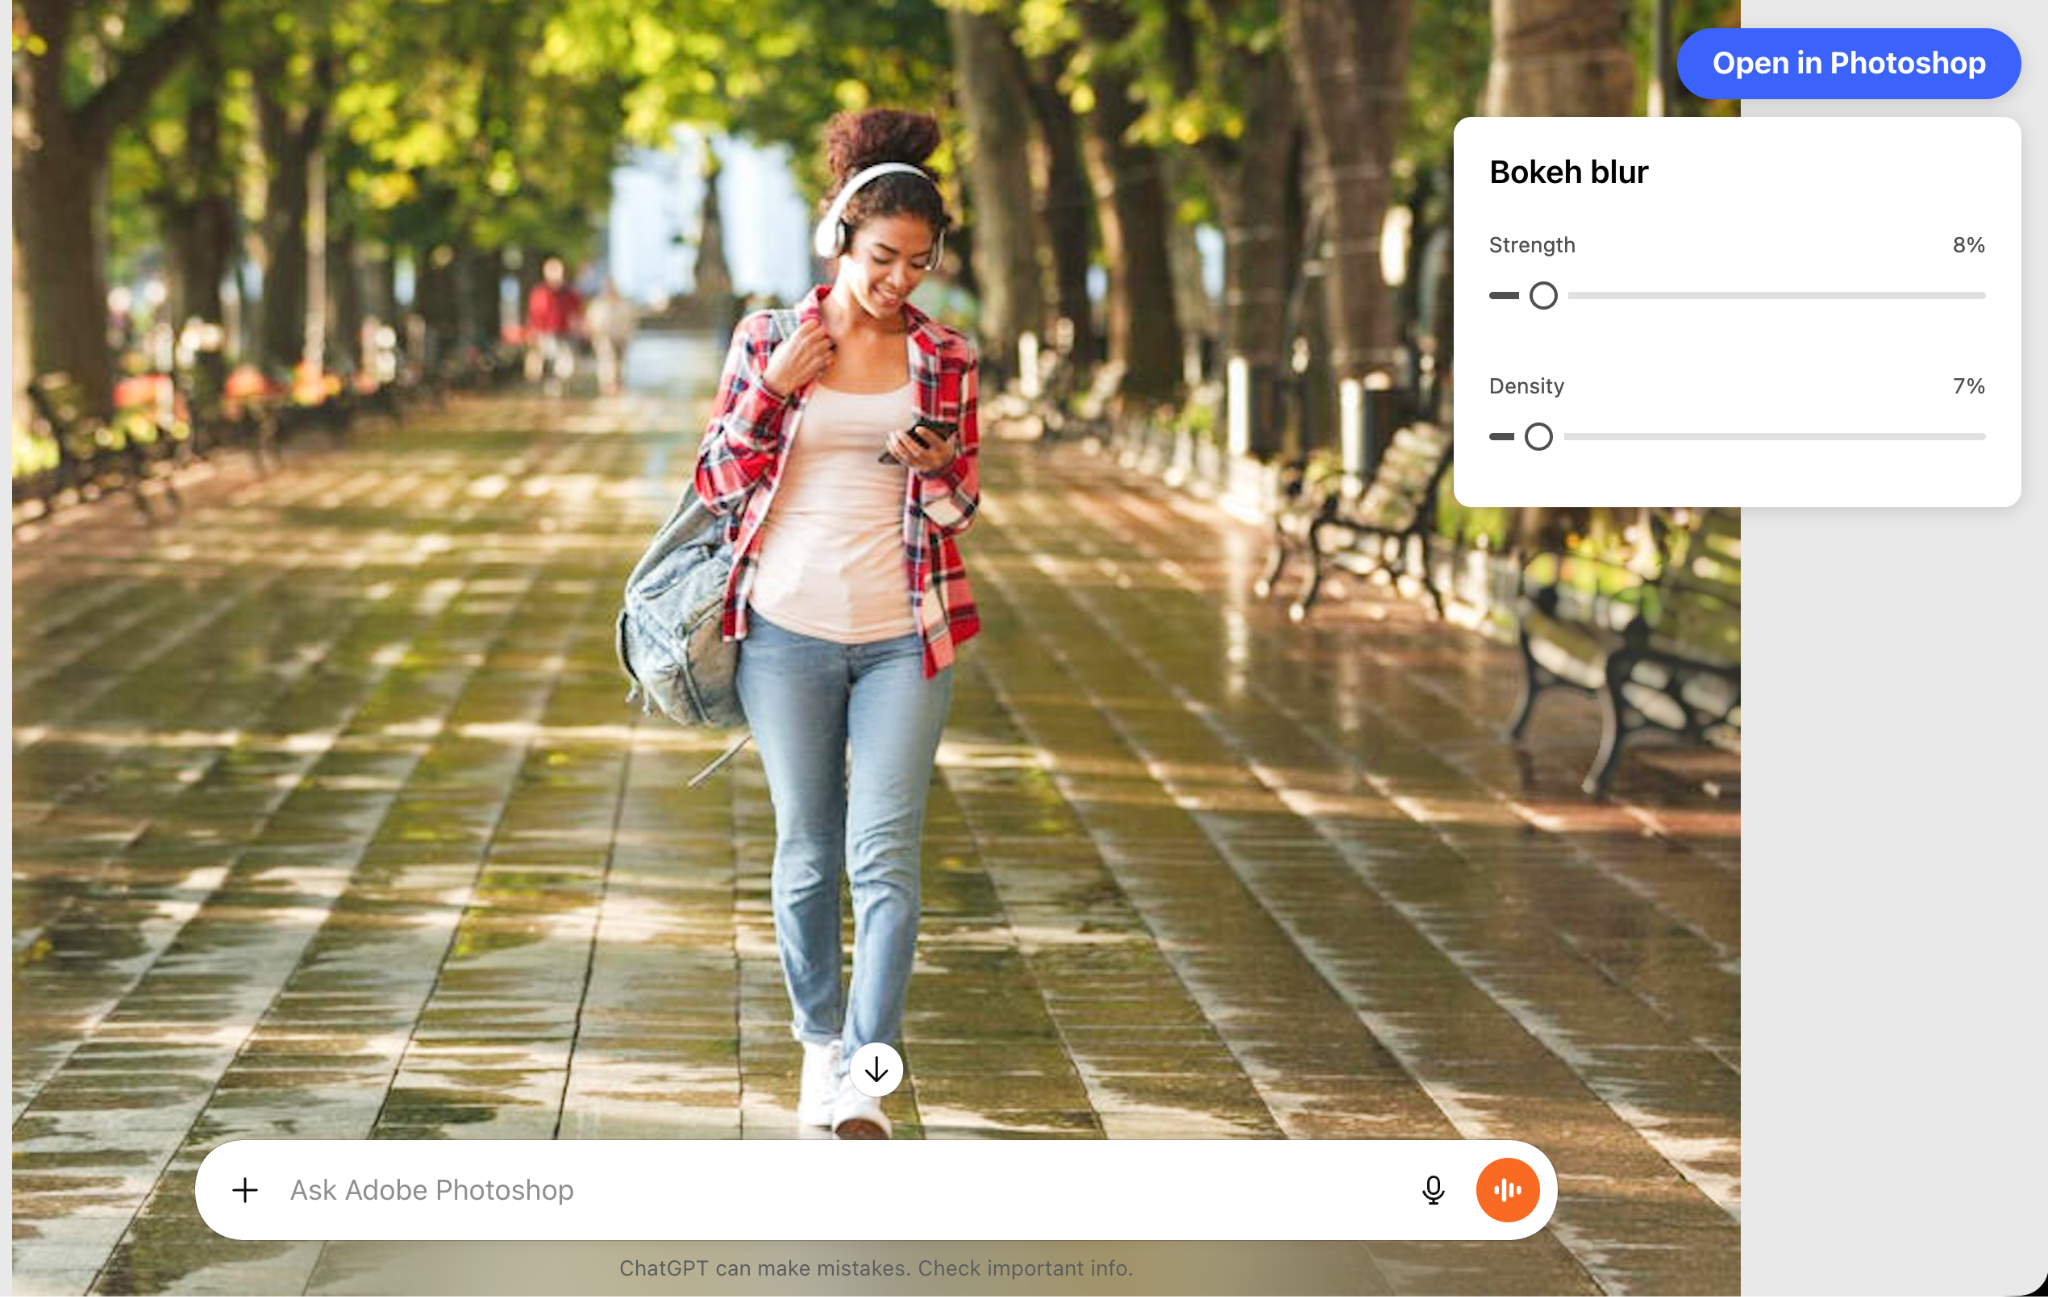
Open the adjustment control at the top of the photo and adjust the blur according to your taste.
You can also remove the selected background, adjust the brightness only on the selection or invert the selection.
Step 3 - Perform image adjustments
We spend a lot of time doing image adjustments. Now, you can simply instruct ChatGPT to do the adjustments for you.
Prompt:
Increase the exposure and reduce the brightness a little bit in the photo.
Next, we want to adjust the contrast, highlights and shadows, saturation and vibrance. Use the following prompt.
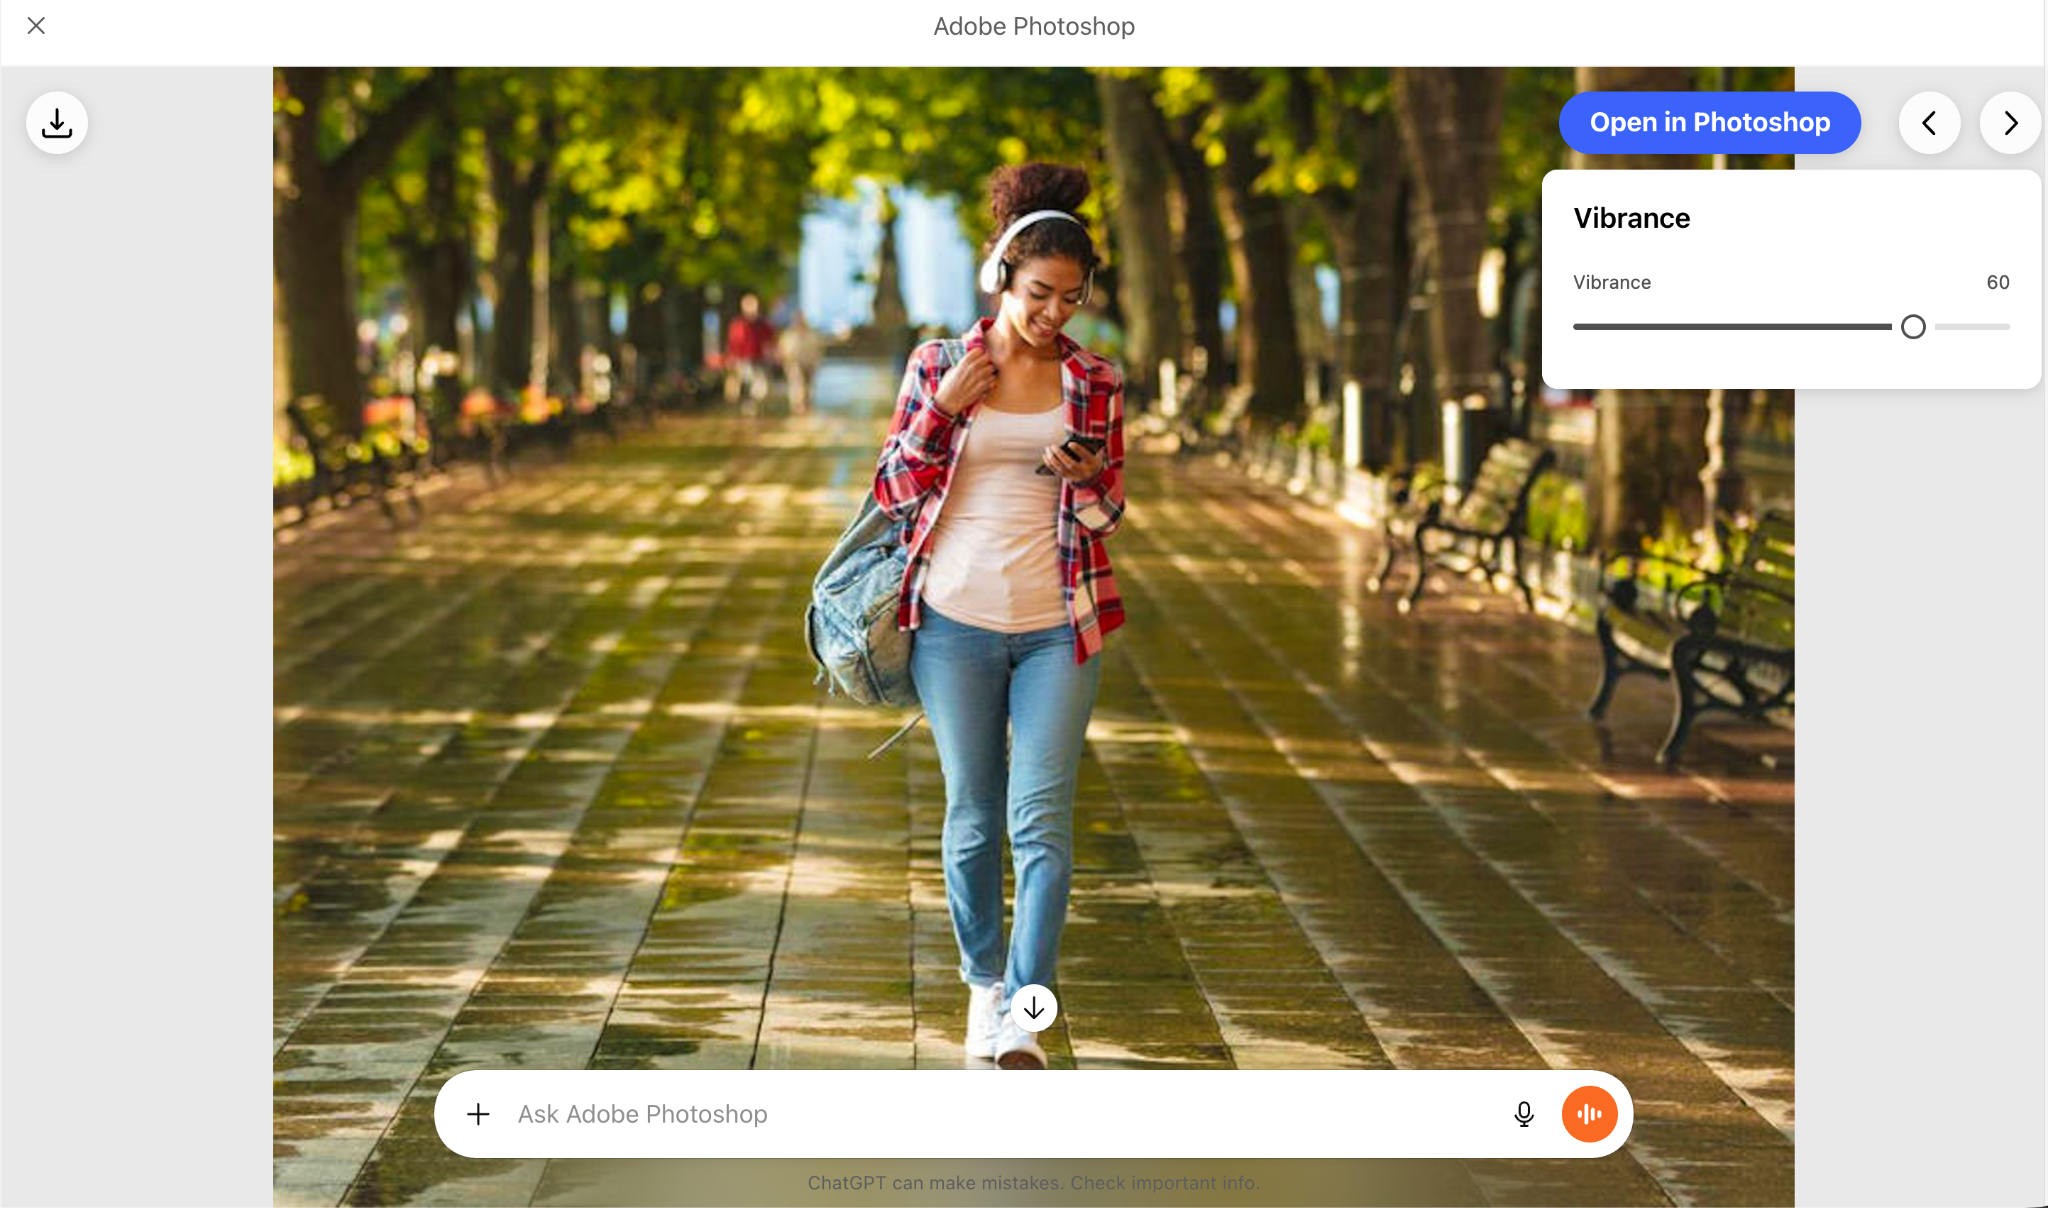
Prompt:
Open image adjustments
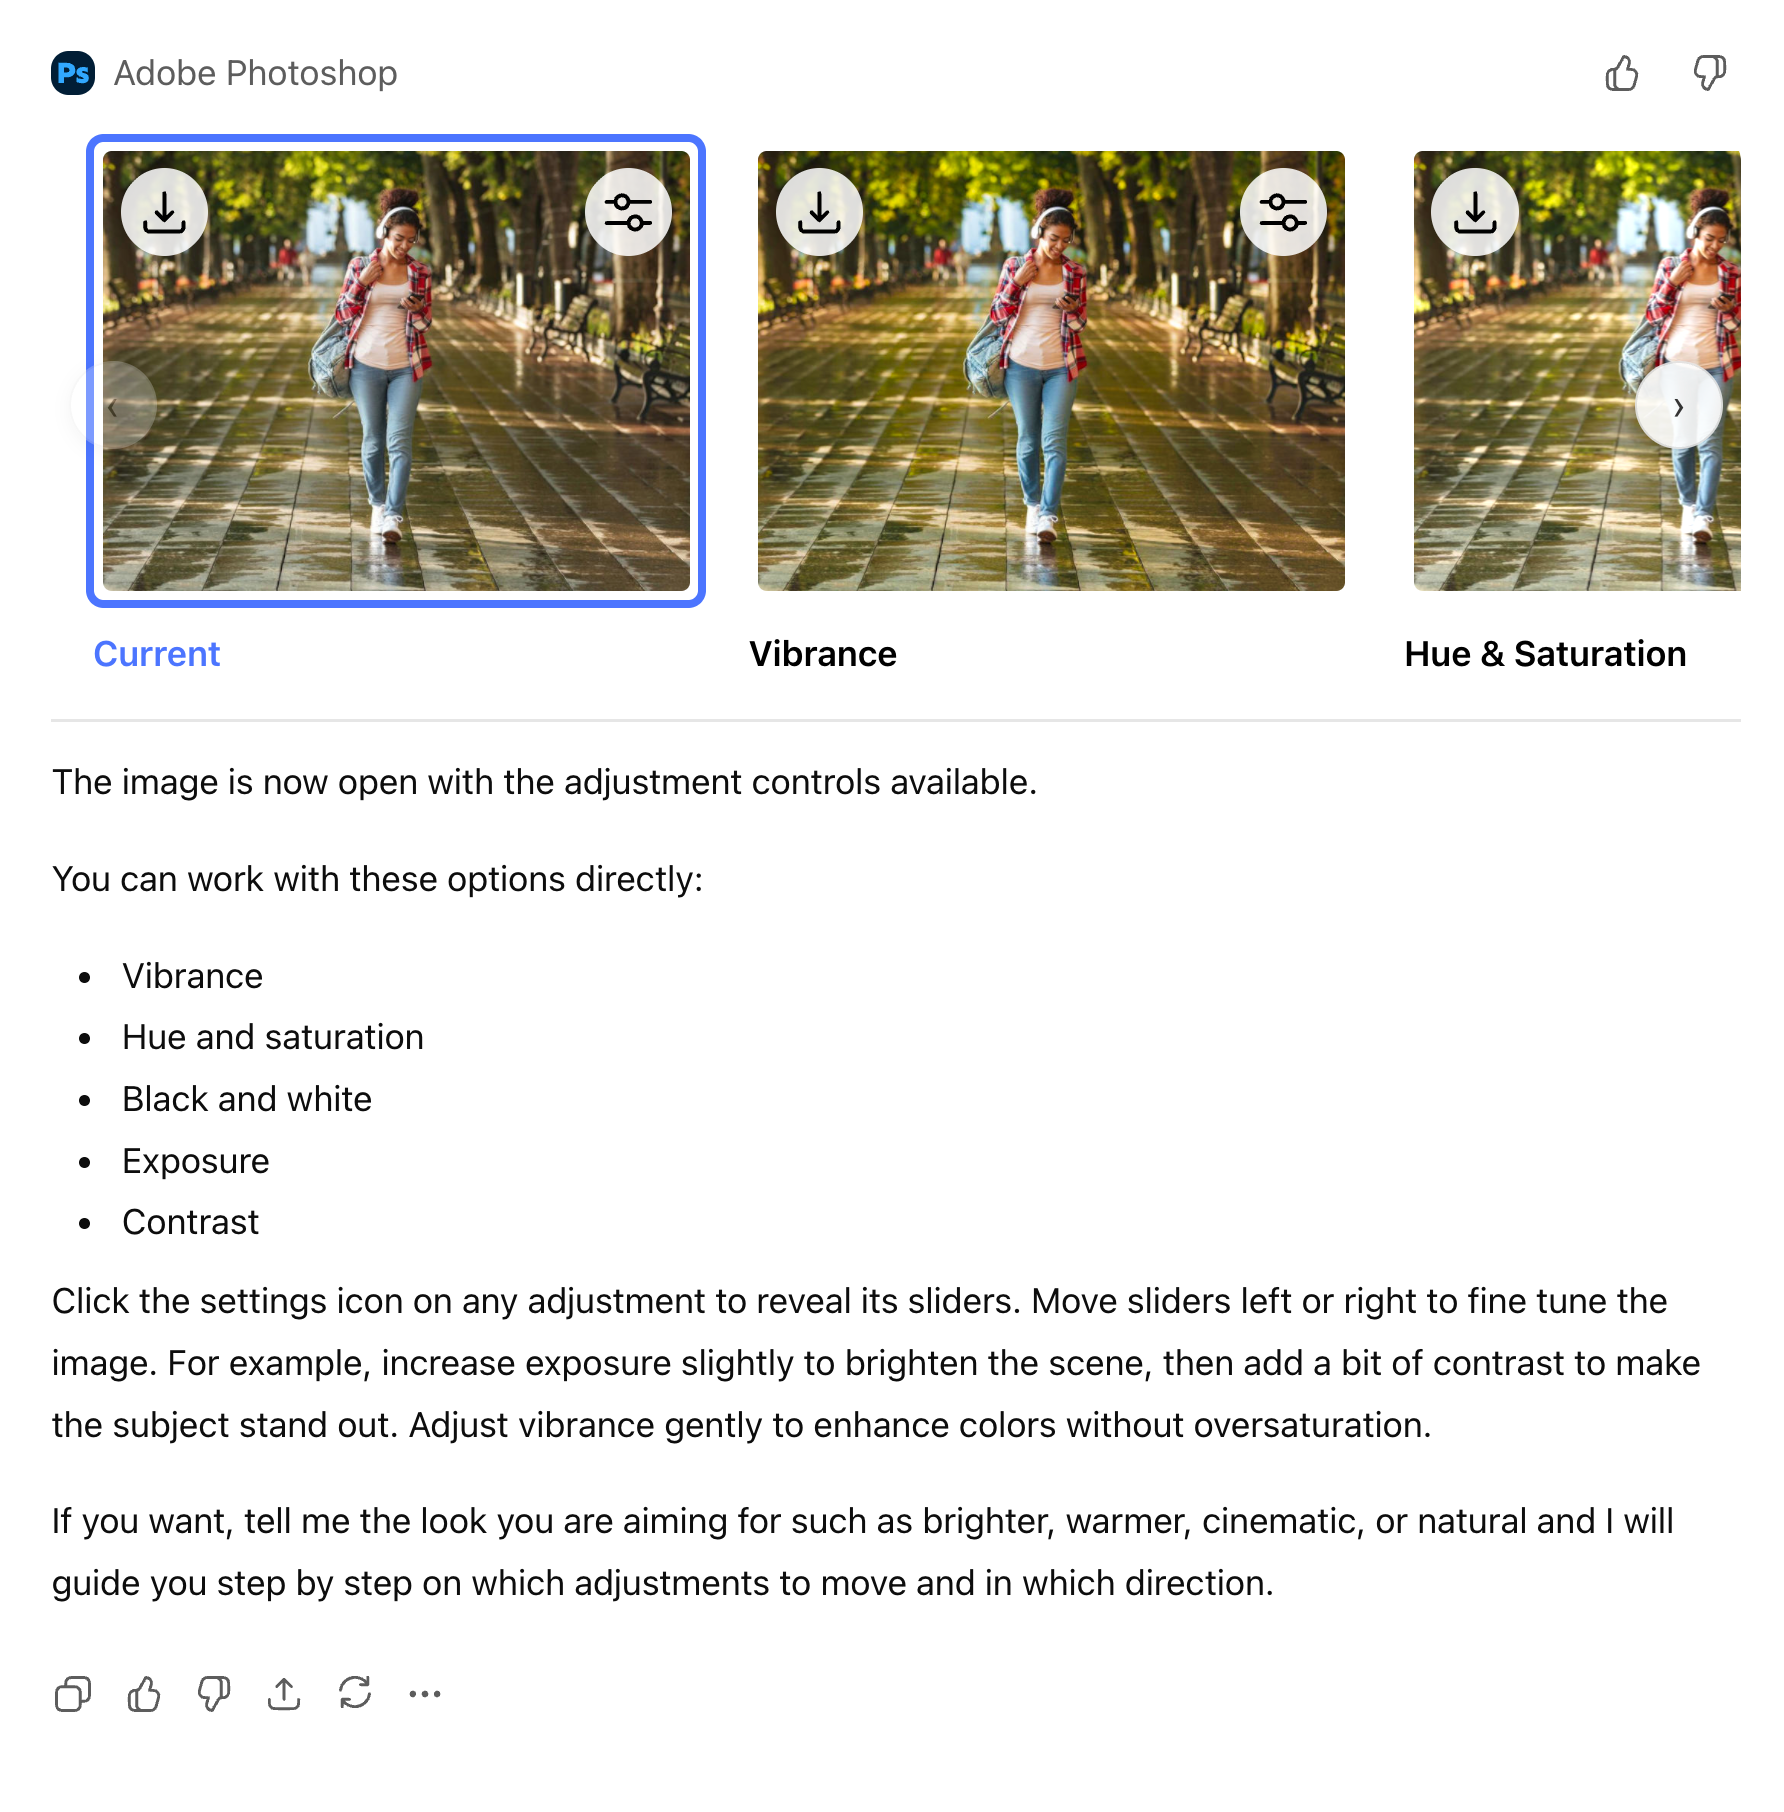
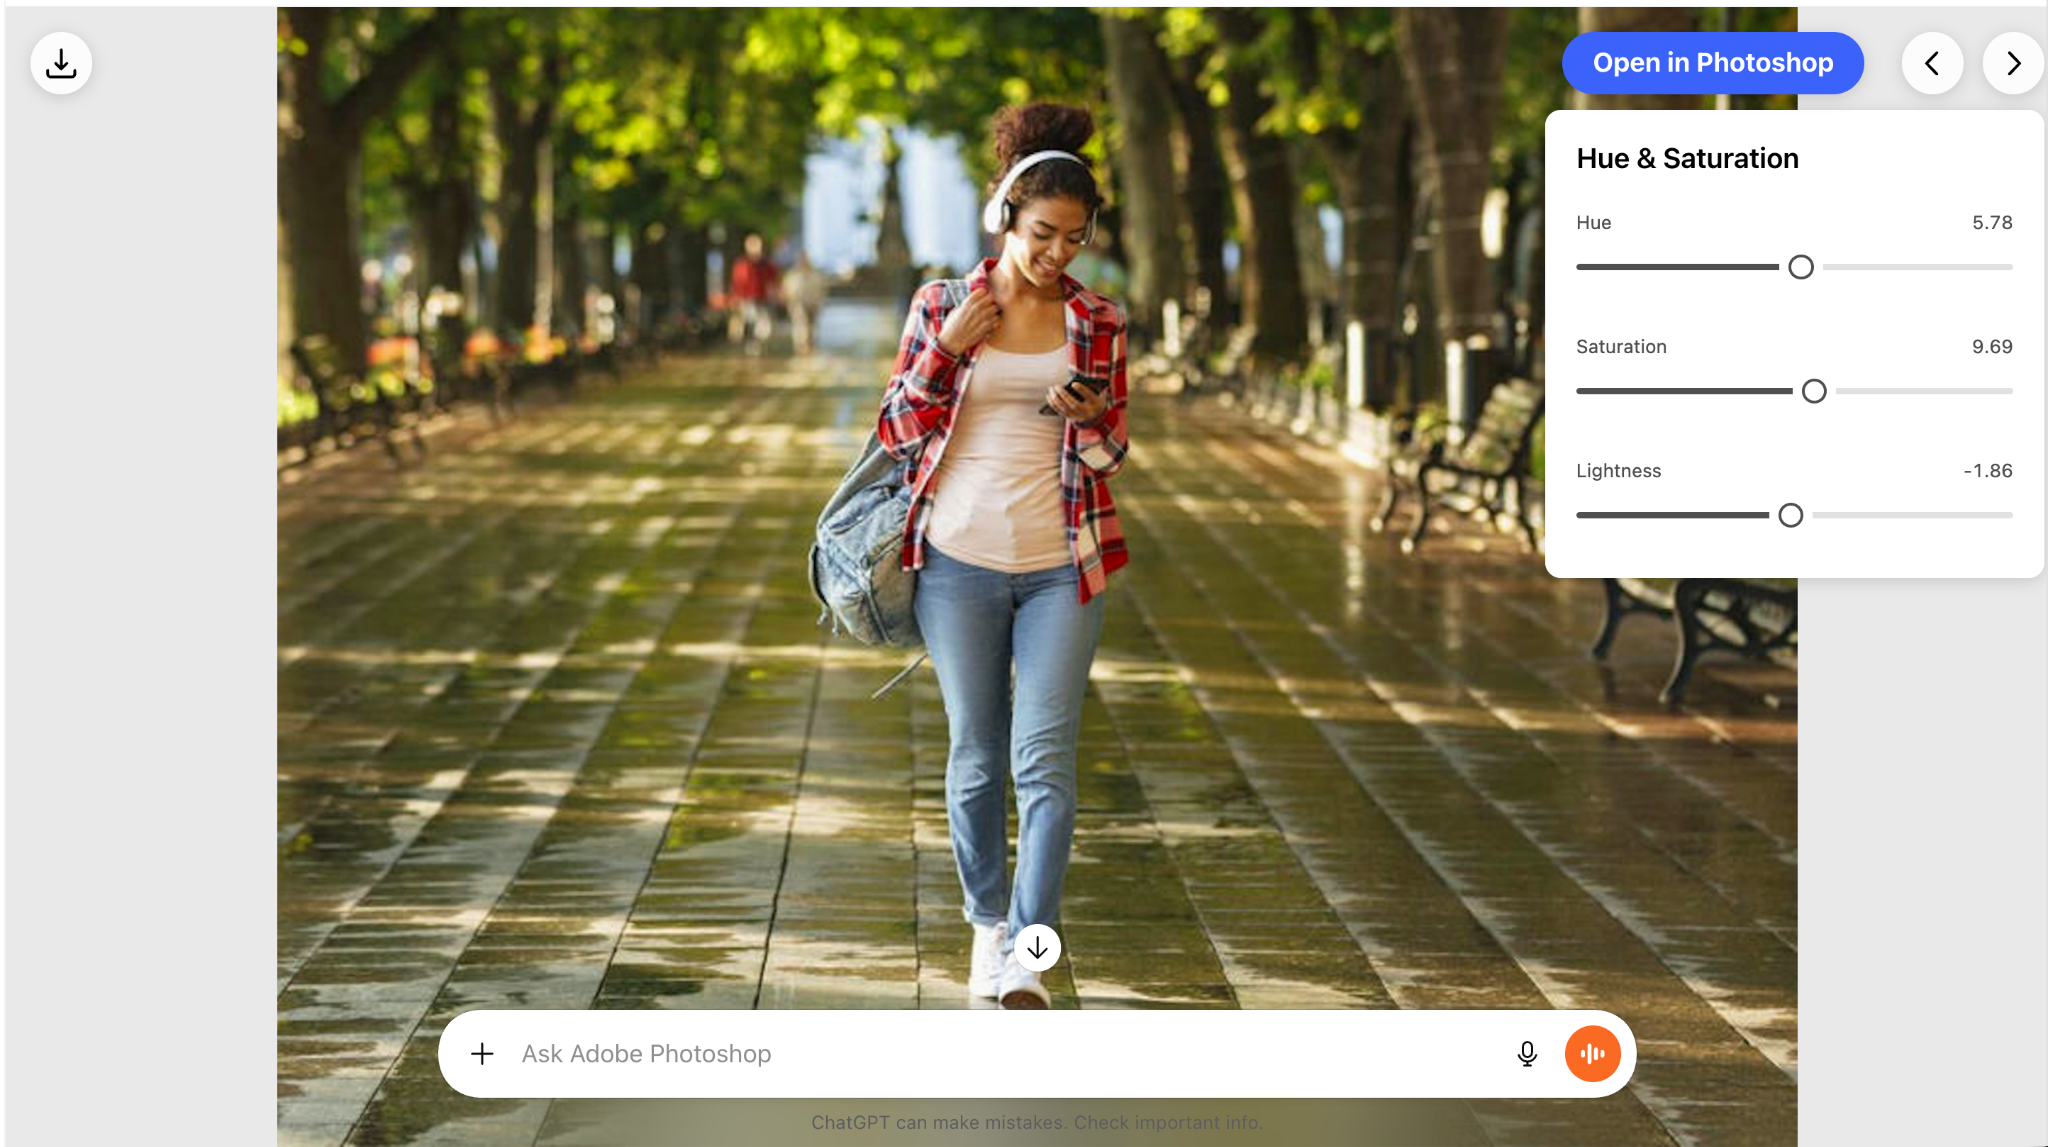
Click the sliders icon in any of the images above and adjust the vibrance, exposure and contrast.
Click the forward arrow in the top right corner of the screen and perform multiple image adjustments.
Step 4 - Use creative effects to fine-tune photos.
You can apply creative effects to your photos. We have already shown you how to do blur effects. You can also use motion, radial or bokeh blur.
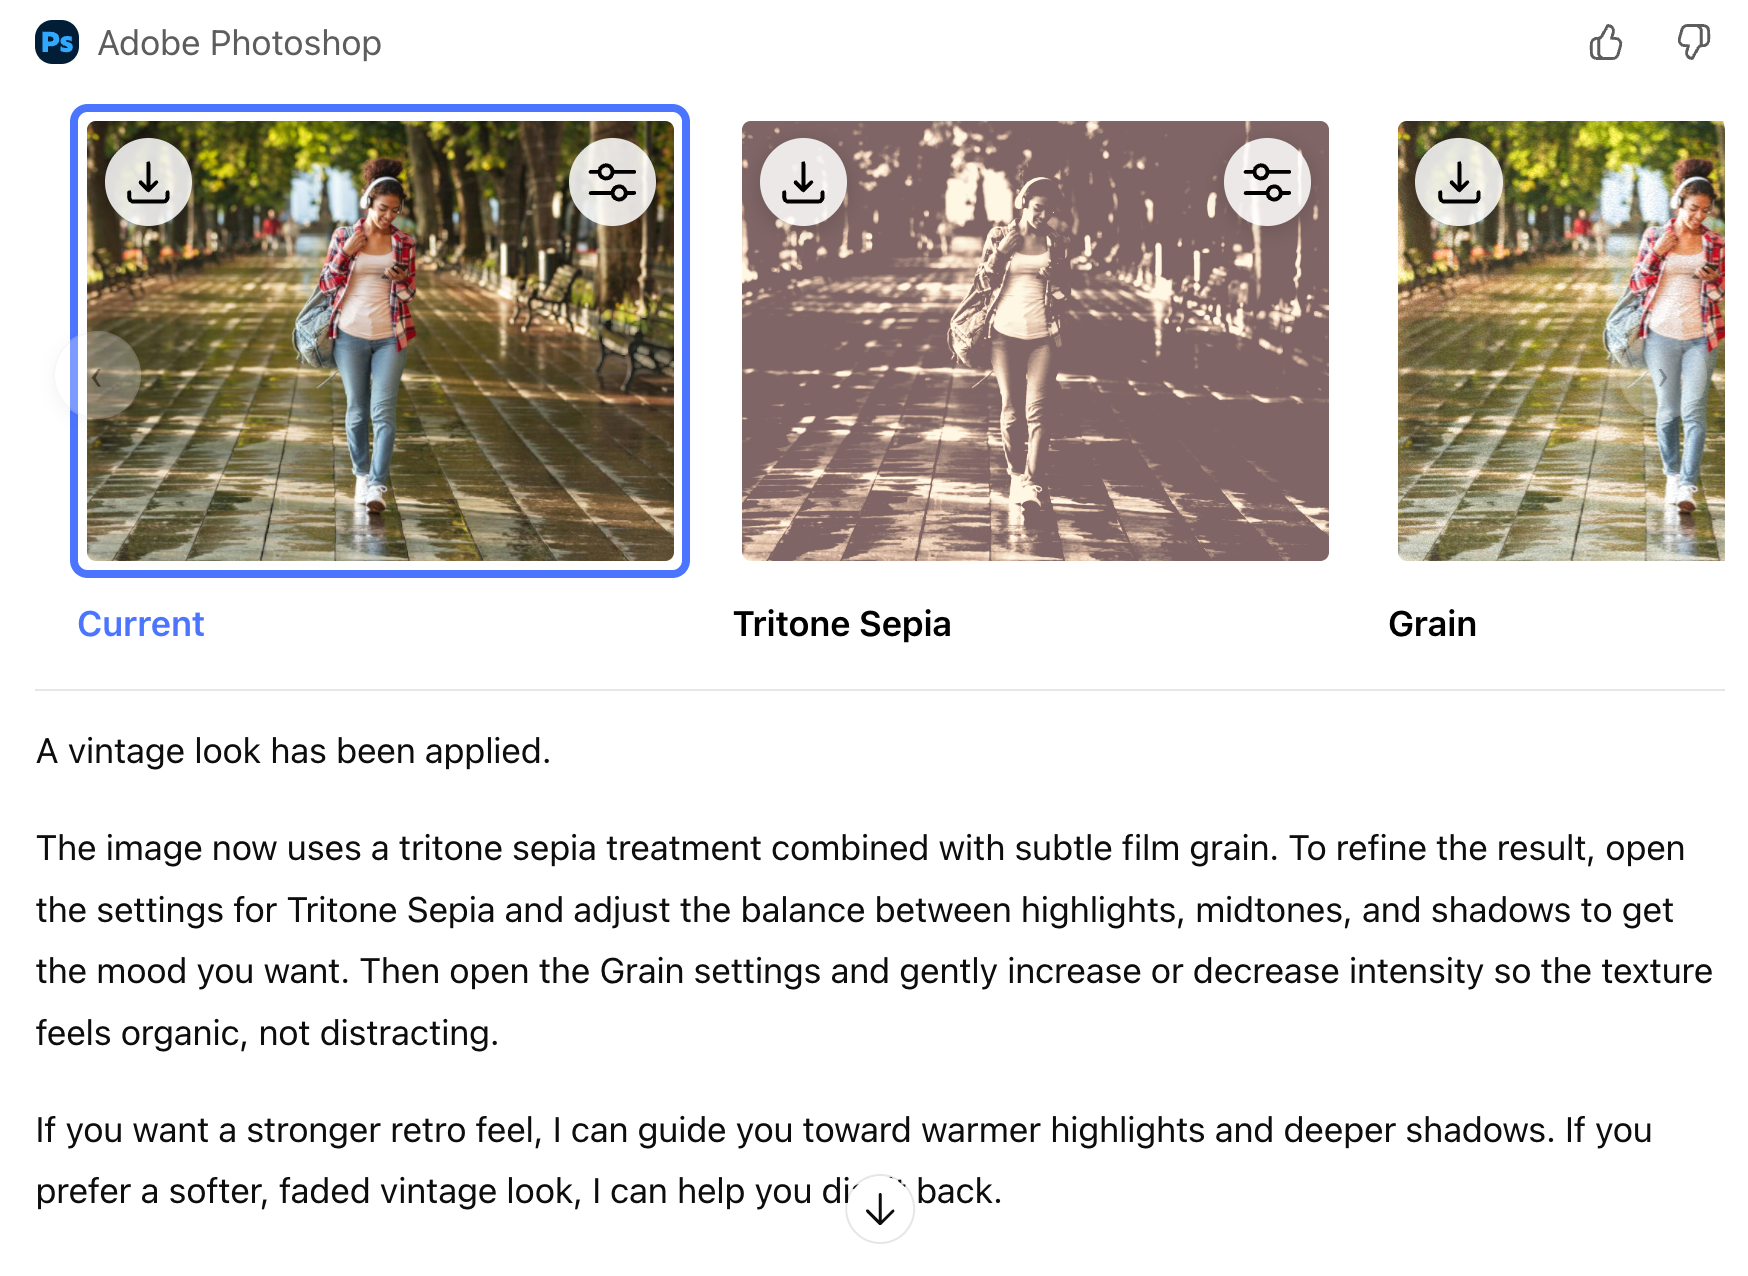
Let’s say you want to make the photo look vintage using duotone, tritone or grain.
Prompt:
Apply a vintage look using duotone or tritone tones and add subtle film grain.
There are many options you can invoke, like stylized effects (glitch, pixelate, halftone or cartoon), and artistic distortions like twirl or lens effects.
Prompt:
Apply a stylized effect such as glitch, pixelate, halftone, or cartoon. Let me refine the intensity.

You can apply stylized effects one by one using separate prompts, but in practice, it is faster and just as effective to use a single universal prompt for a whole group of effects. It saves time and delivers results that are just as good as running individual prompts separately.
Step 5 - Perform background editing
Background editing in Photoshop is just working on everything behind your main subject. It can be as simple as cleaning up a messy background, blurring it a bit, or swapping it for something nicer. People usually do this to make the subject pop more and keep the viewer focused on what actually matters. It is super common for portraits, product photos, and anything meant to look polished without feeling overworked.
Prompt:
Blur the background while keeping the subject sharp.
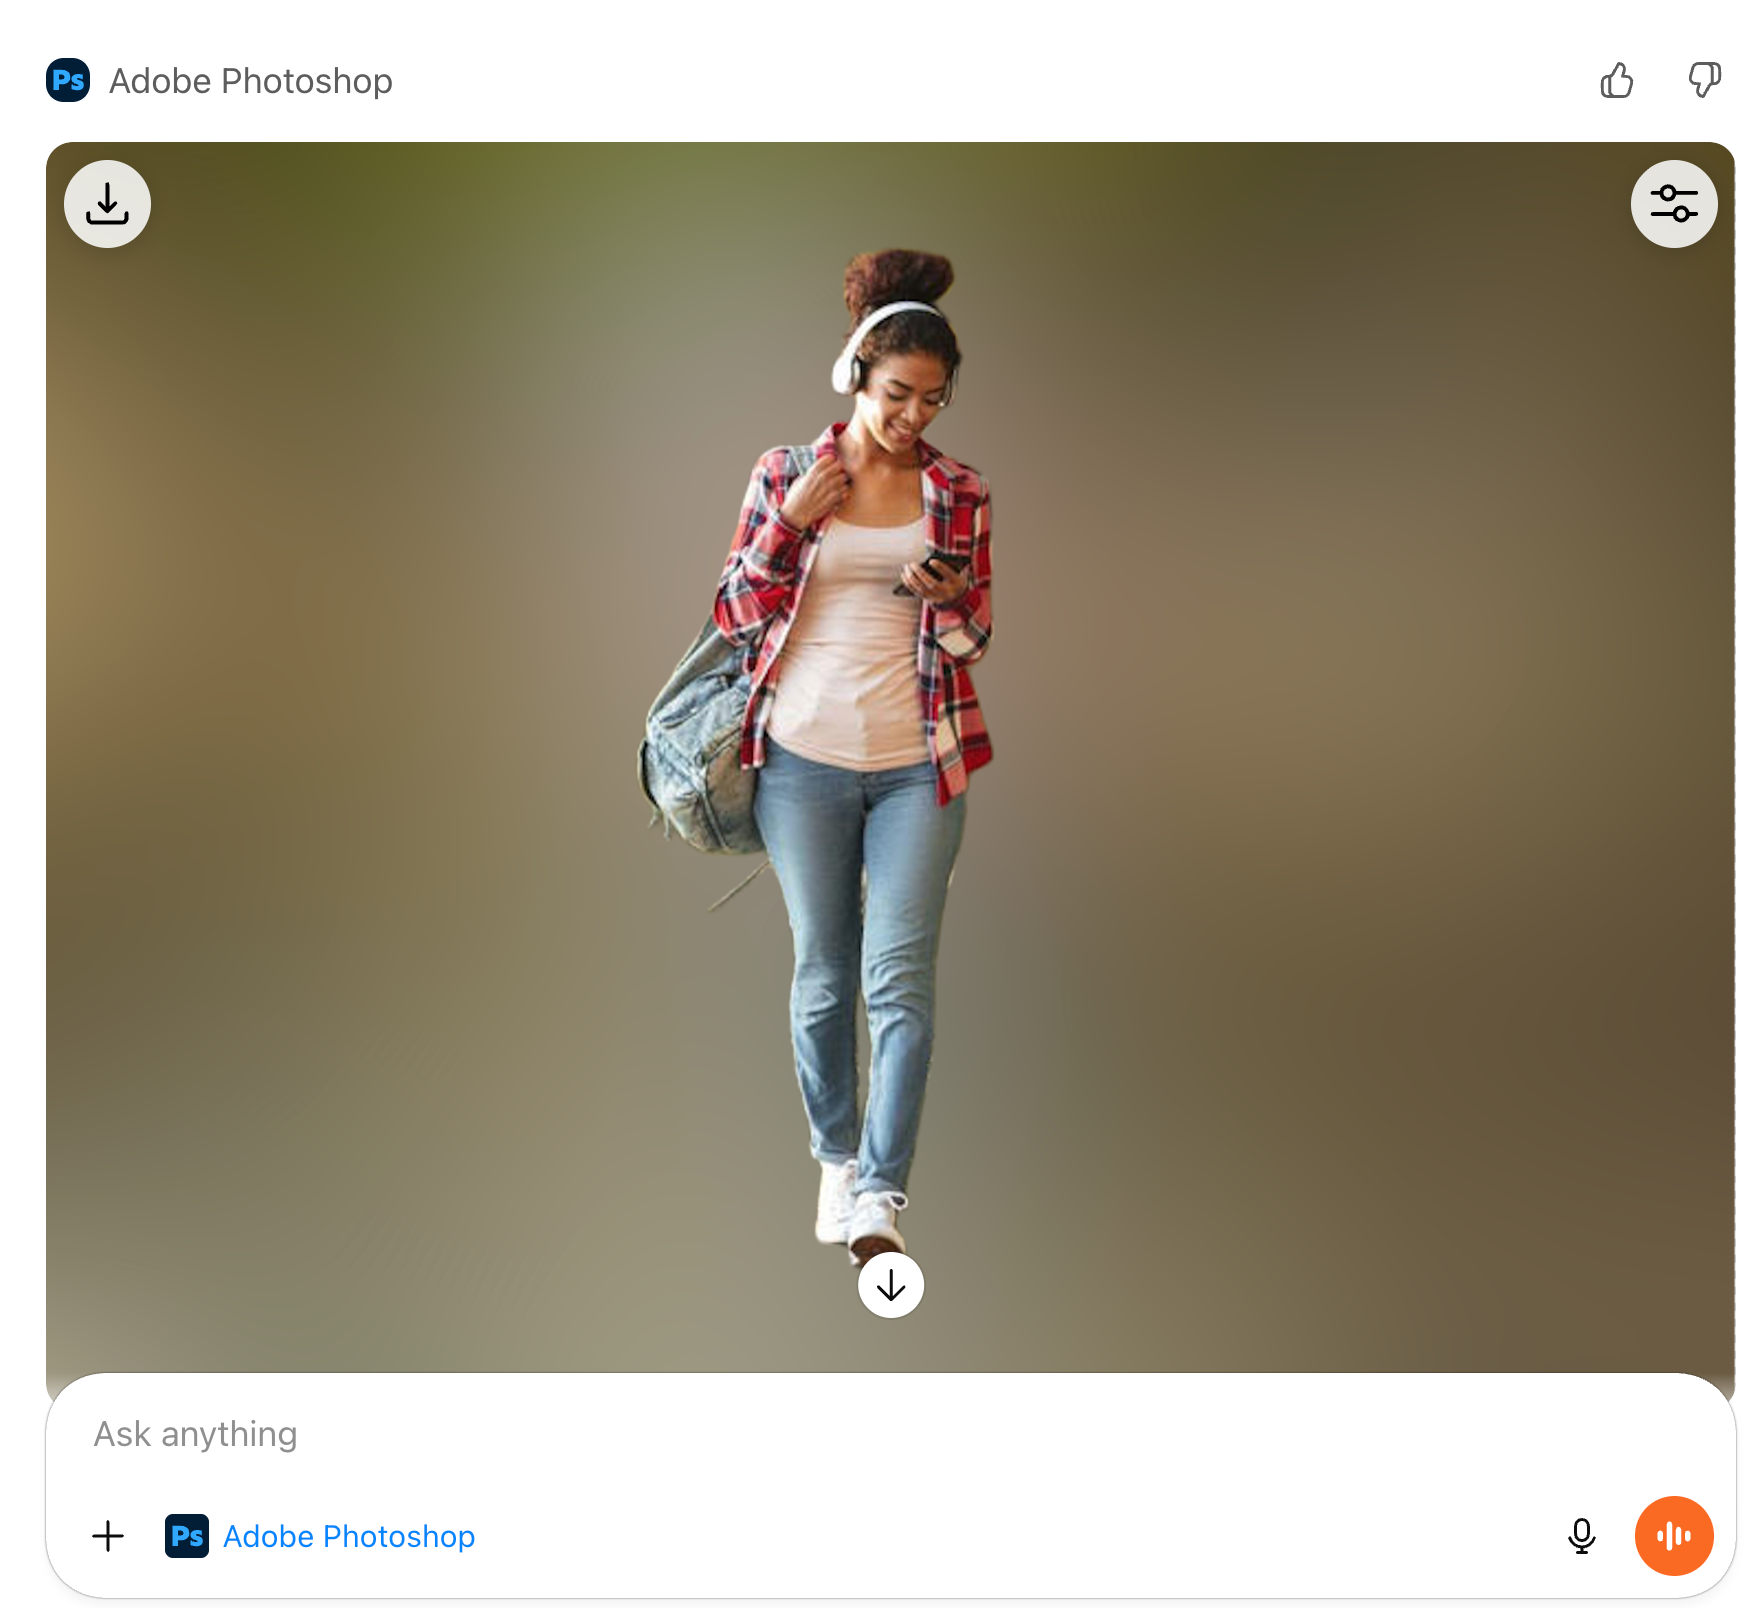
Open the adjustment icon and adjust the blur settings.

If you want to make the photo look more cinematic, you can use the prompt to do that.
Prompt:
Make the photo look more cinematic.
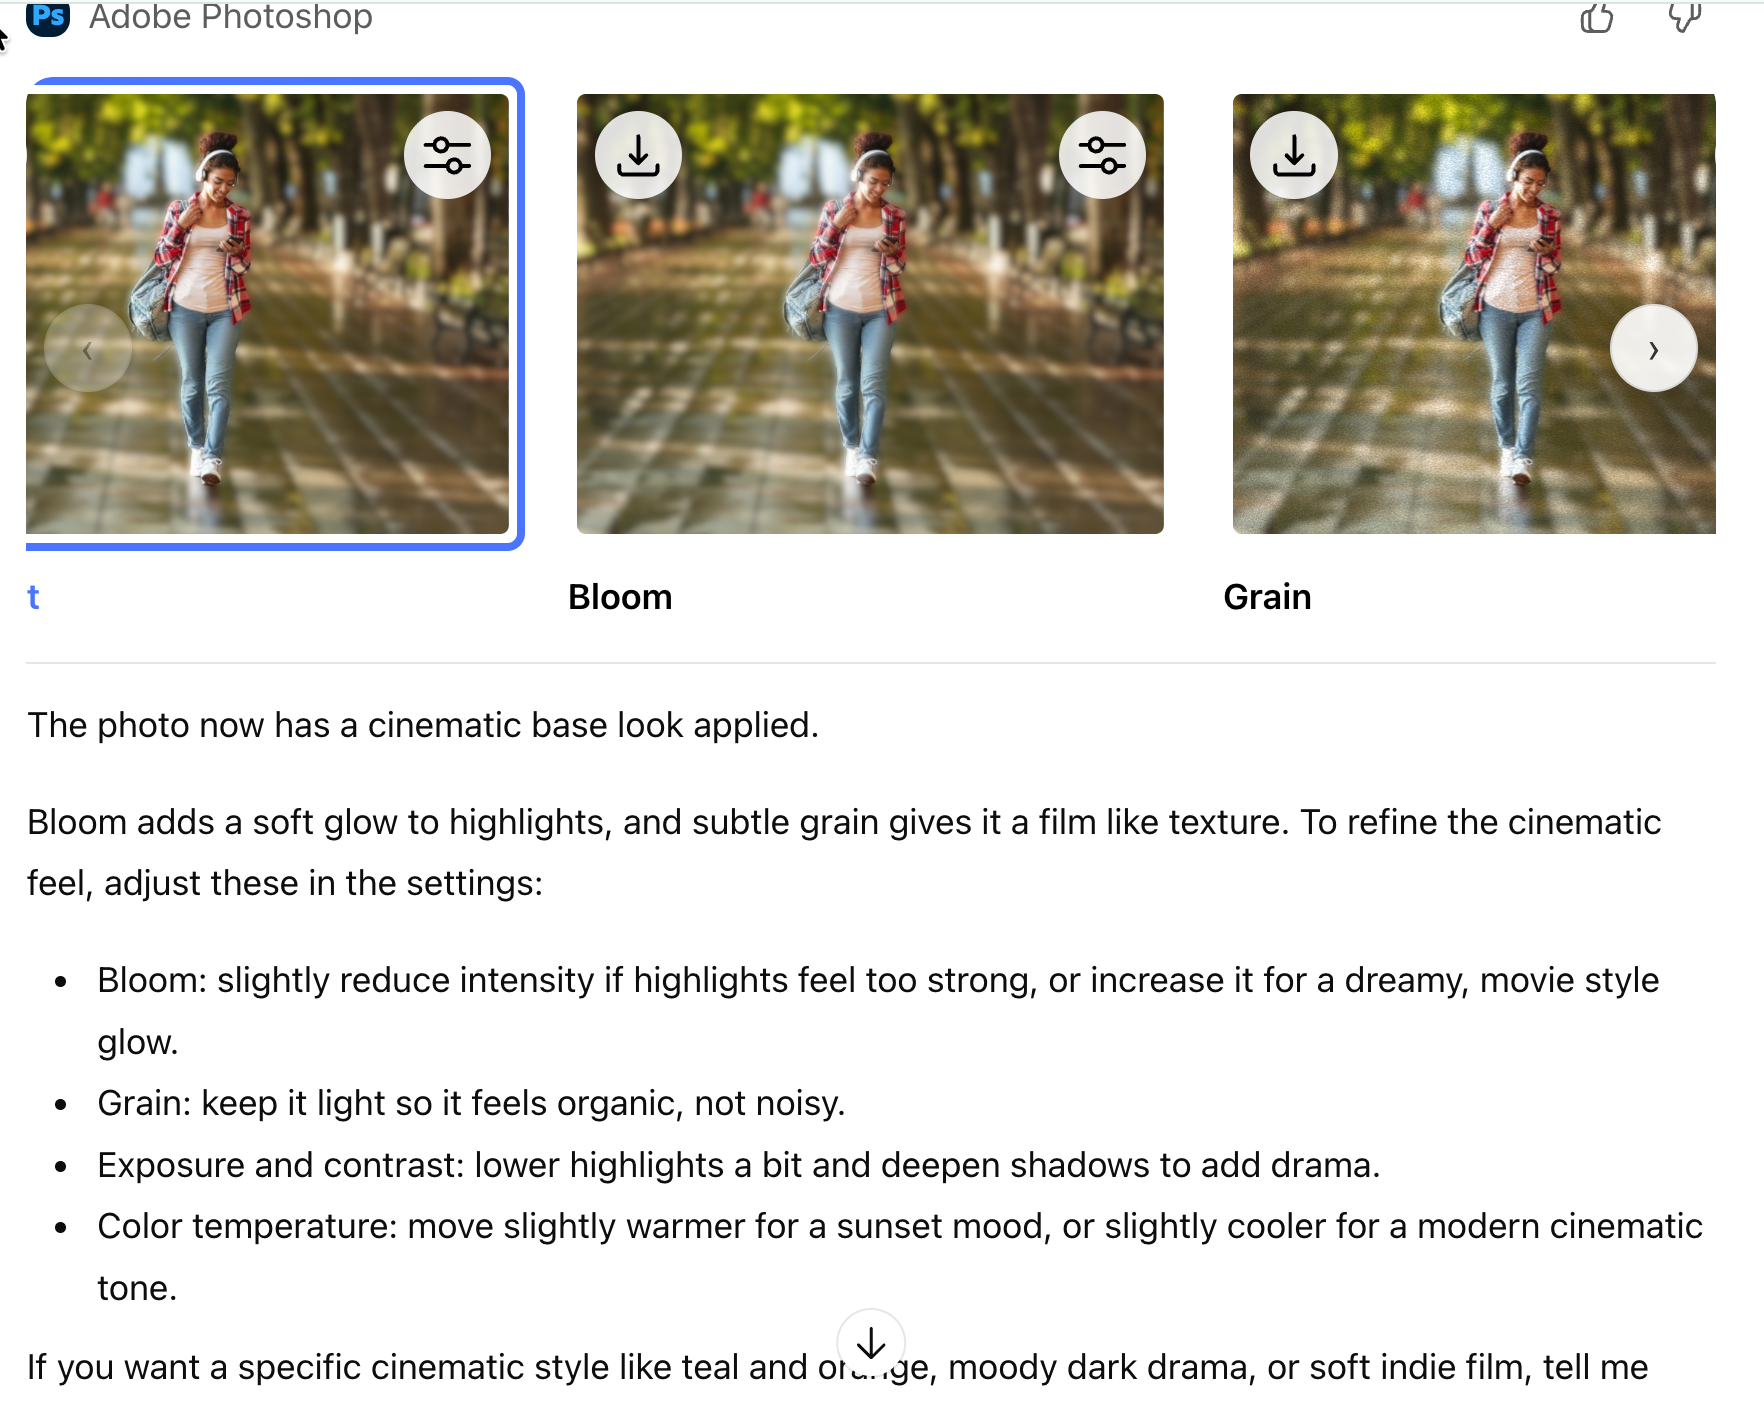
That’s fantastic. It provides options to do the cinematic look. You can use bloom, grain, exposure, contrast and color temperature to adjust your photo and make it look cinematic.
You can download each photo variation by clicking the download button icon in the image.

That’s it for this tutorial, AI photographers! Most people use it for really practical stuff. Quick photo cleanups when something feels off, social visuals that need to look good fast, or product photos where you just want things clean and professional. It is also handy for portraits, like fixing light or making someone stand out a bit more, and for background removal when you want to isolate a subject. And honestly, a lot of the time it is just for playing around, testing styles, and experimenting without overthinking it.

.png)