.avif)

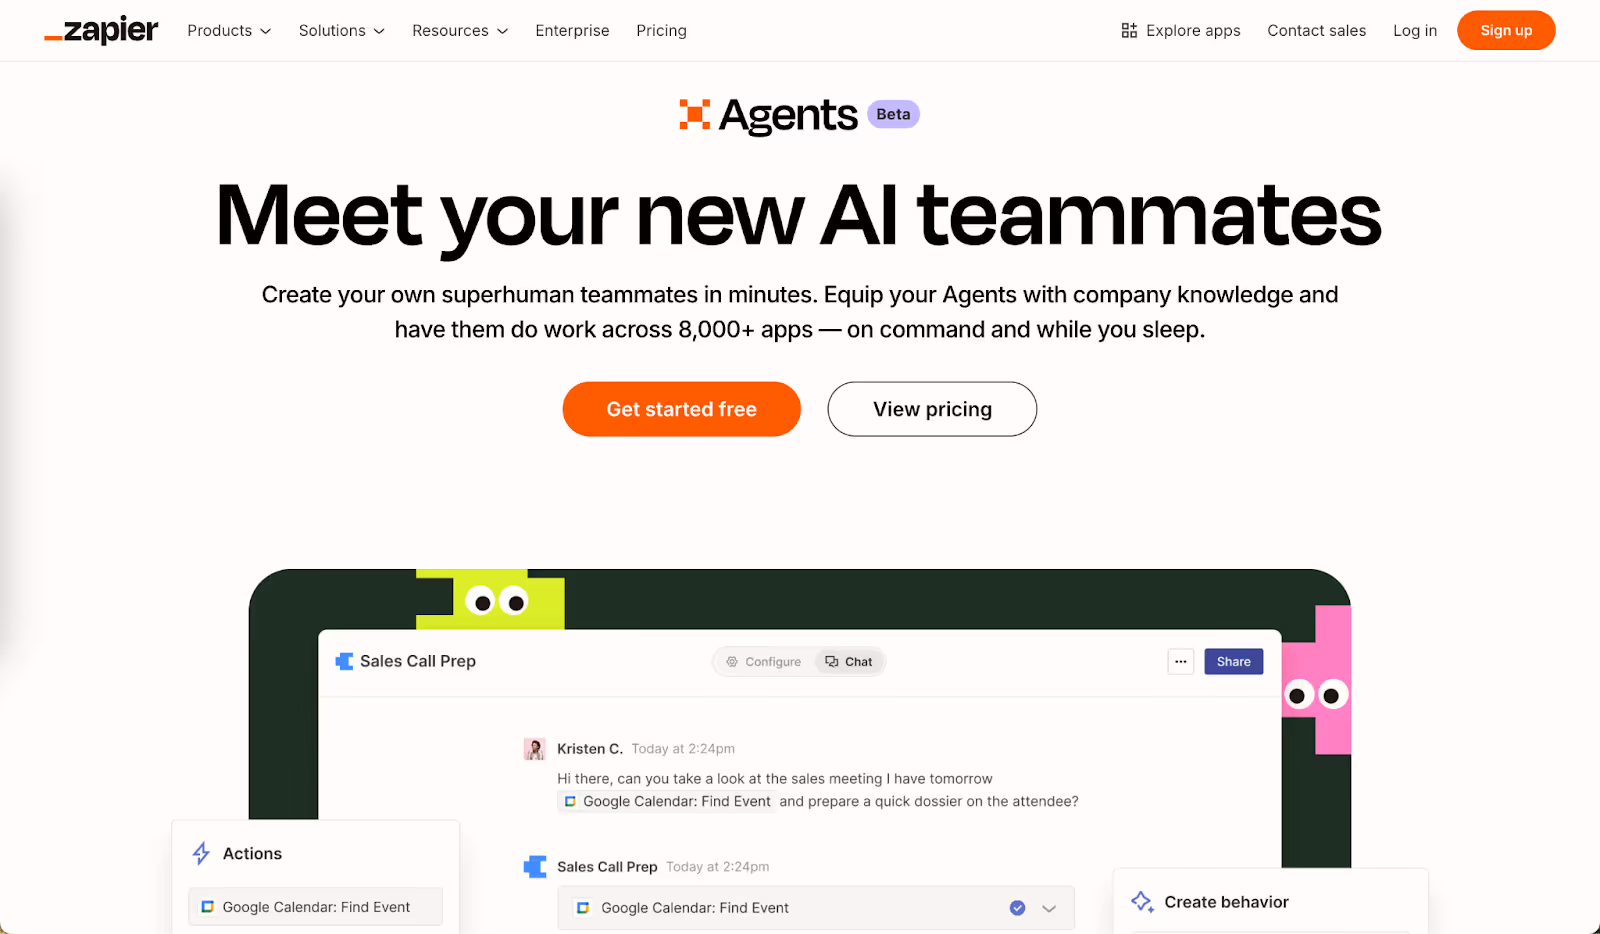
Let me ask you a question: how long does it take a salesperson to research and prepare before meeting clients? It’s like a full day’s work organizing the stuff, researching the potential sales strategy, and drinking healthy amounts of coffee. What if we told you that now you can relax and do what pleases you the most, and walk into a meeting as if you're taking a stroll in the park? Yes, you guessed it correctly. I'm talking about AI agents handling the legwork, researching sales strategies, and preparing a detailed brief that you can review quickly before walking into a meeting with a winning attitude.
In this tutorial, we’ll walk you step by step on how to use Zapier Agents to create an automated sales prep assistant that not only researches clients but also provides detailed briefs that delve into their past, giving you valuable insights into what the client actually wants.
You'll learn how to:
- Set up a Zapier sales prep assistant
- Configure calendar trigger
- Give enhanced instructions to the agent
- Test your sales prep agent
Let’s dive right into it!
Step 1 - Set up a Zapier sales prep assistant
Sign in to your Zapier account (or create one if you don't have it yet).
Click ‘Agents’ in the side menu on the left.
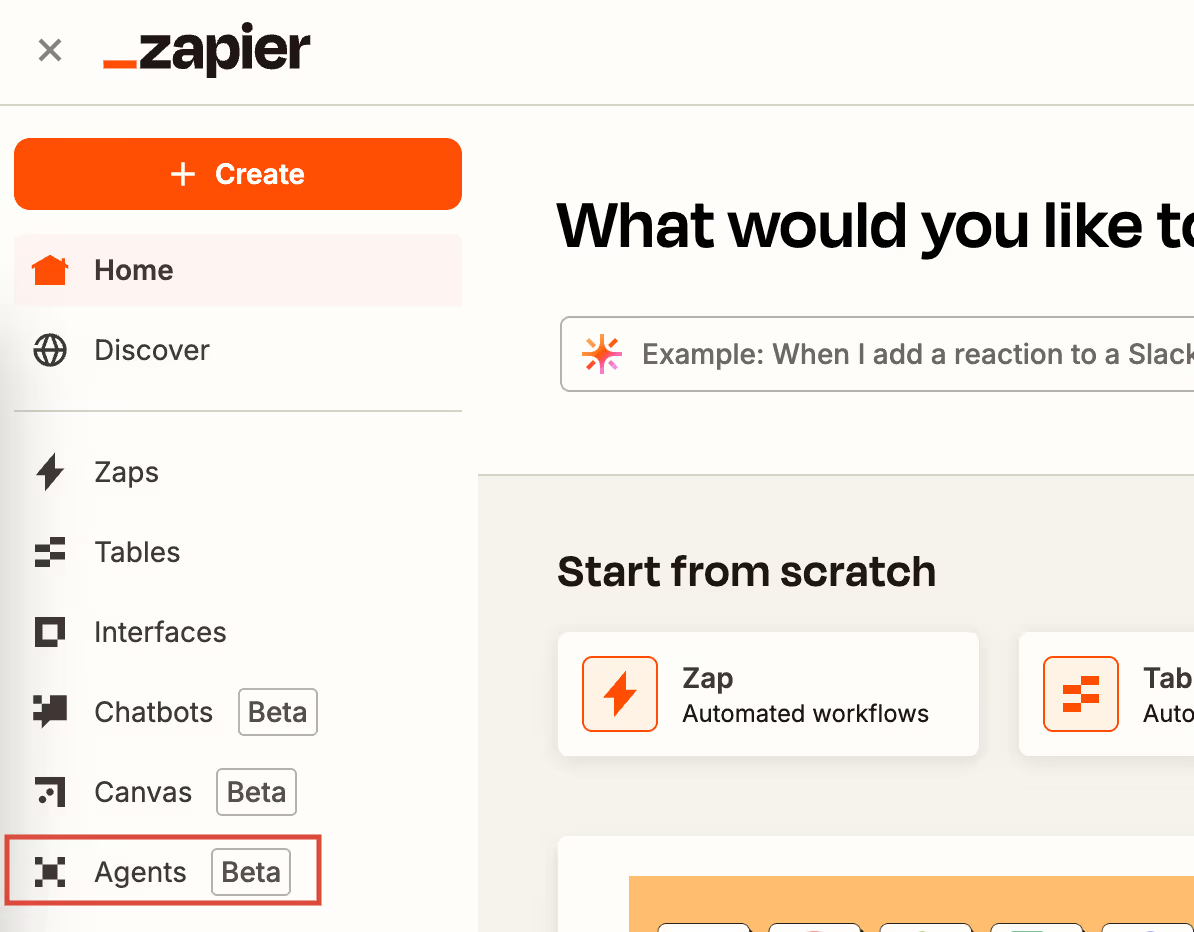
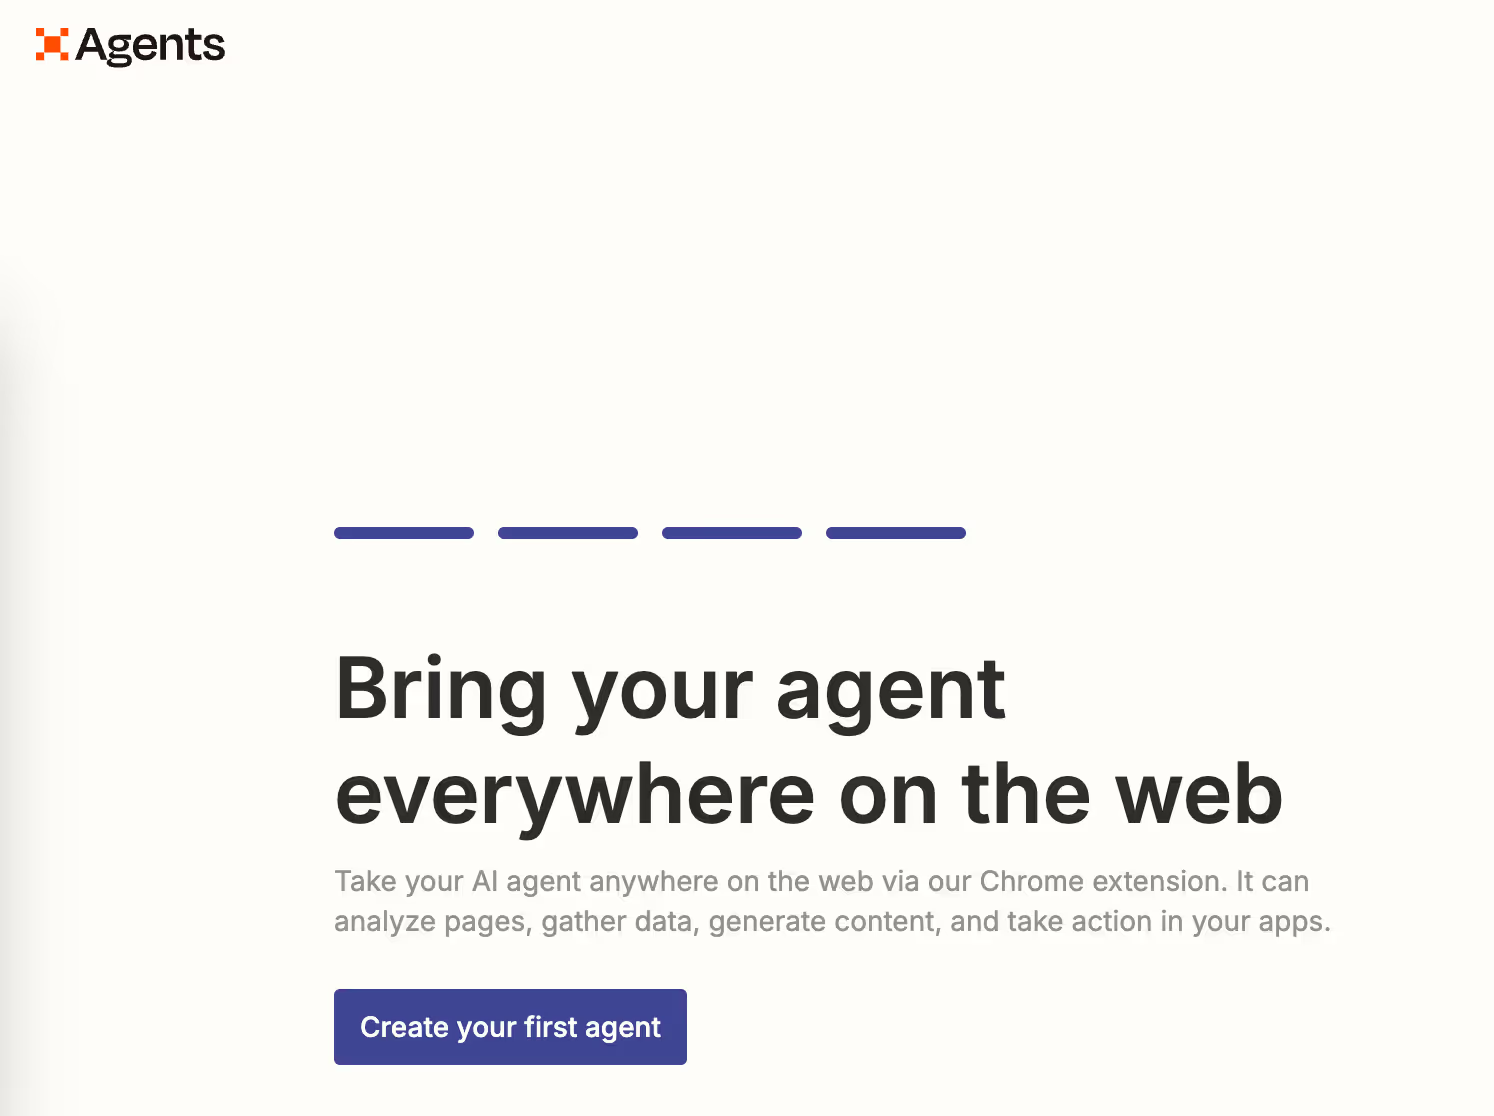
Click the ‘Get Started’ button (blue). Go through a couple of useless slides, and then click ‘Create your first agent’ if you are new to this. Otherwise, it's just a dashboard where you can click ‘New Agent’ in the top-left corner to start building your consultant automation.
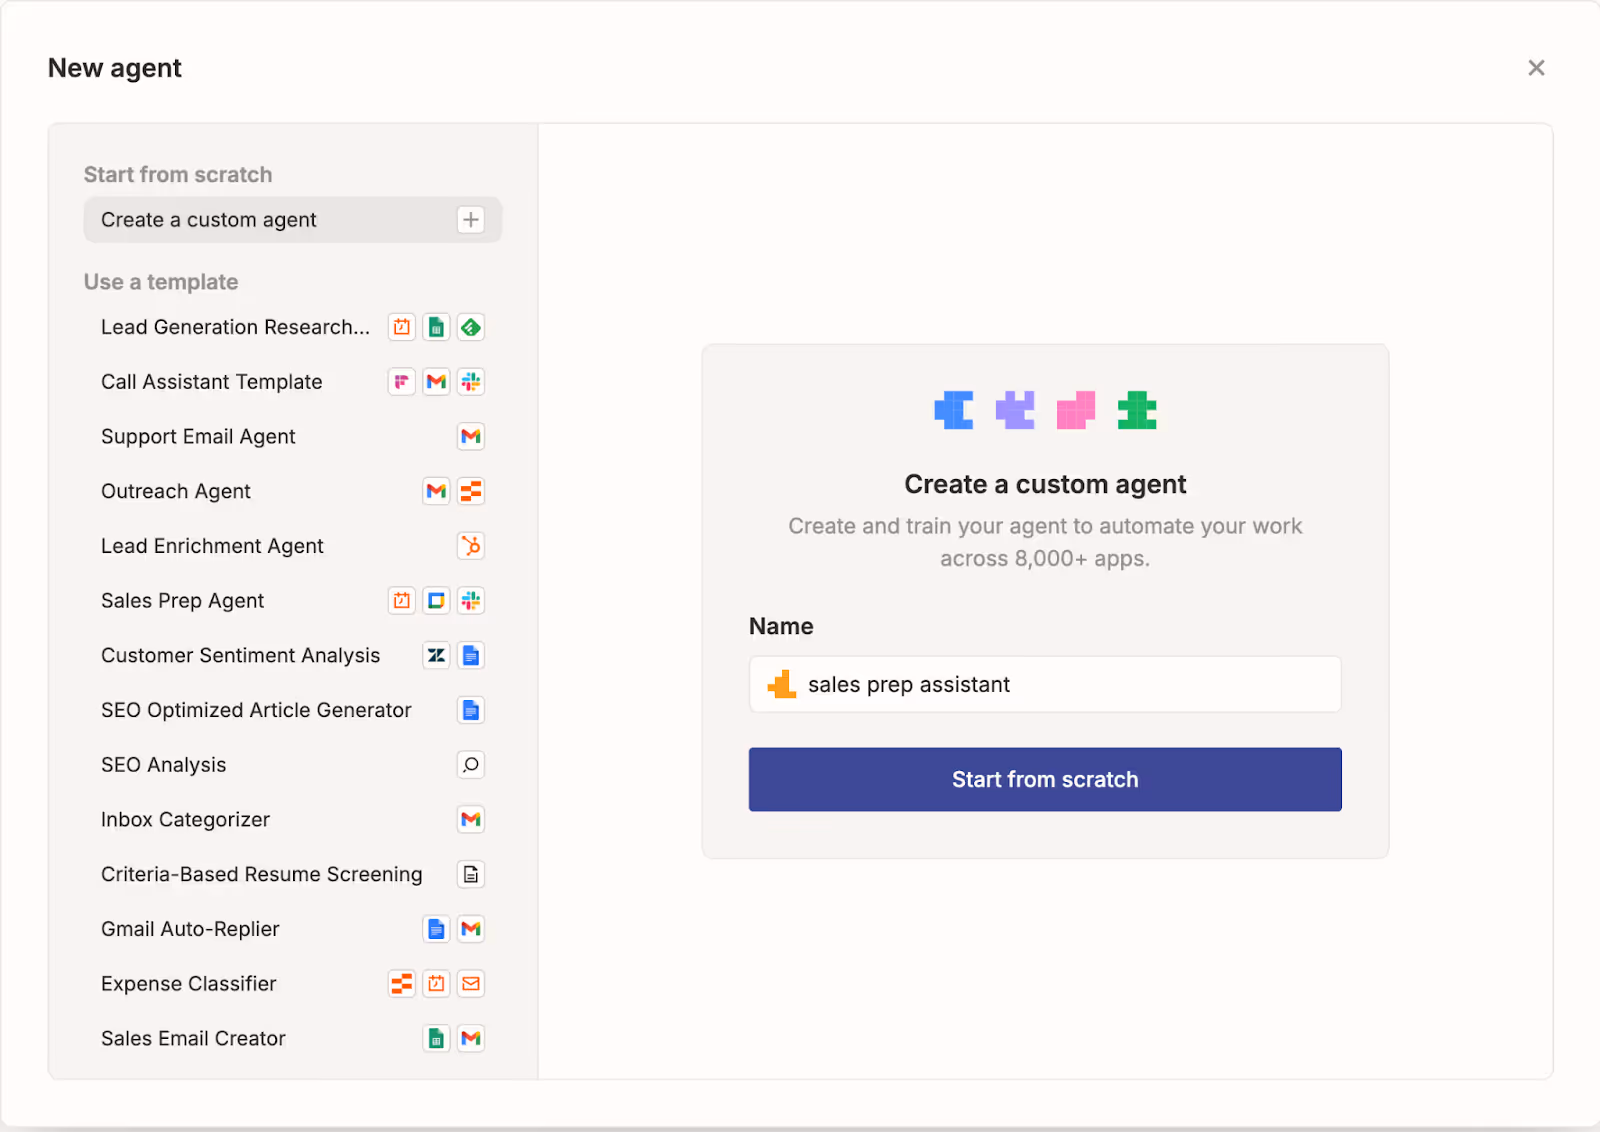
There are many templates on the left; leave them alone. Name your agent and click ‘Start from scratch.’
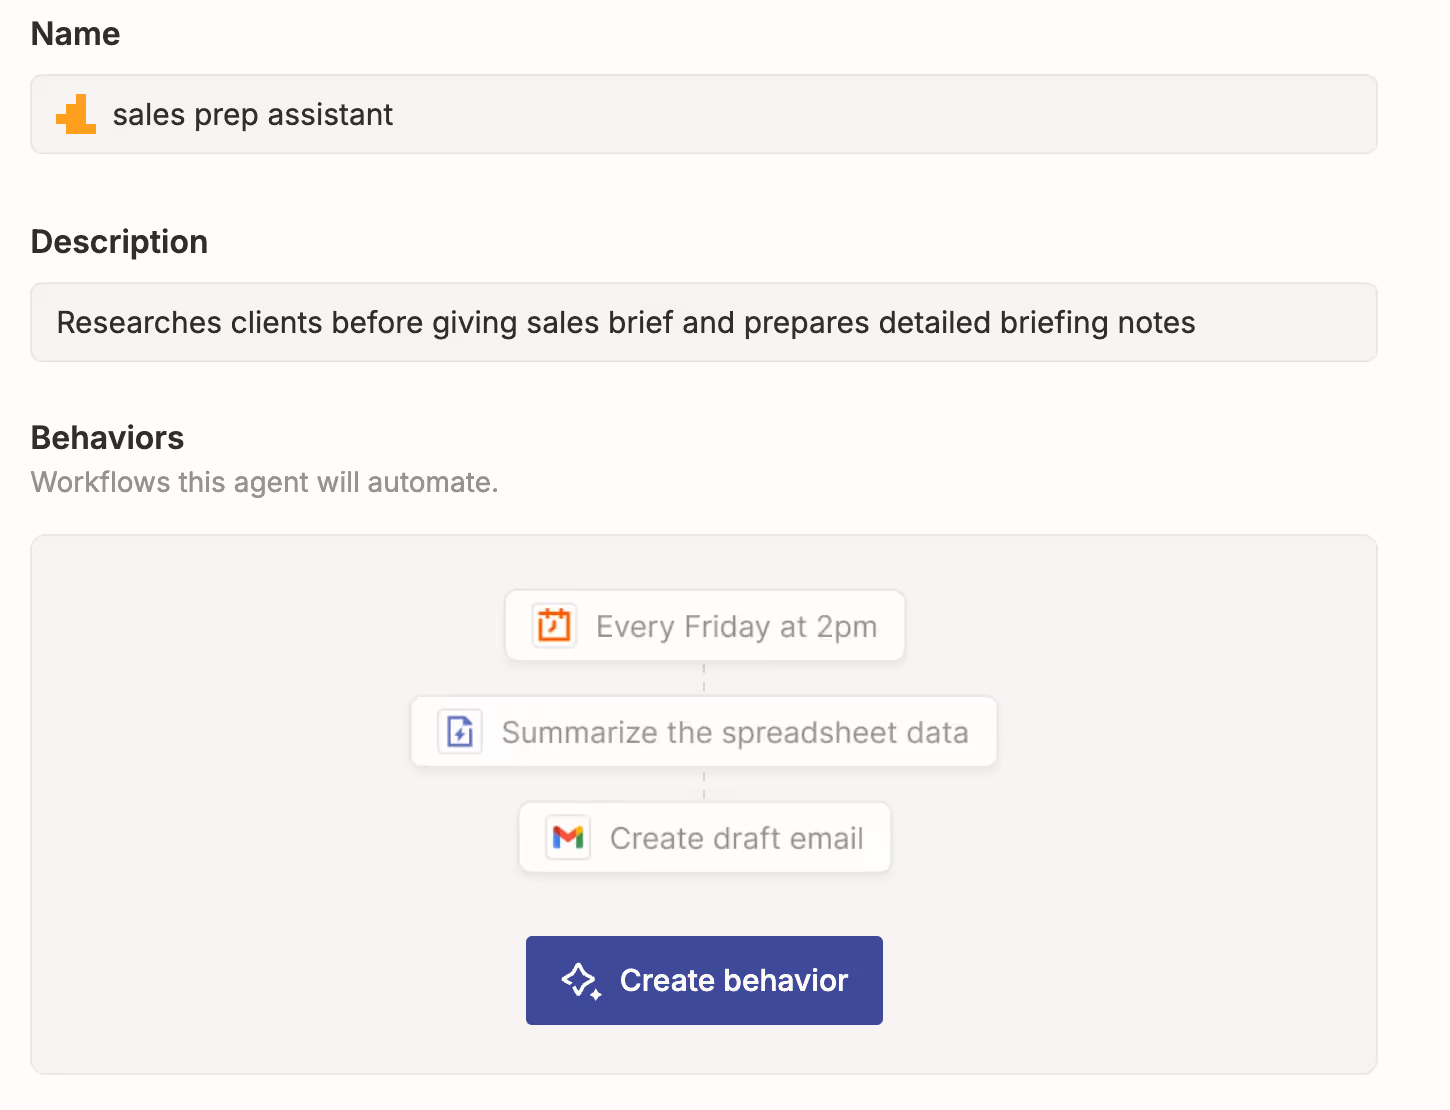
Click the ‘Configure’ tab. Name your assistant something clear, like "Sales Prep Agent," and click "Configure" if you haven't already done so in the previous step (a good reminder to be thorough). Add a quick description—maybe "Researches clients before giving sales brief and prepares detailed briefing notes." Now, click ‘Create behavior.’
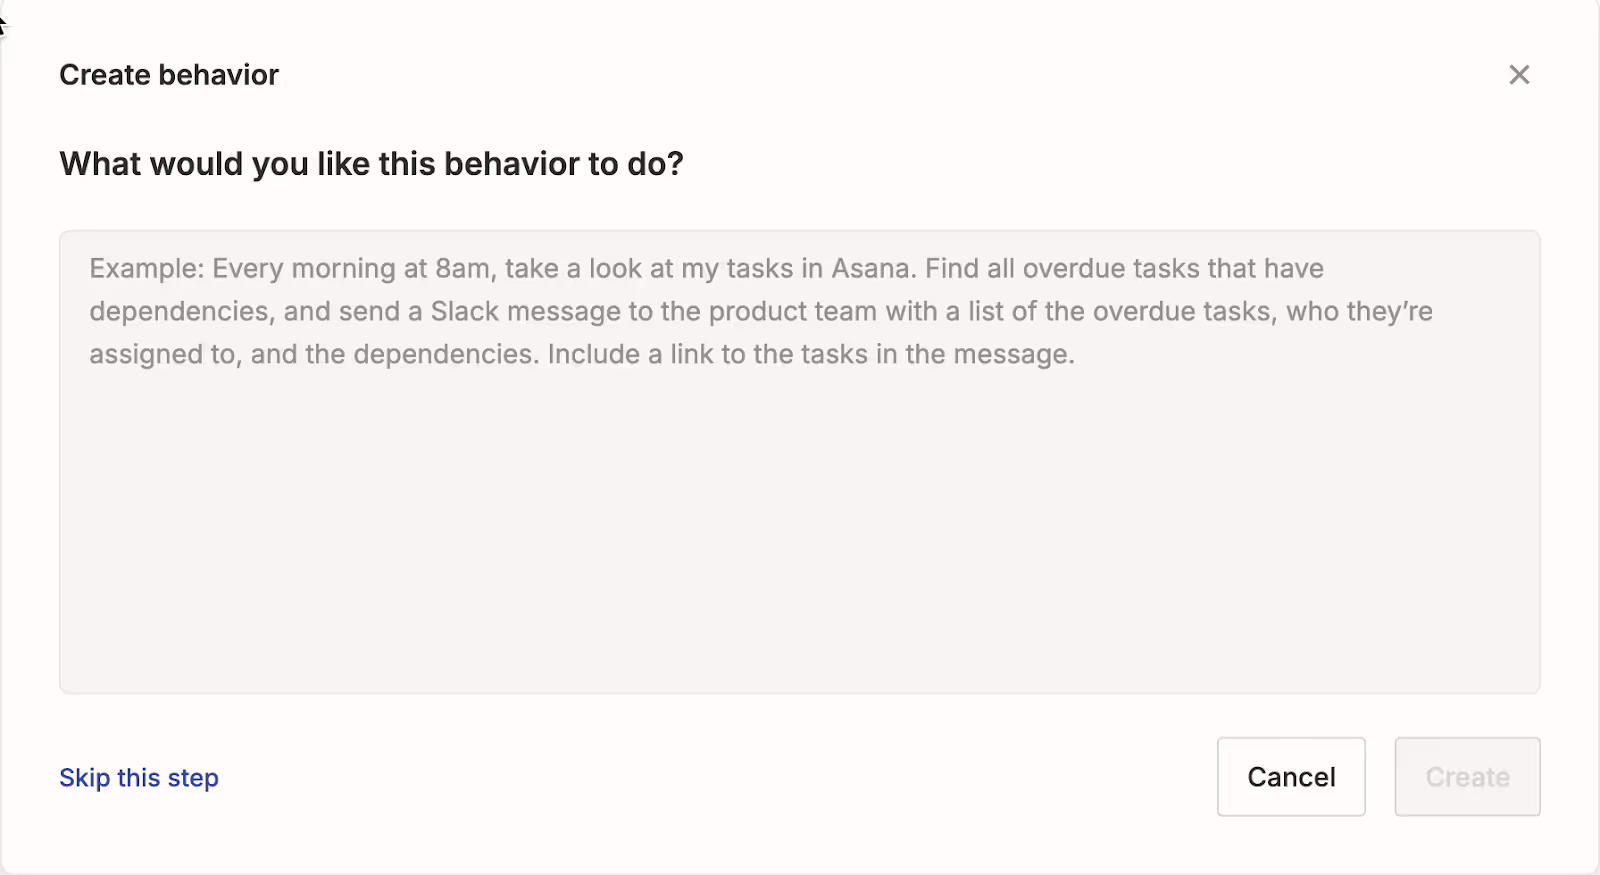
Skip the behavior description step (who does that?). Go to the main behavior configuration page.
Step 2 - Configure calendar trigger
Let’s get into some action. Click ‘Add trigger’ at the top of the instructions box. Search for ‘Calendly’. Find ‘Invitee Created’ in the drop down list.
This step makes your agent activate whenever a new sales client book through Calendly.
You’ll need a Calendly account if you haven’t got one already. Click ‘Connect Calendly’ and follow the authentication steps. Do this after you have created a calendly account.
Ensure that the ‘Invitee Created’ is selected. Keep the webhook subscription scope to ‘User’ and click ‘Save.’

Step 3 - Give enhanced instructions to the agent
Great going! You’re halfway through. In the Instructions section, add the following directions for your sales prep agent. These instructions will act as the main trigger for your agent to comply by the rules you set. Think of it as the brain that will do your bidding. Be specific and provide as many details as you can for the agent to give you exactly what you need.
Instructions:
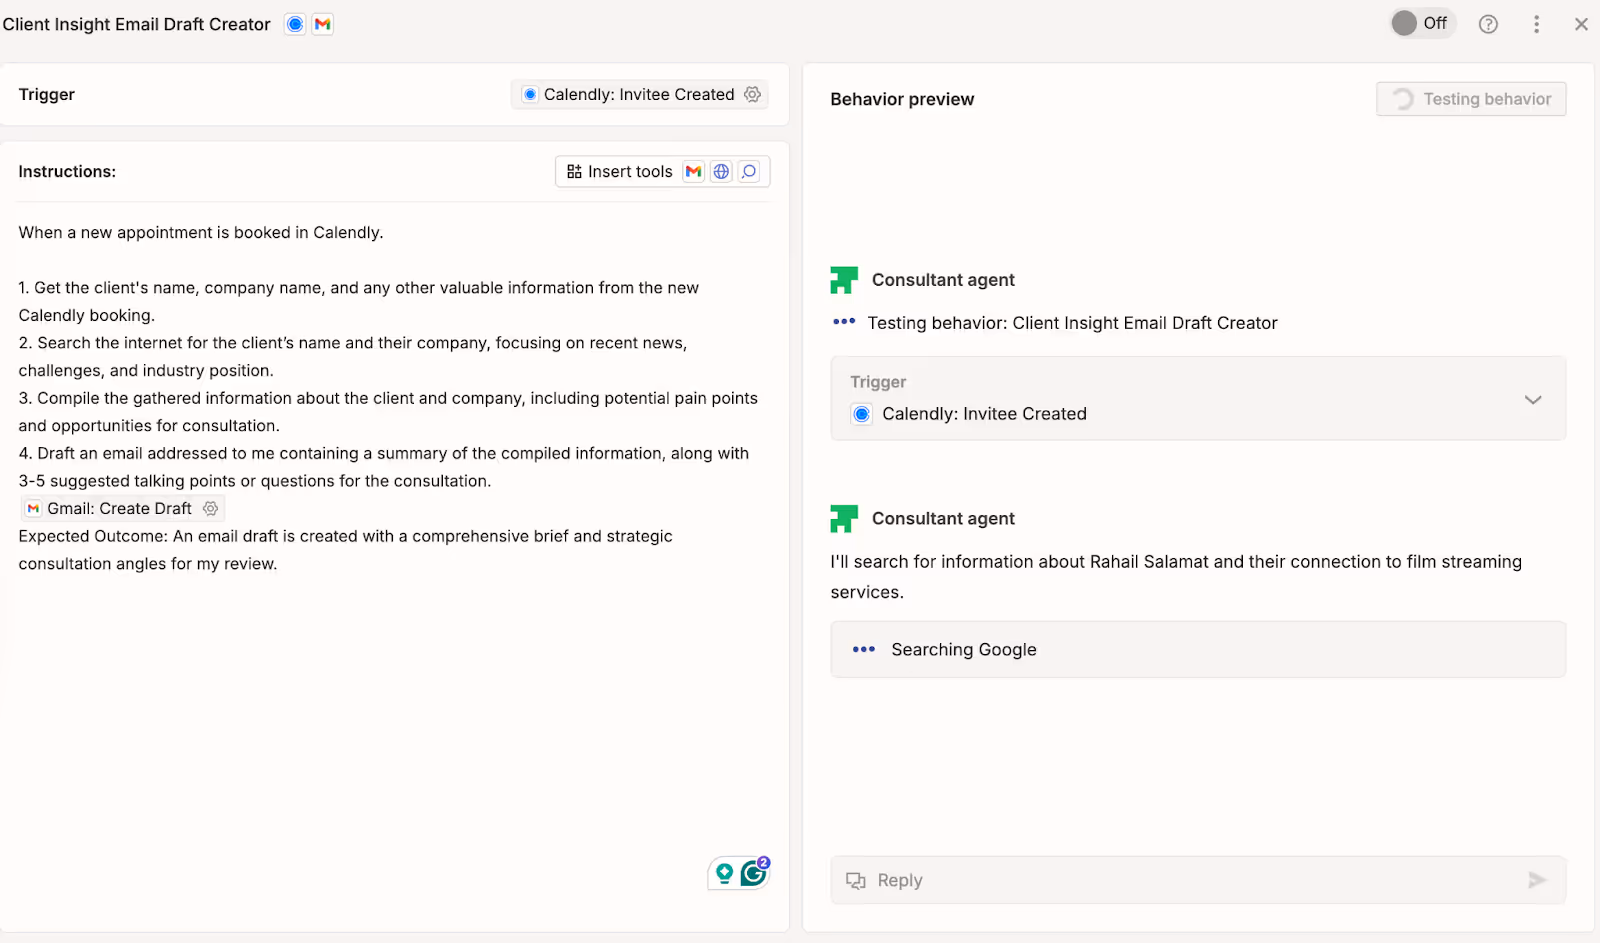
When a new appointment is booked in Calendly.
1. Get the client's name, company name, and any other valuable information from the new Calendly booking.
2. Search the Internet about the client’s name and then their company, focusing on recent news, challenges, and industry position.
3. Compile the gathered information about the client and company, including potential pain points and opportunities for consultation.
4. Draft an email addressed to me containing a summary of the compiled information, along with 3-5 suggested talking points or questions for the consultation.
Expected Outcome: An email draft is created with a comprehensive brief and strategic consultation angles for my review.

Next, we must enable email creation. Go to the ‘Insert Tools’ button at the top of the instruction box. Add the ‘Gmail’ module. Select ‘Create Draft’ action.
The gmail draft module should be placed after the bullet points.
Step 4 - Test your sales prep agent
Before you wrap things up, hit the "Retest behavior" button. It'll show you a preview of how your consultant will respond when someone books a new consultation.

Also, review how your consultant is behaving. Make sure it’s doing the right research and putting together the kind of strategic brief you’re looking for. If it’s not quite there yet, tweak your instructions to be clearer about the industry insights or competitive analysis you want it to include.
Check the drafts section in your Gmail. A new draft will be available for your review.
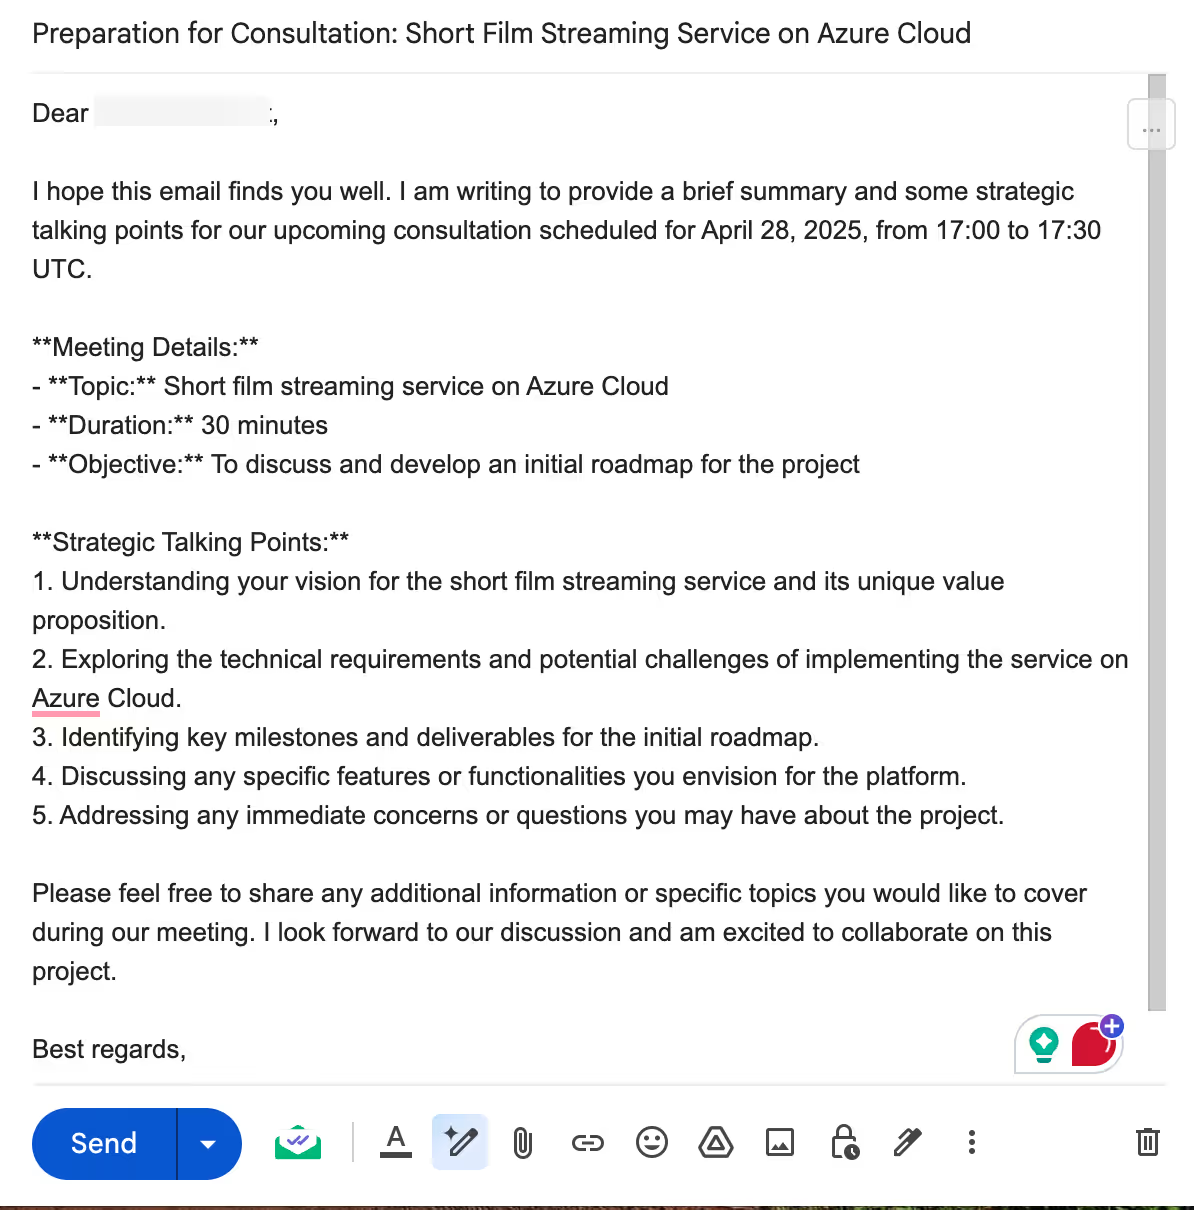
Once you’re happy with how the test looks, just switch your consultant on by flipping the top slider from ‘Off’ to ‘On.’

Now, every time someone books a consultation through your Calendly, your AI consultant will automatically research them and their company, then draft an email with all the key info and strategic talking points ready for you to review. How cool is that?
That’s it for this tutorial, folks! Remember to tweak the instructions. Add as many details as you like. The agent will deliver amazing stuff you can use to prepare beforehand.


.png)
.png)
