.avif)

When you’re learning to code—whether with AI or not—the go-to project is almost always a to-do list app. It’s practically a rite of passage for new developers.
Besides being a handy tool, it’s a great way to put your skills into practice and create something functional. So, let’s dive in and build one using Bolt!
By the end of this tutorial, you’ll learn how to
- Craft a prompt to build the first version of the app
- Connect a database for storing the to-do list items
- Test the app and make changes using prompts
- Publish the app
Tools you’ll need:
Let’s get into it!
Step 1 - Craft a prompt to build the first version of the app
The best thing about AI coding apps is you can give it a simple prompt and it will generate the codebase for fully working apps in minutes!
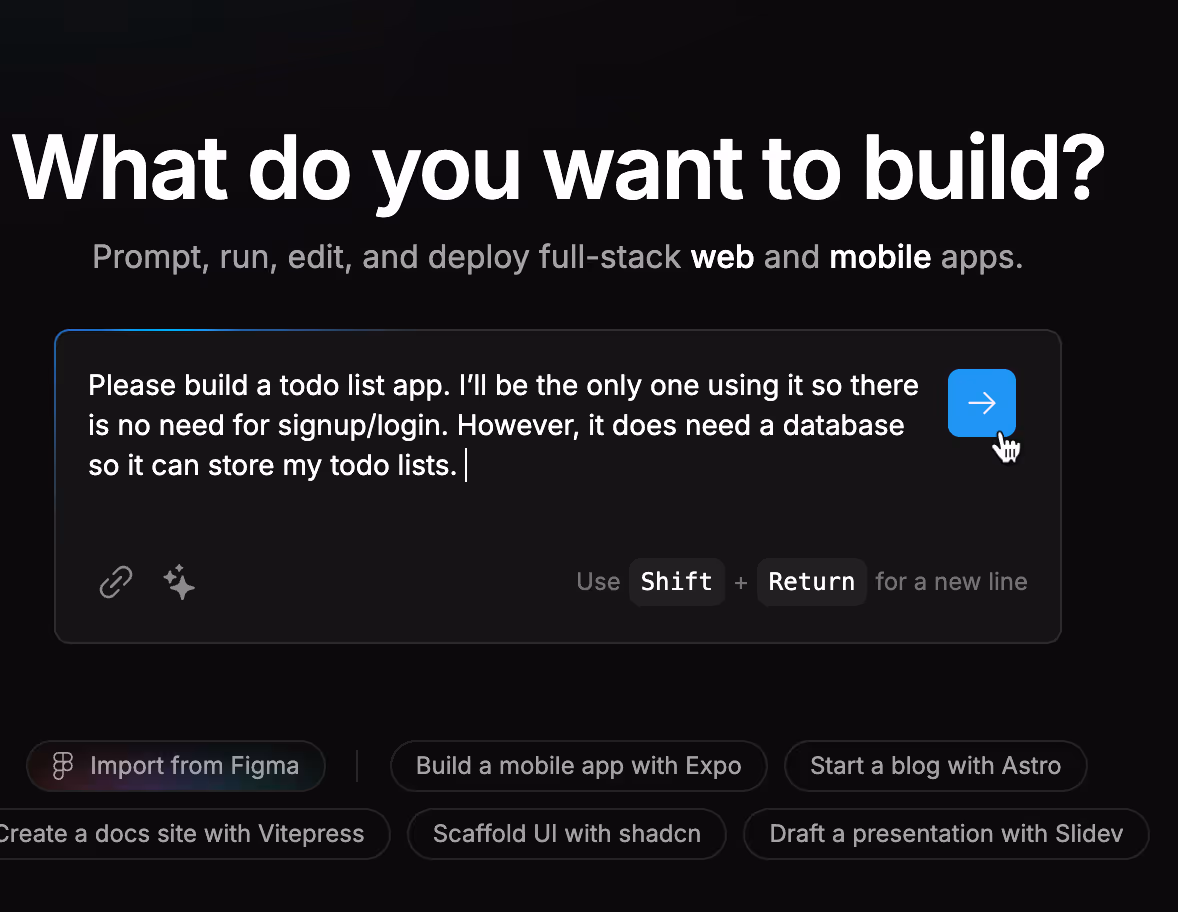
For the to-do list app, here’s the prompt we’ll use. Notice that we’re keeping it simple and clear—no mention of programming languages or technical terms—just a straightforward explanation of what we want the app to do.
Prompt:
Please build a todo list app. I’ll be the only one using it so there is no need for signup/login. However, it does need a database so it can store my todo lists.
Click the blue arrow to start.
Bolt will quickly take you to its build mode, with the code being generated on the right and the chat on the left.
Do not worry if the code doesn't make sense to you. It doesn’t need to!
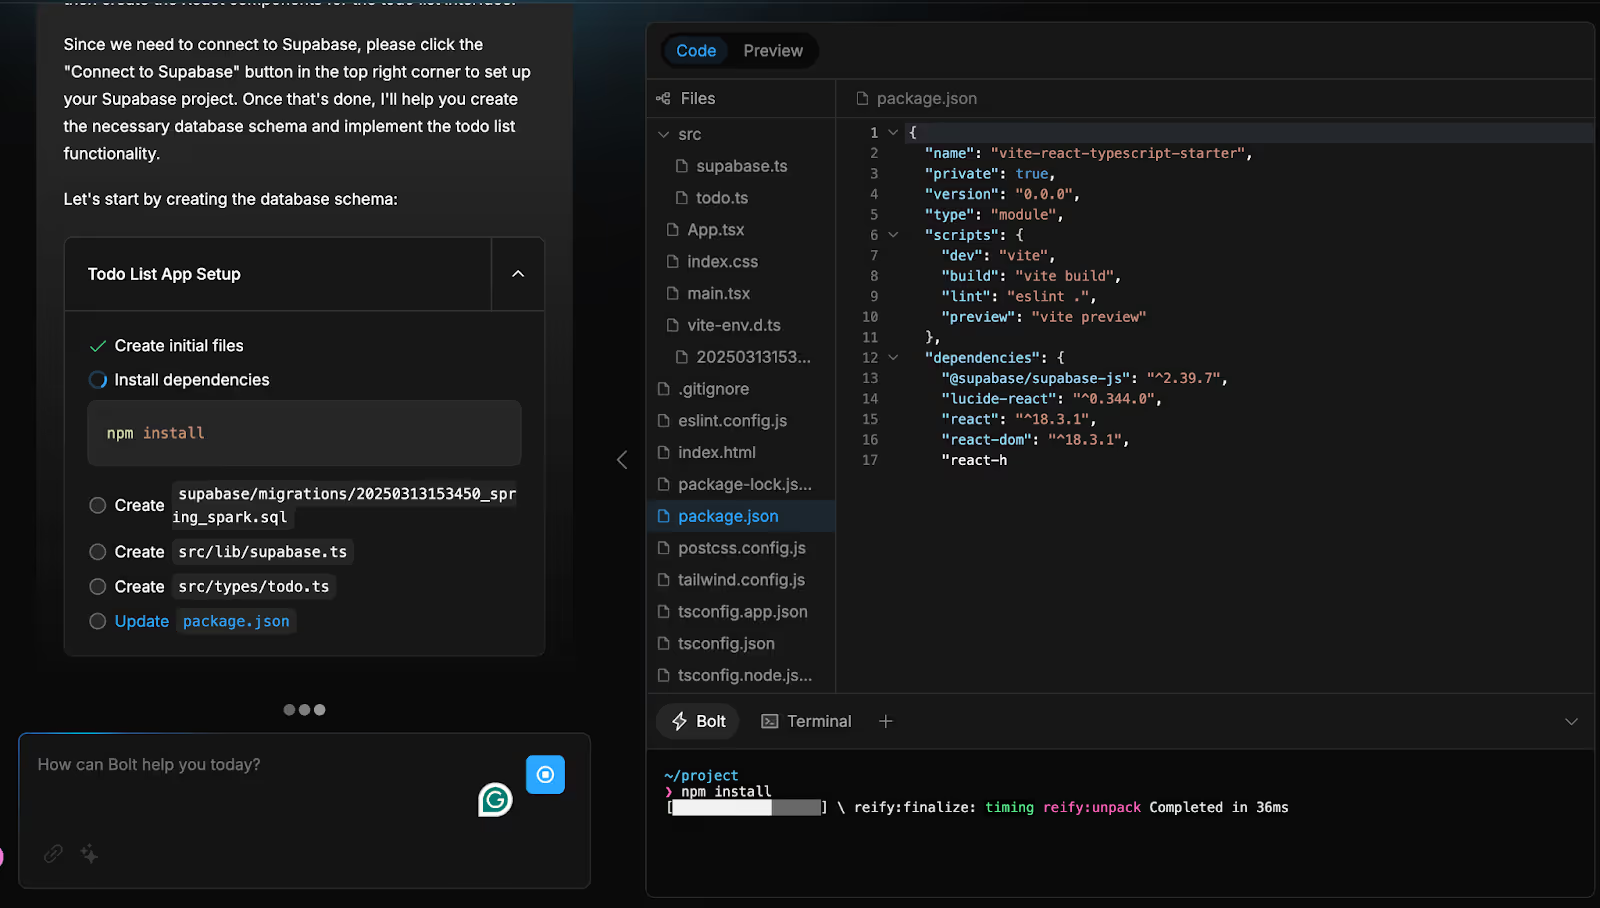
On the left, Bolt will keep you in the loop, giving you updates on what it's building and breaking down each step as it goes.
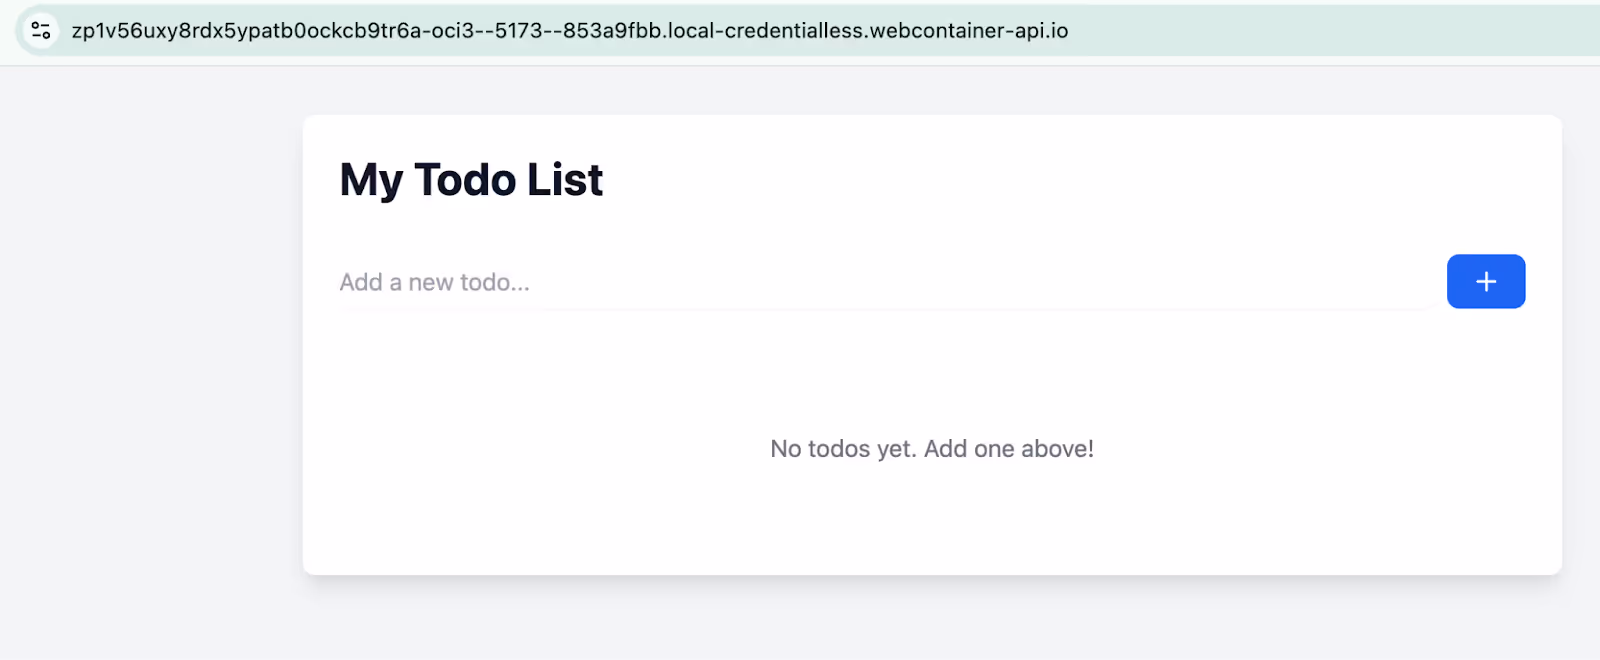
After a little while, the right panel will switch from the “Code” tab to the “Preview” tab. It might look empty at first—but no need to worry, that’s completely normal!
Step 2 - Connect a database for storing the to-do list items
Right now, if we tried using our app, any to-do items we add would disappear as soon as we reload. That wouldn’t be very useful!
To fix this, we need a way to store our to-do items, which is where a database comes in. This idea is called ‘persistence’—it simply means keeping data saved even after closing the app.
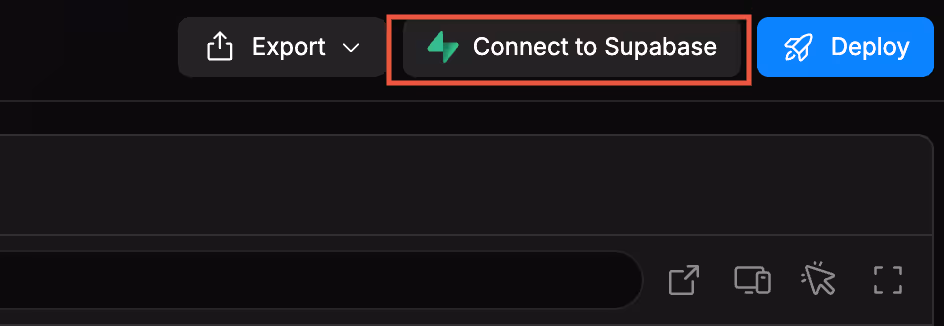
In the chat, you’ll see Bolt asking about a Supabase connection. Supabase is a platform that hosts databases. Once you link your Supabase account to Bolt, it will automatically set up a database for your project.
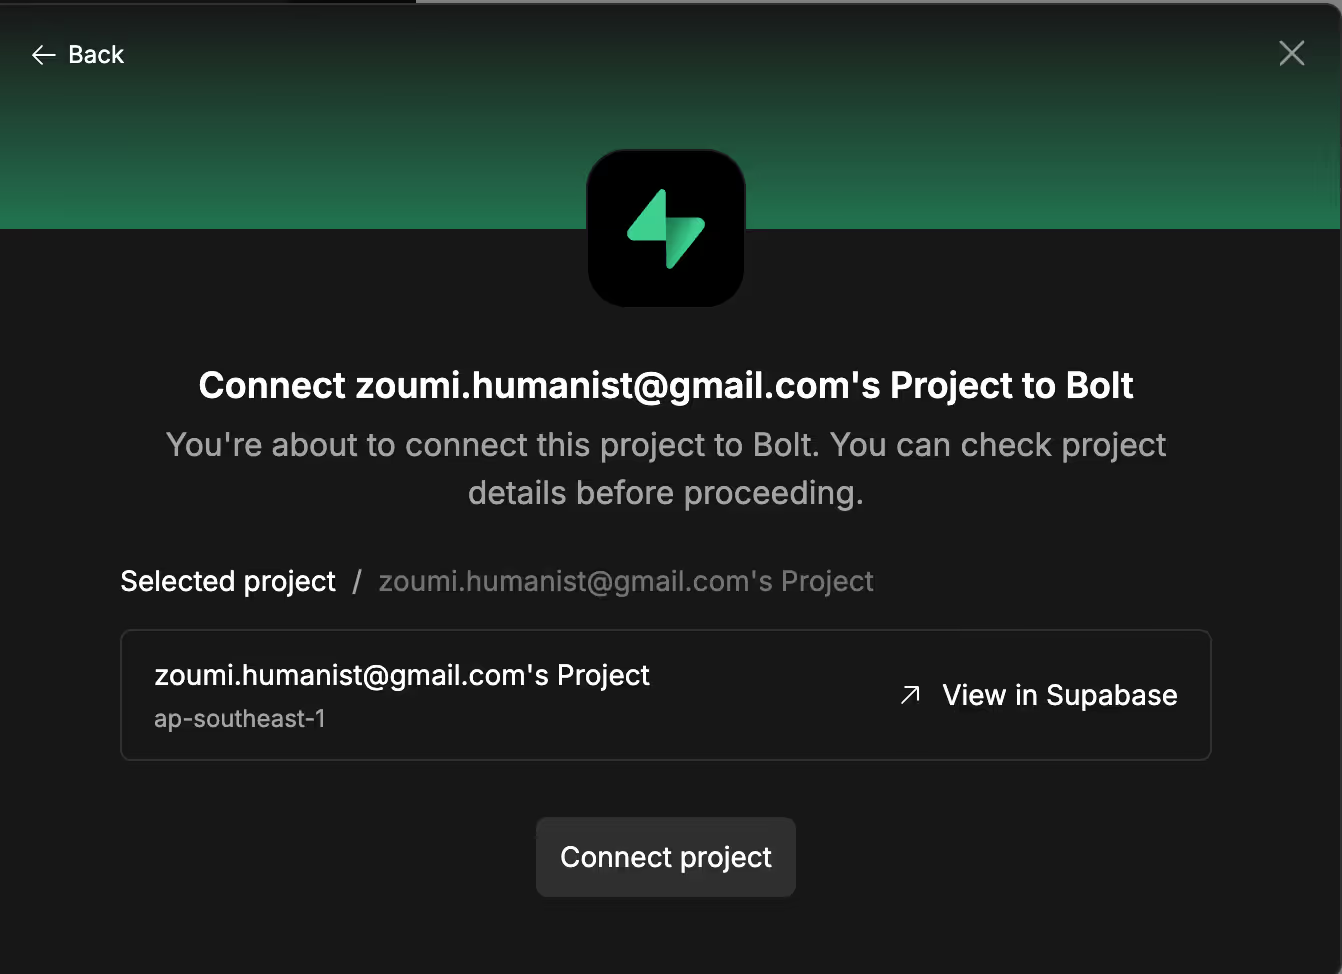
Click the “Connect to Supabase” button in the top right corner of the screen.
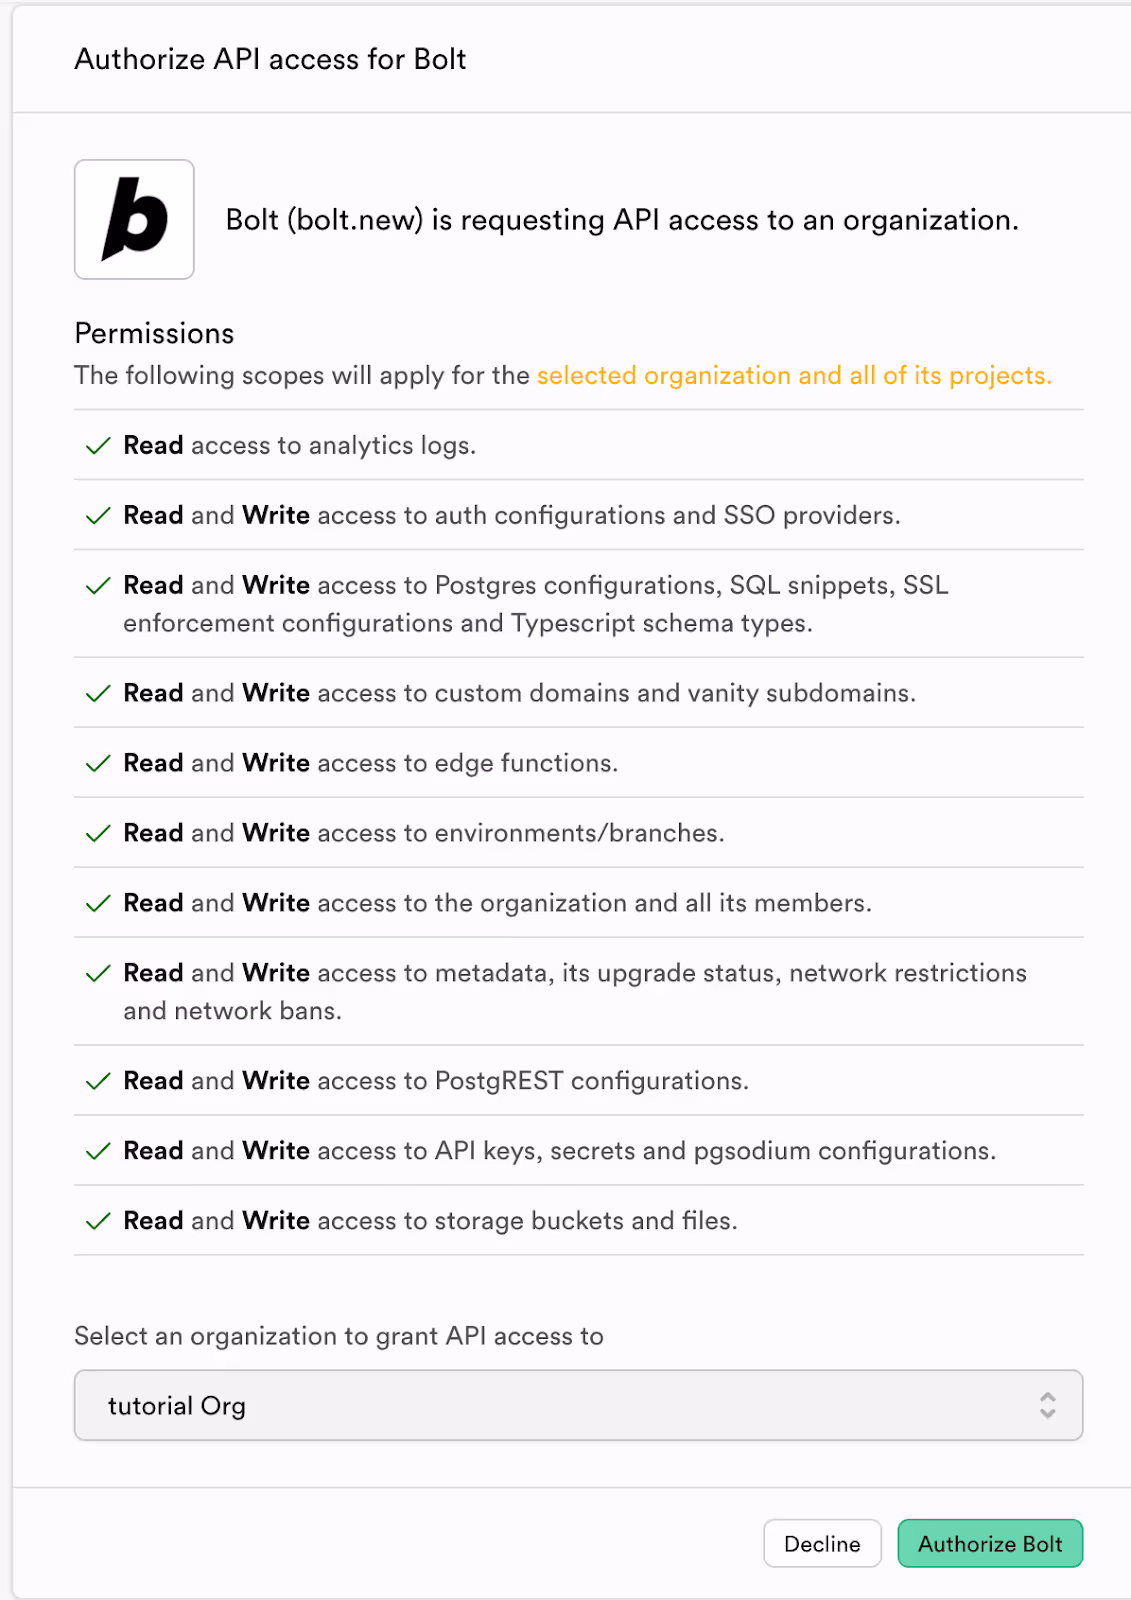
If this is your first time connecting Supabase in Bolt, you’ll see a permission box pop up—just accept it to move forward. If you’ve connected before, Bolt will jump straight into setting up the database for your app.
Let’s assume, it’s your first time connecting to Supabase. After clicking the ‘Connect to Supabase’ button, you will be directed to the Supabase login API window. Login or create a new account. Once the account is active, it will ask you to grant access permissions to Bolt. Click ‘Authorize Bolt.’
Go back to Bolt. Click the organization you want to connect the database with. Click ‘Connect project.’
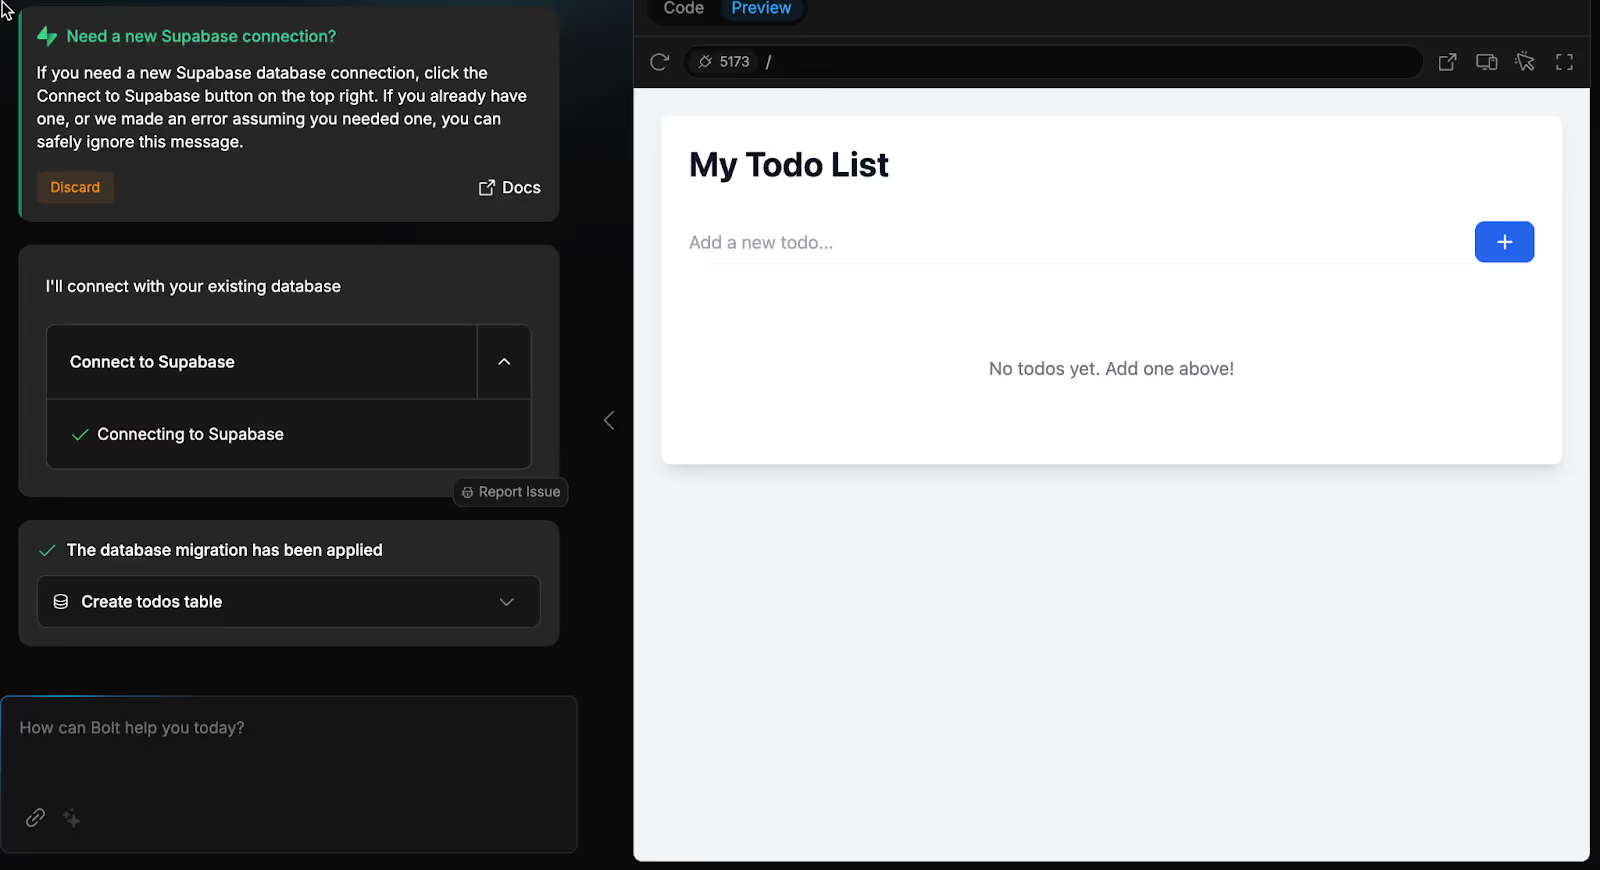
After about 30 seconds, you’ll see a prompt for something called ‘Supabase Migrations.’ This just means Bolt is setting up the necessary tables in Supabase for your app. Simply click ‘Apply changes’ to move things forward.
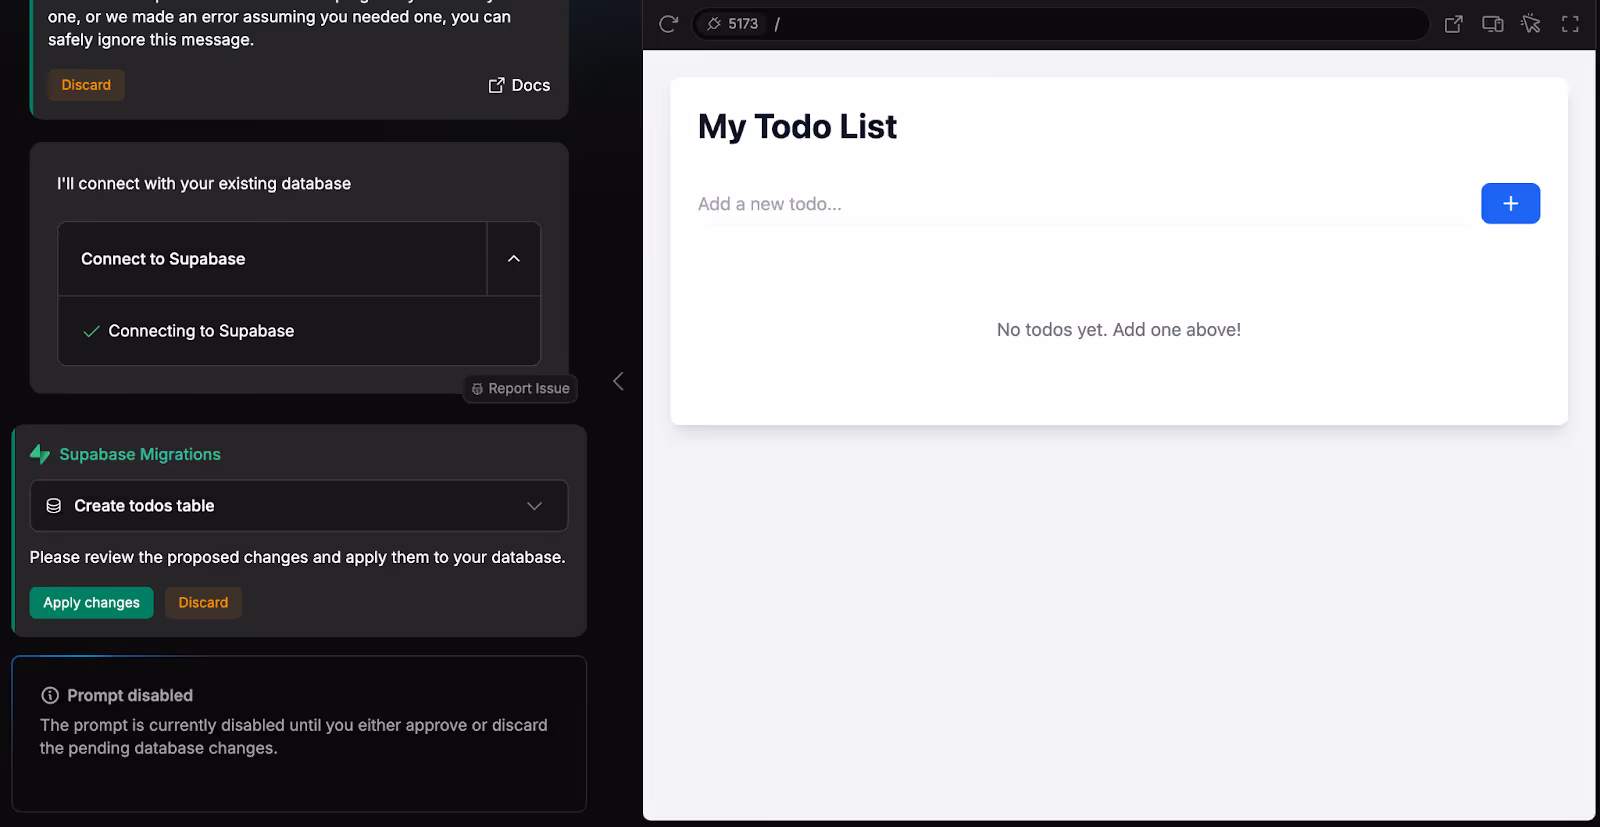
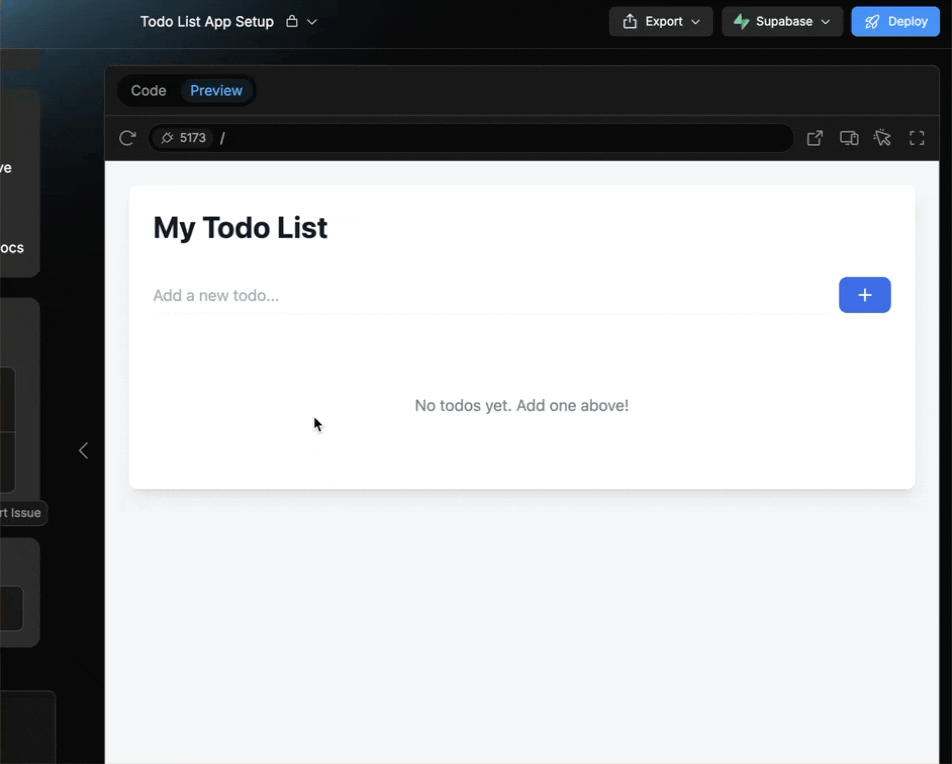
At this stage, you should see the first working version of your app on the right.
You can open your app in a new browser tab by clicking the square with a diagonal arrow in the top right.
If you see a warning message, don’t worry—just click ‘Connect to Project’ to continue.
Your to-do list app will be opened in a new tab.
Step 3 - Test the app and make changes using prompts
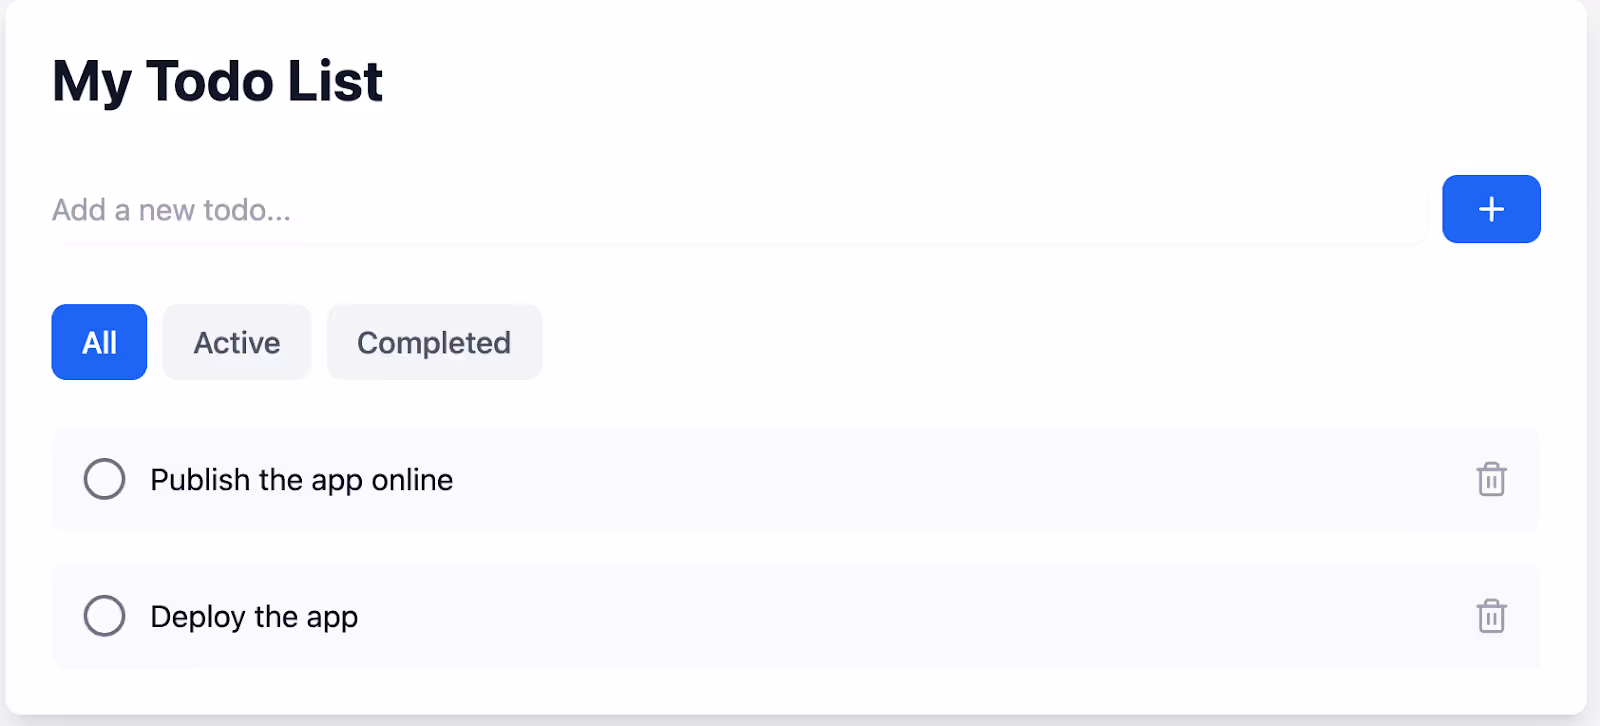
This app looks fantastic! It has a clean, user-friendly layout with a professional design—well done, Bolt!
We also love that it includes tabs for ‘All,’ ‘Active,’ and ‘Completed’ tasks. We didn’t even ask for that, but now that it’s here, it feels like a perfect addition.
Behind the scenes, Bolt used Claude’s Sonnet 3.7 AI model, which is known for being proactive and creative when building features.
A quick test adding tasks, and everything runs smoothly—great work!
Now, let’s add a way to reorder tasks by priority. We’ll ask Bolt to handle that for us.
Type the following prompt directly into the chat, then click the blue arrow button to continue.
Prompt:
This looks good! Please create a function to re-order created tasks by priority.
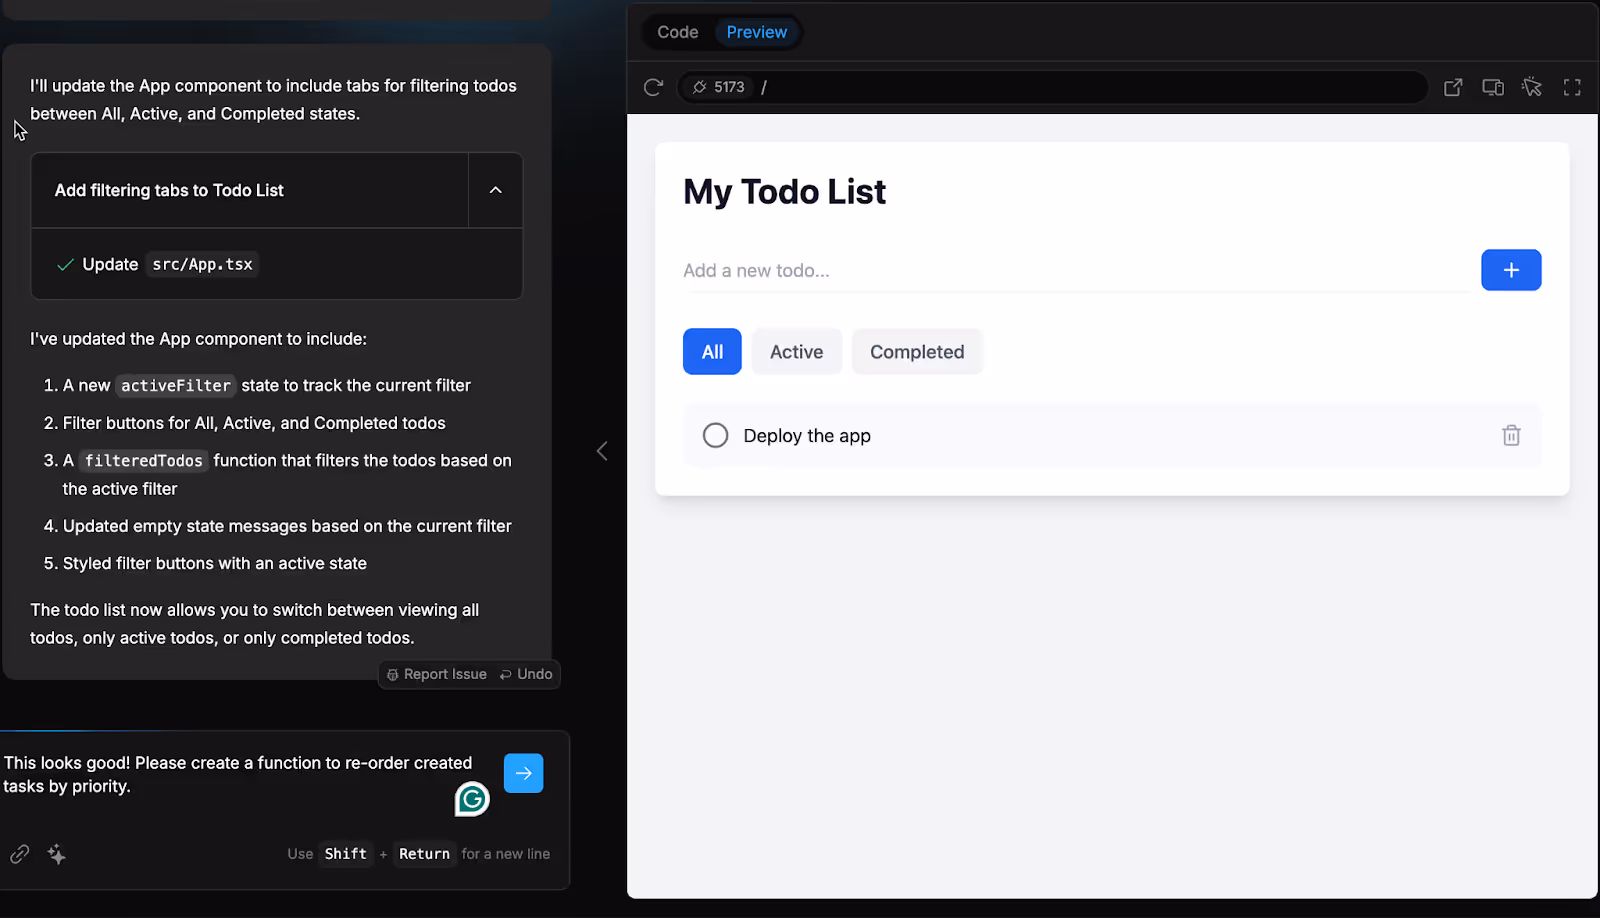
Just like before, Bolt will start generating and updating the code while keeping you informed in the chat.
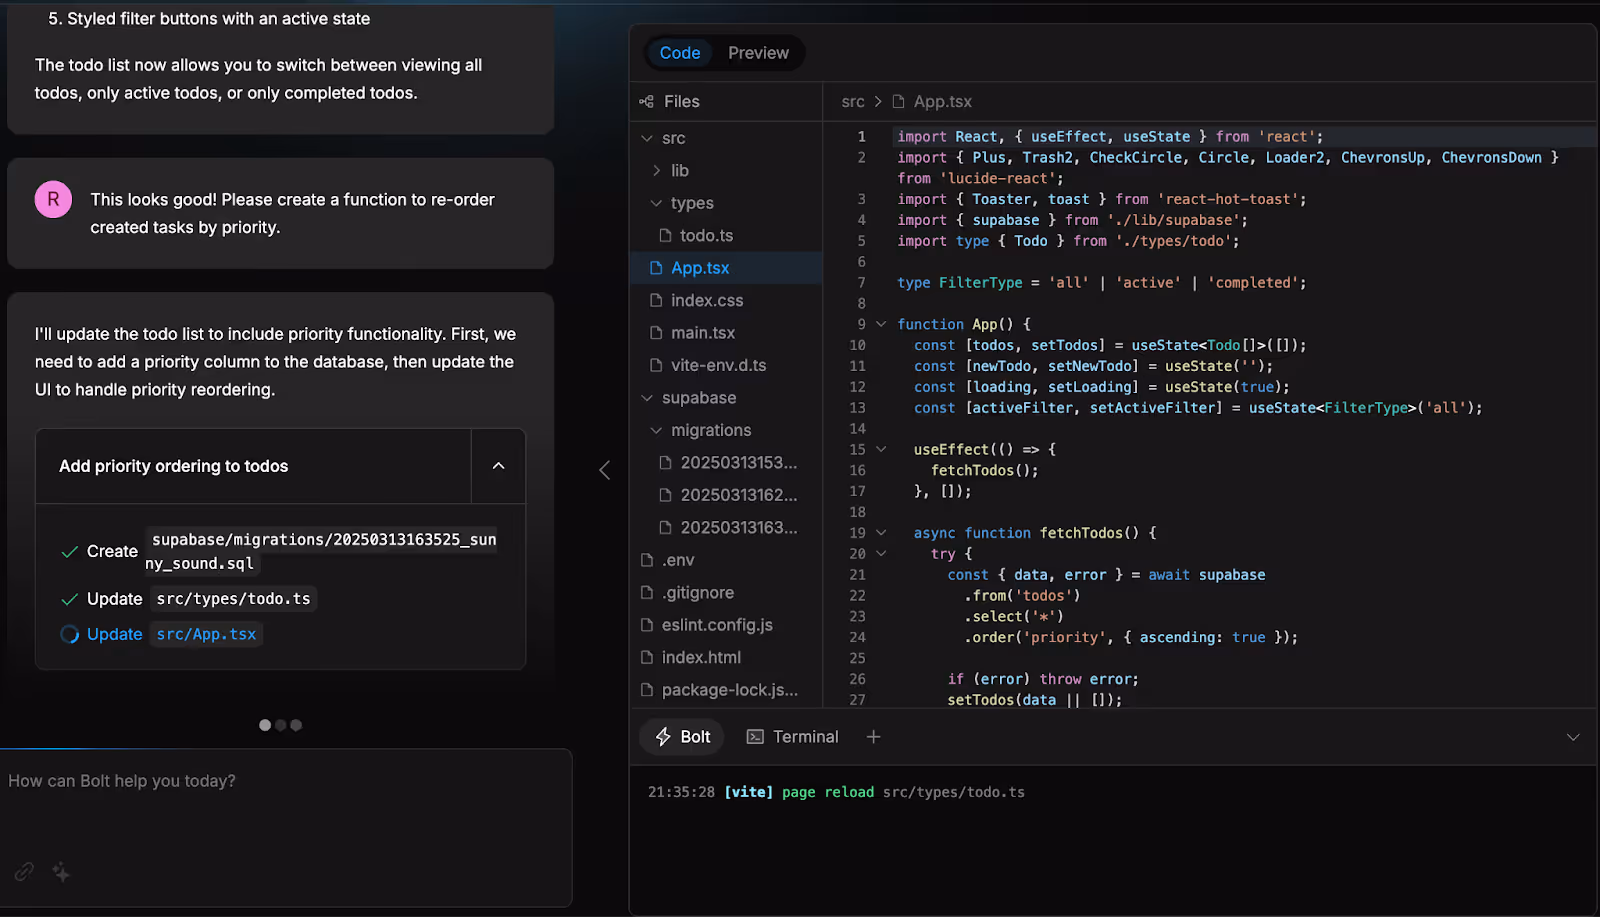
Once Bolt finishes, you’ll need to approve another Supabase Migration since it’s updating the database to support the priority feature. Just click “Apply changes” when prompted.
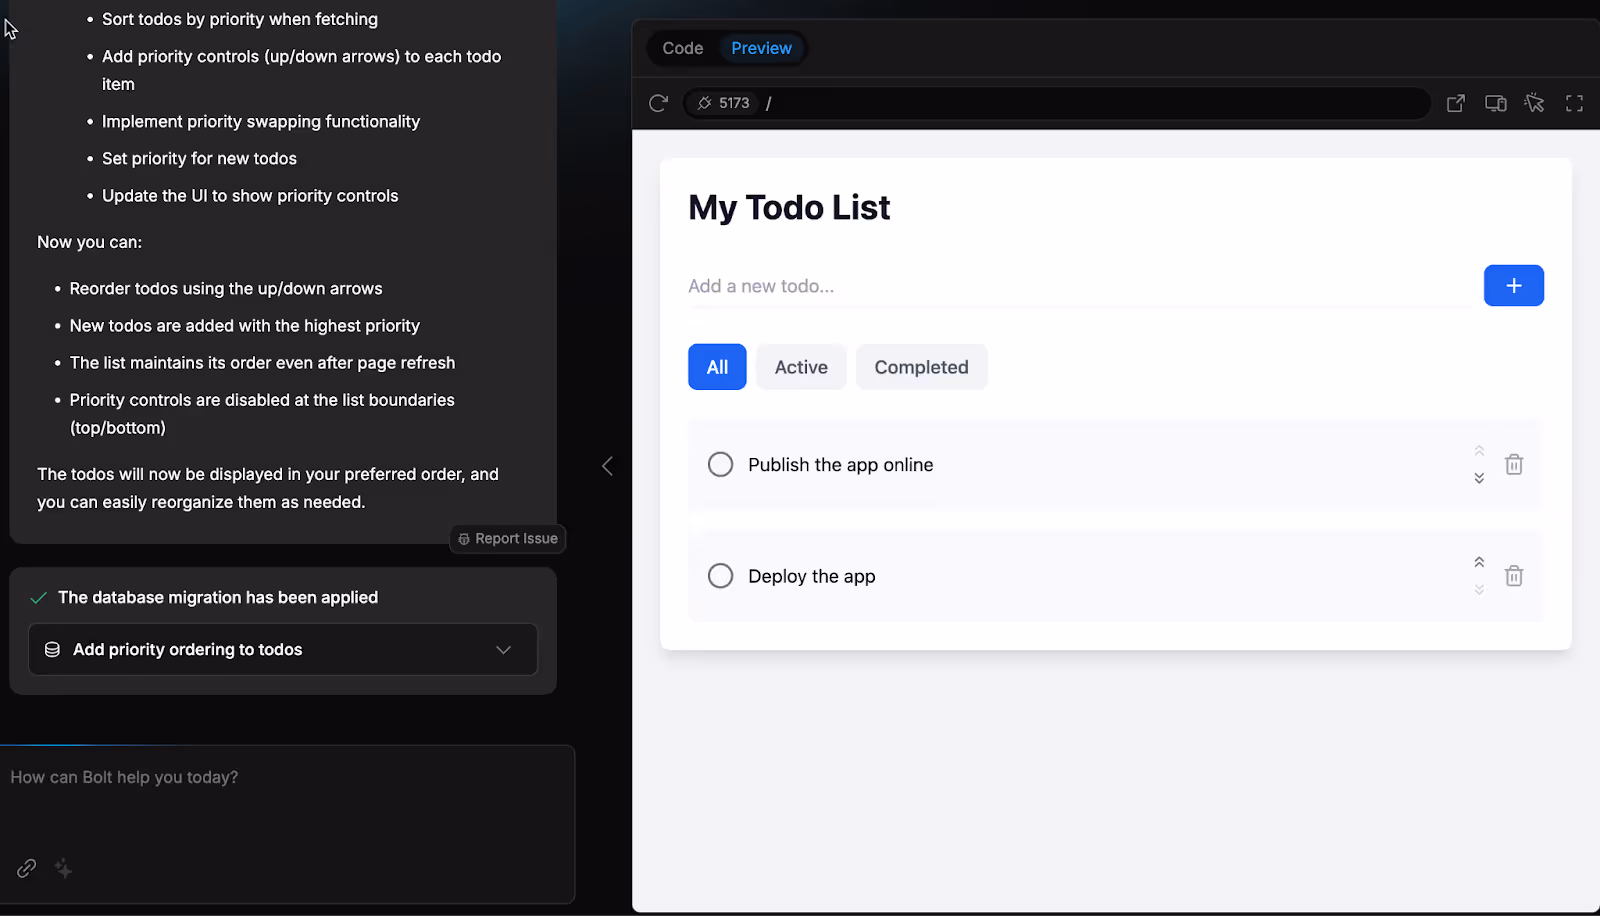
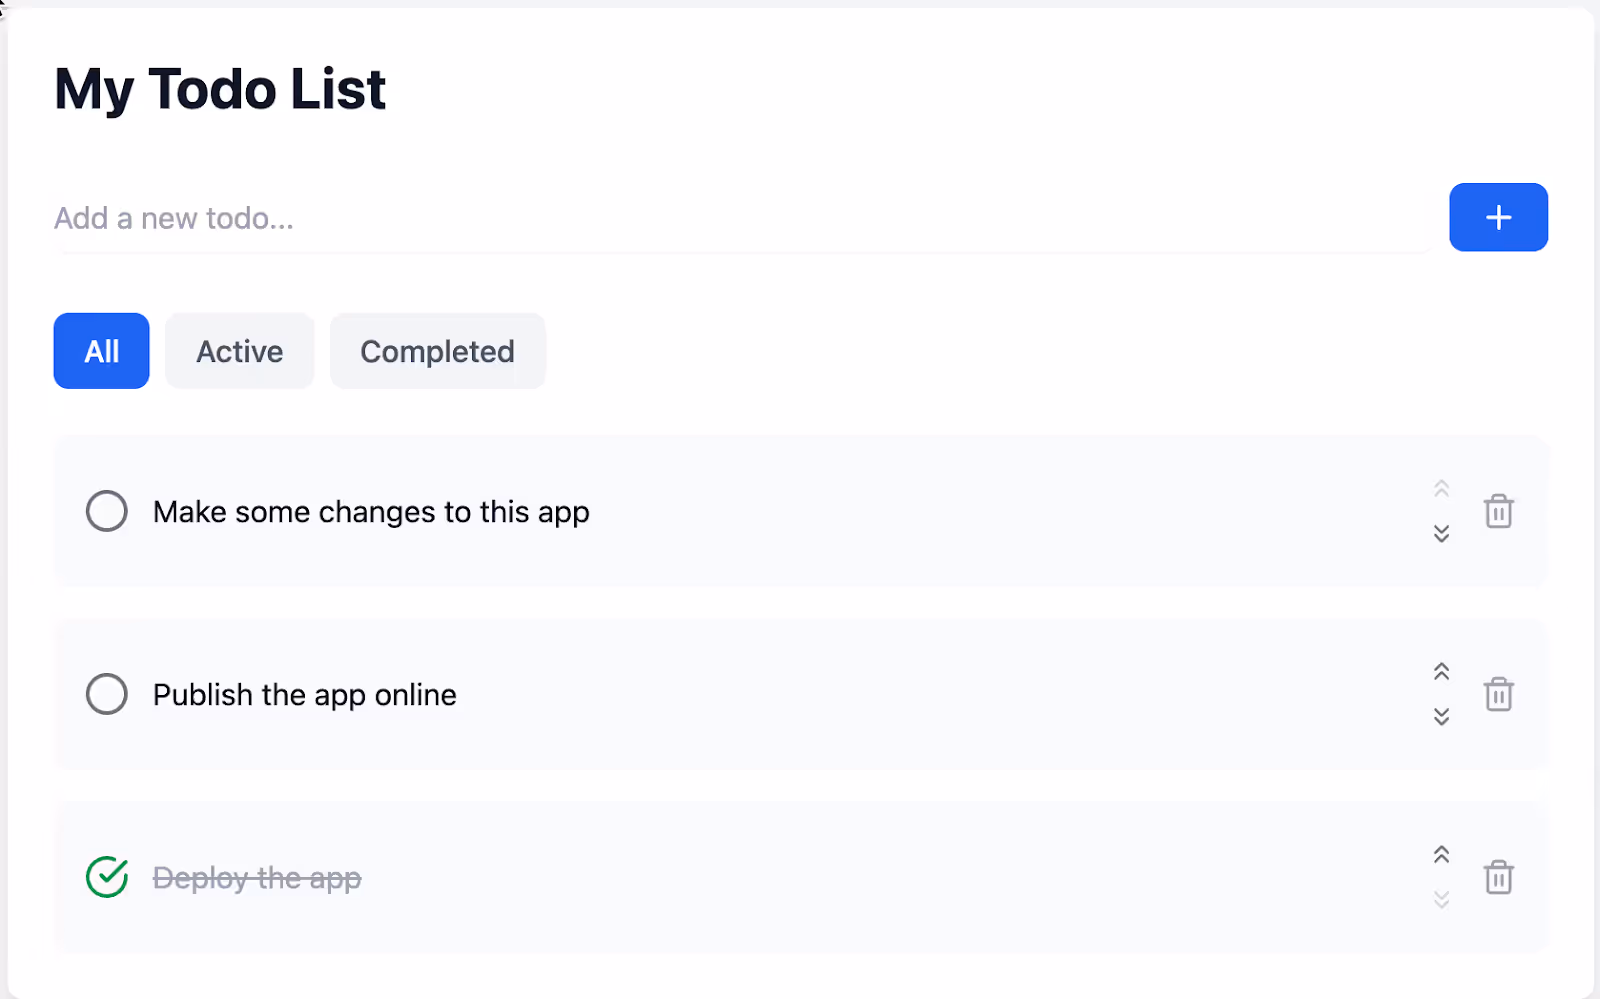
Reload the preview tab. You can now see options to edit the priority on tasks and re-order the list by priority.
Step 4 - Publish the app
Right now, our app’s preview URL only works while Bolt is open. But the good news is, Bolt makes it easy to deploy the app directly from the editor.
Just click the ‘Deploy’ button in the top right.
Bolt will then start deploying your app on Netlify (a hosting platform) and keep you updated in the chat. If your app preview disappears for a bit, don’t worry—that’s completely normal!
Once deployment is complete, you’ll get a URL for your live app.
If you have your own Netlify account, you’ll also get a link to transfer the project to your account. The main benefit of doing this is that you’ll be able to set up a custom domain for your app.

There you have it, folks. Do not forget to experiment with your prompts. This was a simple app. You can create complex apps with Bolt without touching a code editor. With your imagination, you can achieve anything. The sky is the limit.
.avif)
.png)
.png)
.png)

