.avif)

Most companies use a website email form to receive business inquiries. The inquiry form provides a great way to collect, store and quickly access insightful data.
However, many customers opt for an email address instead of completing an online form. This becomes an additional task, and a resource must read the email, extract the information and organize a follow-up, which can be a real hassle.
This additional task can be automated thanks to AI automation tools like Zapier and Airtable. You can build an automated process without using coding skills to extract the required data from the email and create a summary before sending it to the concerned department for follow-up.
This tutorial will show you how to automate the inbound emails into actionable leads using Zapier and Airtable.
To help you follow this tutorial, we will use a scenario where you’re running an online gift shop. You receive a query to prepare a gift basket for a birthday party. The party will start at 1800 hours tomorrow. You want AI to extract all the relevant information from the email and put it in an Airtable to send the details to a Google Sheets assigned to an order fulfillment team. Note that this last part will really depend on your workflow and you could totally send the leads to Slack or in an email.
Key Objectives
- Create a New Zap for the incoming email
- Construct an air table to store the data from the email
- Use OpenAI’s API to extract the data from the inquiry email
- Add the data to the Airtable
Step 1 - Create A New Zap For The Incoming Email
As with many organizations, you likely receive emails through an address linked to either Outlook or GSuite. This tutorial will focus on GSuite, which can seamlessly integrate with Zapier. Outlook is also well integrated. You can choose any email provider as long as it is integrated with Zapier.
Access Zapier.com. Log into your account. Click the big orange ‘Create’ button on the left. Select ‘Zaps.’

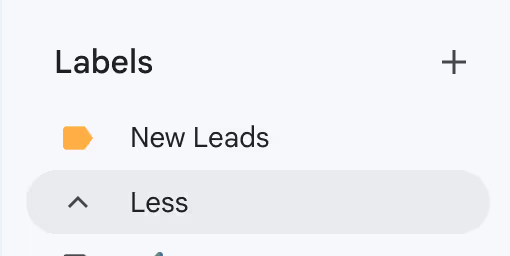
The Zap editor allows you to automate the task by selecting triggers for each step of the process. The first step is to create a trigger for Gmail. The important question here is how Zapier can identify which inbound emails are leads and which are spam. The solution is creating a gmail label for the potential leads you want Zapier to process. You can call them ‘New Leads.’
Note:
Remember, you can label the incoming emails yourself or automate it by configuring the filter settings in Gmail.
In the Zap editor, click the trigger and select ‘Gmail.’ Once the trigger is created, click the box and select ‘New Labeled Email’ under the ‘Trigger Event.’

Sign in to your Gmail account and click ‘Add Account to continue.’
A dummy email was sent to my email address. I tagged it with the ‘new leads’ label.

Access the trigger configuration box and go to the ‘Configure’ setting. Select the mailbox where the labeled email is and click ‘Continue.’

It’s time to select the inbound email to test the Zap. Click ‘Test’ and search for the emails in your mailbox.

Zapier will show you a couple of emails. The first record will be the exact one. Click the record and check whether the email is the labeled one. Click the record to select it and click ‘Continue with selected record.’
The trigger is configured.
Step 2 - Construct An AirTable To Store The Data From The Email
You need a place to store the data extracted from the email. Airtable is best because it is a user-friendly, cloud-based tool for creating and managing databases and spreadsheets. It benefits AI automation because of its intuitive interface, wide integration capabilities, scalability, and robust API support. This makes it easy to connect with other AI tools and automate workflows.
You must build an airtable base for storing the data extracted from the inbound emails.
For our scenario, we used the following columns to store the data:
- Customer name
- Customer email
- Services/items ordered
- Deadline
- Budget
Go to Airtable and create a new base from scratch. Click ‘Create’ at the top left bottom of the page and click ‘Start from Scratch.’

To capture the leads' data, rename and add new columns. Double-click on the column headers to rename them.

Step 3 - Use Openai’s API To Extract The Data From The Inquiry Email
To extract the necessary information from the inquiry email, we'll utilize OpenAI's API, which is conveniently linked with Zapier for straightforward usability.
In the Zap editor, locate the 'Action' section, search for "ChatGPT" as your app, and choose "Extract Structured Data" for the event. Sign in to your ChatGPT account by providing an API key that you can generate from your Chat GPT account and click ‘Continue.’

Various components require setup to implement this effectively. Initially, connecting the ‘Body Plain’ field from the zap trigger to the “Unstructured Text” slot is essential. The AI will interpret this field.
For this task, we'll utilize the GPT-4o model, the latest and most robust offering from OpenAI. However, the GPT-3.5-turbo model is more cost-effective and might perform equally well. Feel free to test both models according to your preferences.
After configuring the data connection, you must configure the ChatGPT to interpret the data from the email and create usable data fields that can be stored in the Airtable.
Once the setup is done, we should guide the ChatGPT to extract the data from the email.
We must draft a "Description" that guides the AI in its task. This is your chance to explain why the data is being extracted and to provide any detailed context the AI might need.
Select the temperature to body plain because that’s all the data we need to extract the lead.
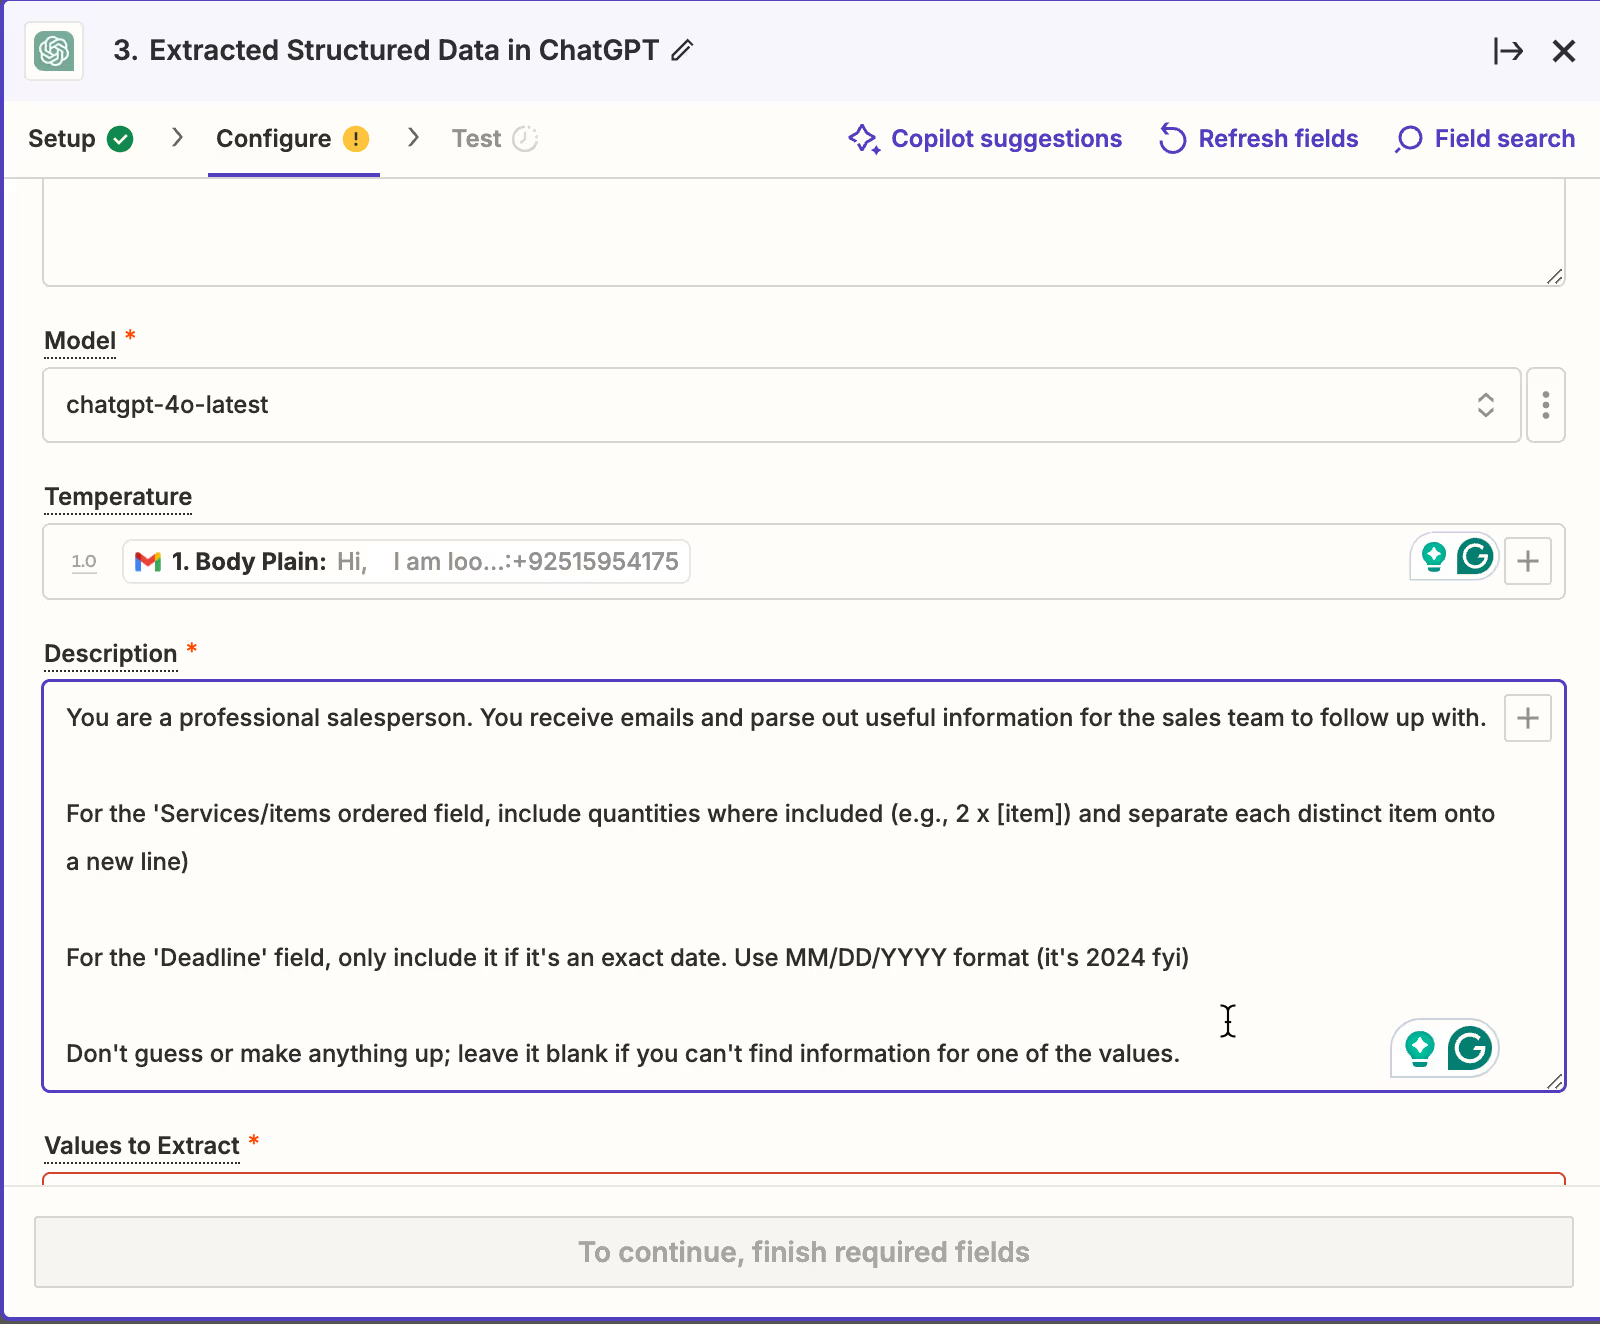
You can experiment with the prompt to see what works best for you. In our case, we found the following prompt to be quite successful:
Prompt:
You are a professional salesperson. You receive emails and parse out useful information for the sales team to follow up with.
For the 'Services/items ordered field, include quantities where included (e.g., 2 x [item]) and separate each distinct item onto a new line.
For the 'Deadline' field, only include it if it's an exact date. Use MM/DD/YYYY format (it's 2024 fyi)
Don't guess or make anything up. Leave it blank if you can't find information for one of the values.
After taking care of the prompt, it’s time to tell ChatGPT the exact data columns we require to extract from the email. Copy/paste the column names under the ‘values to extract.’ Click ‘Continue.’

Review all the configuration steps and click ‘Test’ to see whether the ChatGPT extracts the required data.

Step 4 - Add the data to the Airtable
We must now integrate this freshly obtained data into Airtable.
To achieve this, introduce an additional step to your zap. Choose "Airtable" as the application for the action, and select "Create Record" as the event. Click ‘Continue’
Now, align the output fields from the ChatGPT process with the appropriate columns in Airtable.
We avoided extracting the "Customer email" via AI, as it is accessible directly from the Gmail trigger step. Regarding the "Budget," I revisited the process and executed a new test with a modified sample email to ensure I had a field ready for mapping here.

Specify the Airtable base and the table. Zapier will extract the table columns and display them in the configure window.

In the test box, test the step and finalize your Zap.
Now that you have completed the steps, you can send the portable data to your Google Sheets, an email address or a Slack message. It all depends on your workflow.
- Zapier can be configured to dispatch an automated response to the email, ensuring prompt engagement. Furthermore, Zapier can notify your sales team via Slack, with the AI providing a concise summary of the lead.
- This approach lets your team quickly grasp the lead's essentials without opening Airtable.


.png)
.png)
