.avif)

This tutorial is the second one of the Automate Project Management with AI course. In this tutorial, we’ll take the project plan we created with ChatGPT and set up an easy way to track and report on it using Airtable.
Airtable’s got a great AI tool that makes building project management systems a breeze. We’ll use their templates and the AI assistant to put together our tracking system step by step.
Here are the steps to follow in this tutorial:
- Build a project management app in Airtable.
- Upload all your project plan details.
- Add custom reports and tailored interfaces
Tools you’ll need:
Let’s just get right to it!
Build a project management app in Airtable
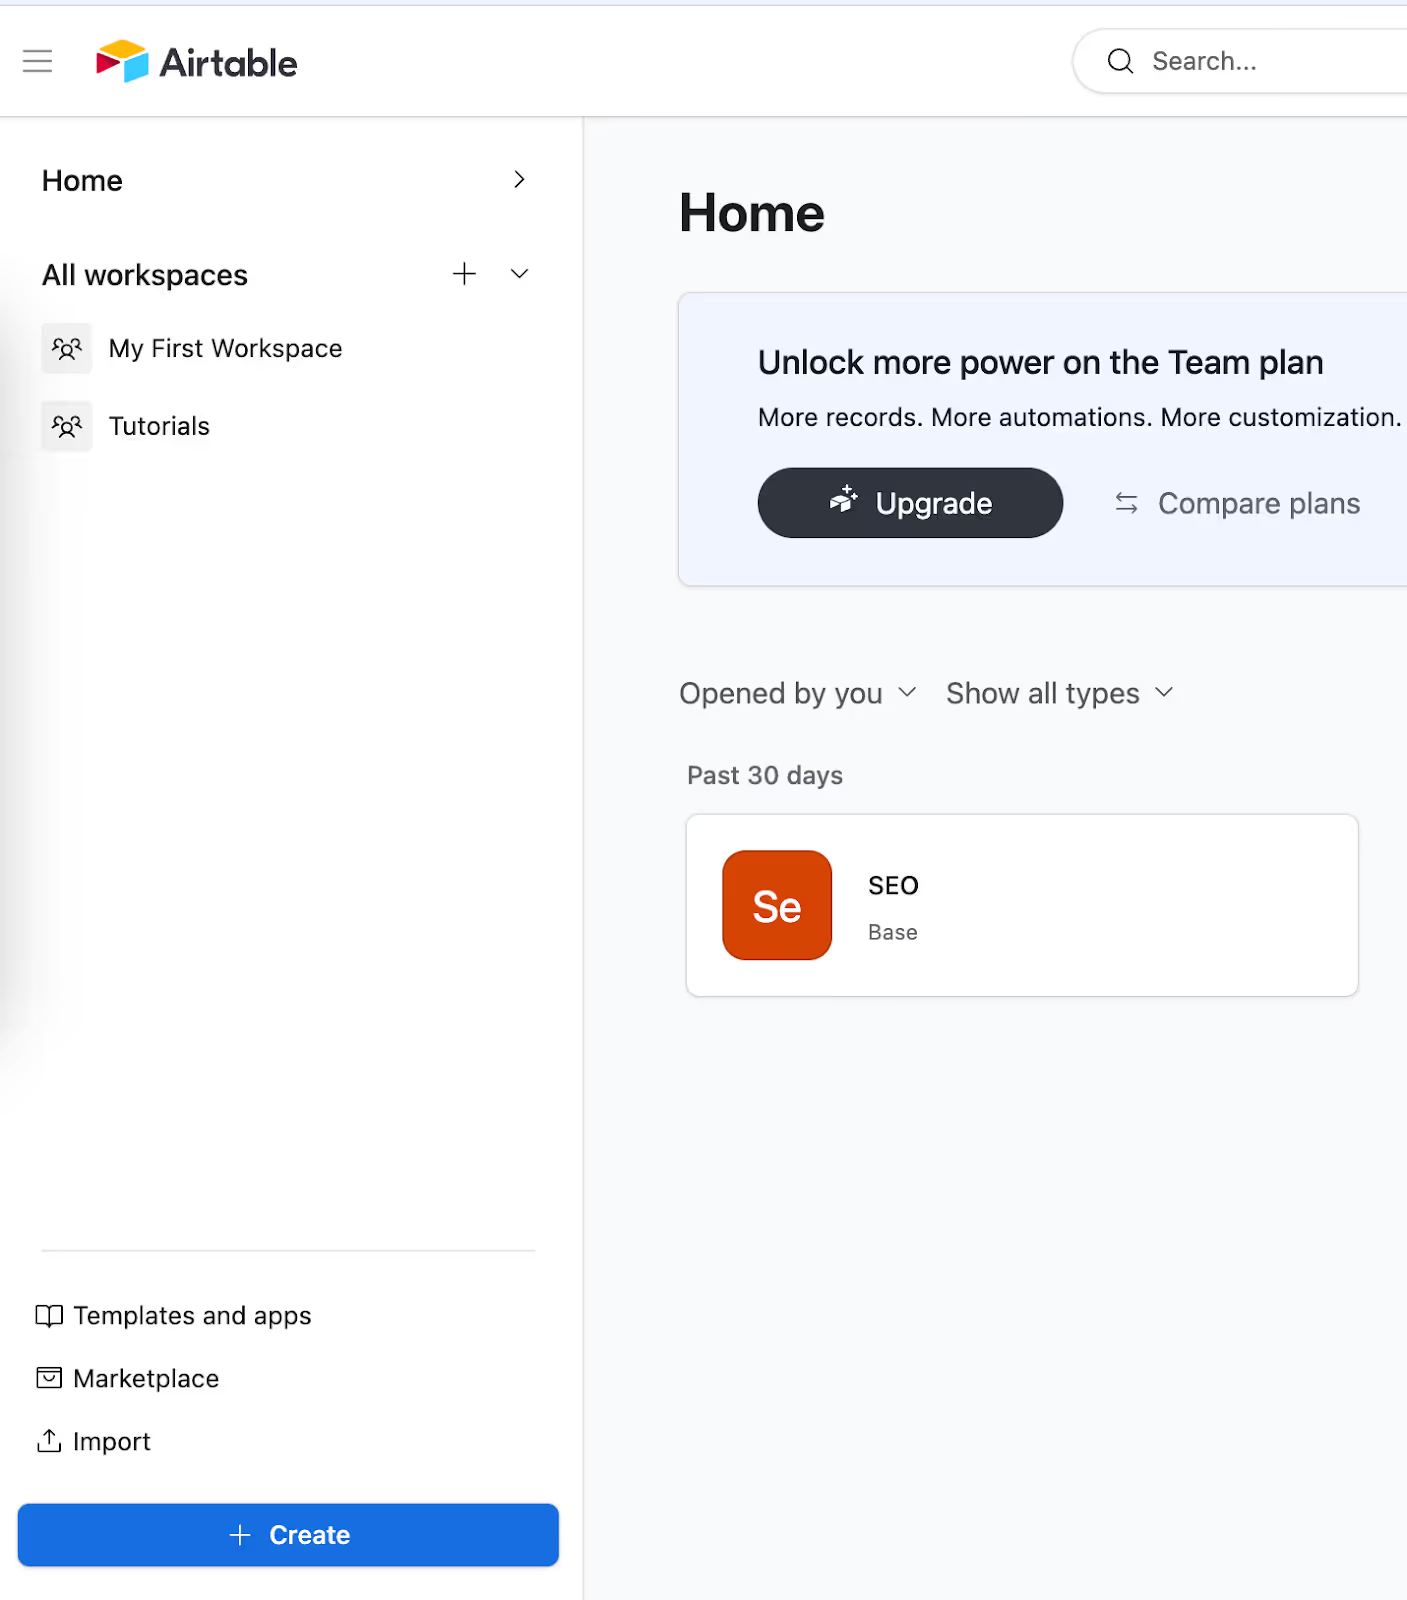
Log in to your Airtable account and click the ‘Create’ button in the screen's bottom left corner to create a new base.
Now, choose the "Build an app with AI" option to take advantage of Airtable's AI app builder for a smoother setup.

Airtable will take you to a prompt box. Click the ‘app quick start building experience link at the bottom of the screen. The AI setup is good, but we want to show you the steps to create a base manually. We will use AI later in the tutorial.

Click ‘Project Management’ on the ensuing screen.

Select ‘Projects, Tasks, and Programs and click ‘Next.’

In the 'Choose app automation' screen, click ' Track and Assign Tasks ' and then click ‘Next.’

Finally, we'll pick a name, color scheme, and icon to give our app its own unique style and personality. Click ‘Finish.’

And there you have it. You’ll have the framework for a complete project management app ready to go! Next up, we’ll add our project plan data. To do that, head over to the app’s data layer by clicking the “Edit app” button in the top-right corner of the screen.

Upload all your project plan details
In the edit view of the app, click the ‘Data’ in the top navbar.

You’ll see data tables for Tasks, Projects, and Programs. Since all the info from our project plan focuses on tasks, we’ll stick to working with the “Tasks” table.
First, remove the filler data. Click the checkbox at the top-left corner of the table, right-click on the highlighted rows, and choose “Delete all selected tasks.”

Now that the data has been cleared let’s tweak the column headers to match the structure of our project plan. Change the “Assignee” field to a text field and rename “End date” to “Due date.”

Next, we’ll upload our project plan data using the ChatGPT-generated CSV file from the first lesson. Click the ‘Add or import link in the top navbar.
Quick Tip: For a smoother experience, we recommend using the CSV import extension, which you can access in the extensions tab. However, it’s not free. You must pay at least $20/month for a subscription because most extensions are accessible only through a paid account.
Click the ‘Add or import’ link and select the ‘CSV file’ option in the drop-down menu.

In the previous tutorial, we downloaded the project tasks created by ChatGPT in CSV format. To upload your CSV of task data for the project, click Local Files in the left navigation and then click Browse. Select the downloaded file and click ‘Upload one file.’

Select ‘Tasks’ in the import file dialog and click ‘Next.’

Map fields screen appears. Click ‘other settings’ at the bottom of the screen dialog and select ‘Exclude first row in import.’
Click ‘Map fields’ and review the auto-mappings of the fields. If there are discrepancies in the mapping, fix them by using the drop-down menus next to each mapped field. Click ‘Import’ after you are done reviewing the mappings. Airtable will import the data into your project management app.

And there you have it. All the project data has been imported, and the task fields have been populated beautifully.

Quick Tip: You can make this table more advanced by connecting tasks to Projects or Programs from the other tables. You could also take it a step further by linking tasks together as dependencies.
Add custom reports and tailored interfaces
Now that our project plan data is set up in Airtable, we can customize the app’s interface for other users and create reporting dashboards. To get started, click the “Interface” tab at the top of the page.

Quick Tip: To level up your Airtable Interface, make sure you’ve added a “Status” field to your tasks if you haven’t done that yet. If you have followed our steps, the Status field will be populated with dependencies.
You can tweak the Tasks interface page using the editor on the right side. Once it looks just the way you want, hit the “Publish” button to lock it in.

Go to the “All Tasks” tab and click the “Sort” button to select “Kanban.” You’ll see a full Kanban setup with a sidebar for task details. Feel free to add other visualizations and share these views with your team to keep everyone on the same page.

Quick Tip: You can access the task details sidebar by clicking on any task in the interface.
Alright, let’s set up a reporting dashboard for our project. Click on the Base name in the top-left corner, then select “Edit pages” from the dropdown menu.

Let’s name our interface. Click the ‘+’ button next to the Interfaces list in the sidebar.

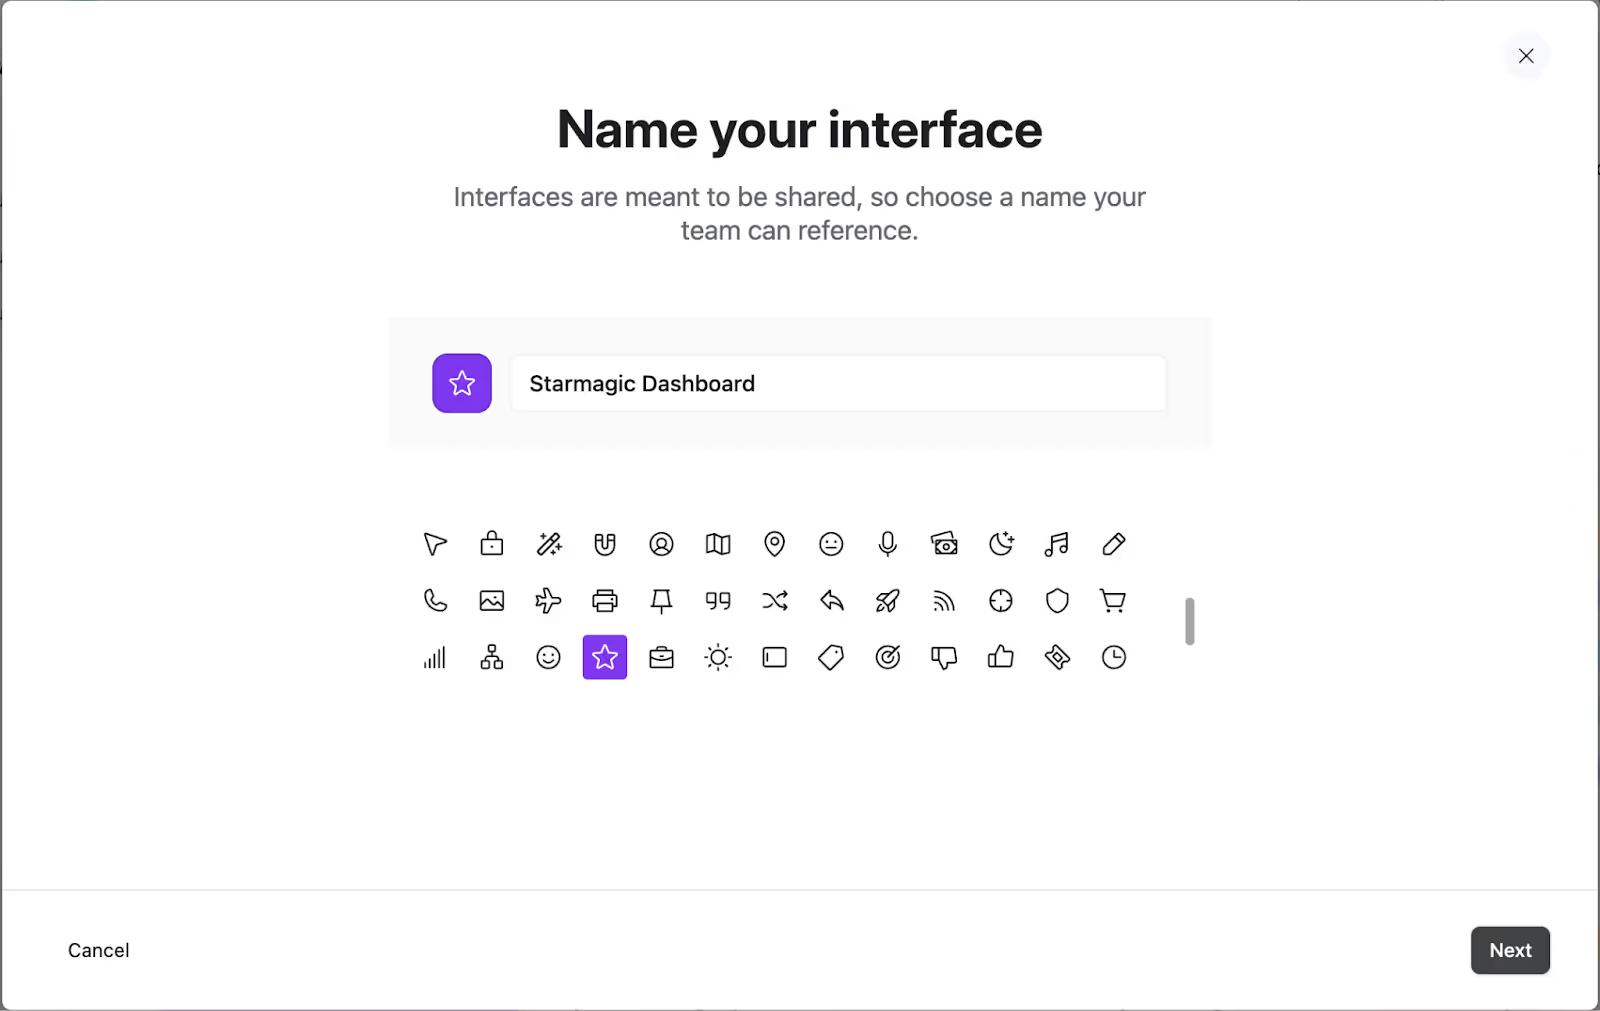
In the drop-down menu, select ‘Add Interface. ' Name the new interface “Starmagic Dashboard” and choose an icon representing the page. Then click ‘Next.’
Select the dashboard layout for a detailed overview. Click ‘Next.’

Now, we will connect our ‘Tasks’ table to the interface to populate it with the data. Select ‘Tasks’ from the table drop-down menu and click ‘Finish.’

This will whip up a simple reporting dashboard for your project tasks. You can jazz it up by adding filters, cool visuals, and other features using the editor on the right. When it’s looking good, hit “Publish” in the top-right corner to lock it in.

You’ll land on your new “Dashboard” page, loaded with reporting. It’s ready to share with stakeholders, executives, and project partners to keep everyone in the loop.

There you go! Your project management system is now fully set up and complete with all the task details we created in the previous lesson. You can share the Task interfaces with your team members and provide reporting views to stakeholders as needed.
The next tutorial will enhance your Airtable base by incorporating AI features to improve task automation and streamline workflow management.
Click here to go to the next tutorial of the course.

.avif)
